
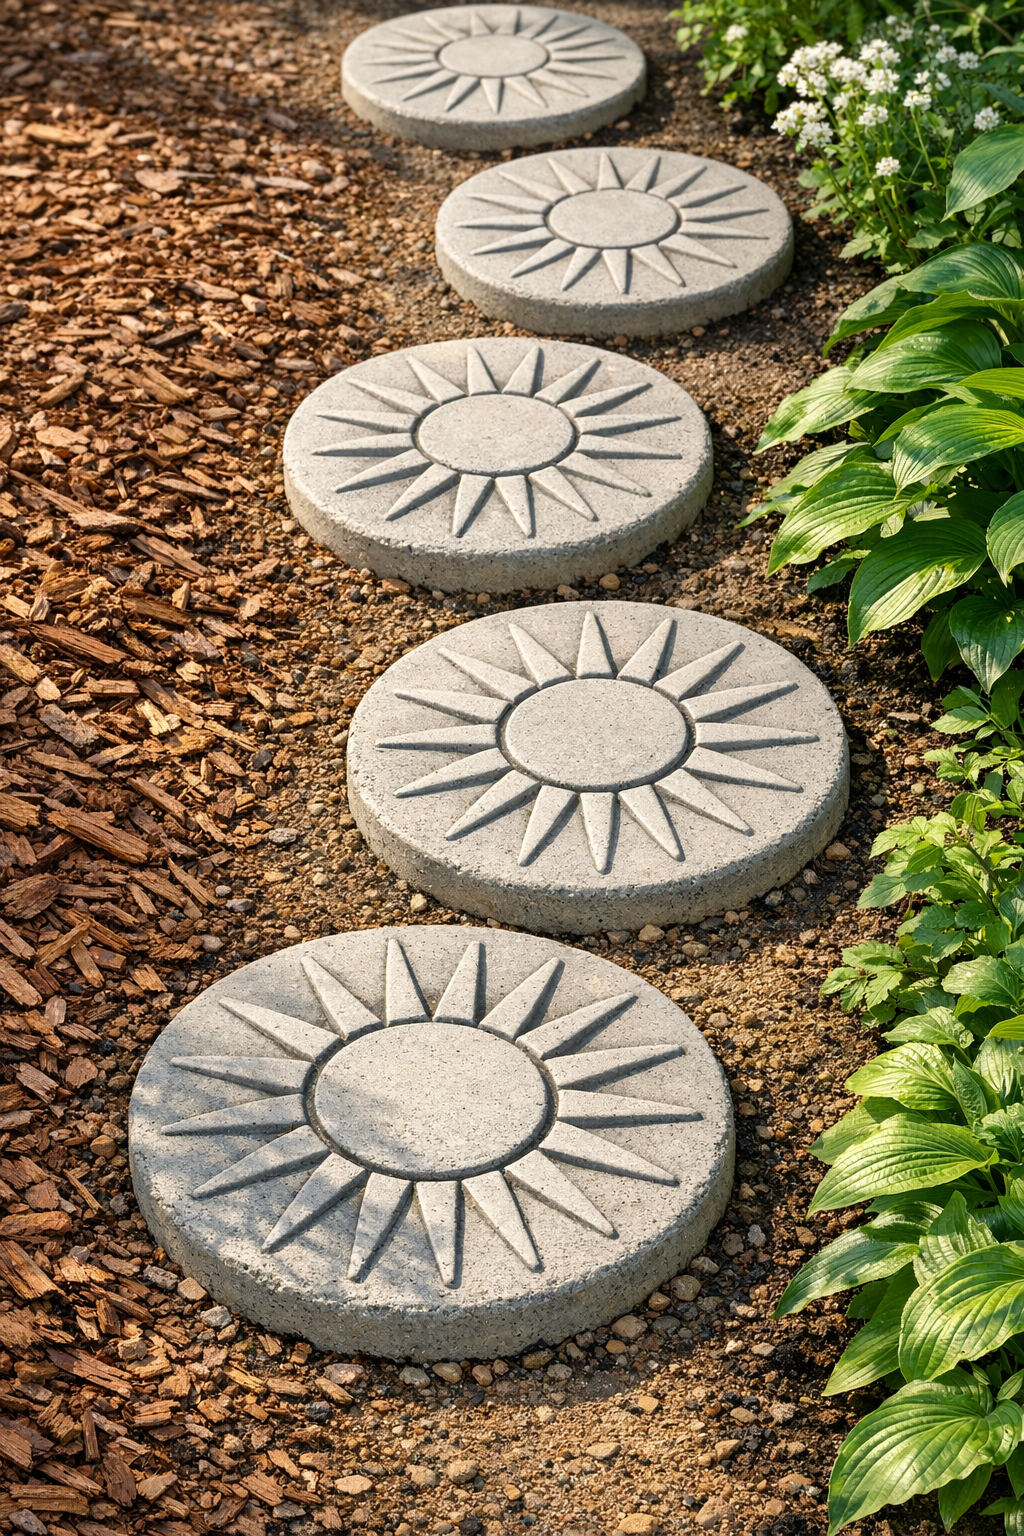
I love a weekend project that makes a big visual difference without turning into a month-long commitment, and these sunburst stepping stones absolutely fit that category. By pressing an old plastic box fan cover into wet concrete, you get a surprisingly pretty raised pattern that looks custom-made for a garden path, even though the technique is wonderfully low-stress and beginner-friendly.
I first tried this when I wanted to give a plain stretch of mulch between my raised beds a little more personality, but I also needed something practical for muddy shoes after rain. If you have a few basic supplies, a spot to let concrete cure, and a garden that could use a little structure, this is the kind of DIY that feels satisfying almost immediately.
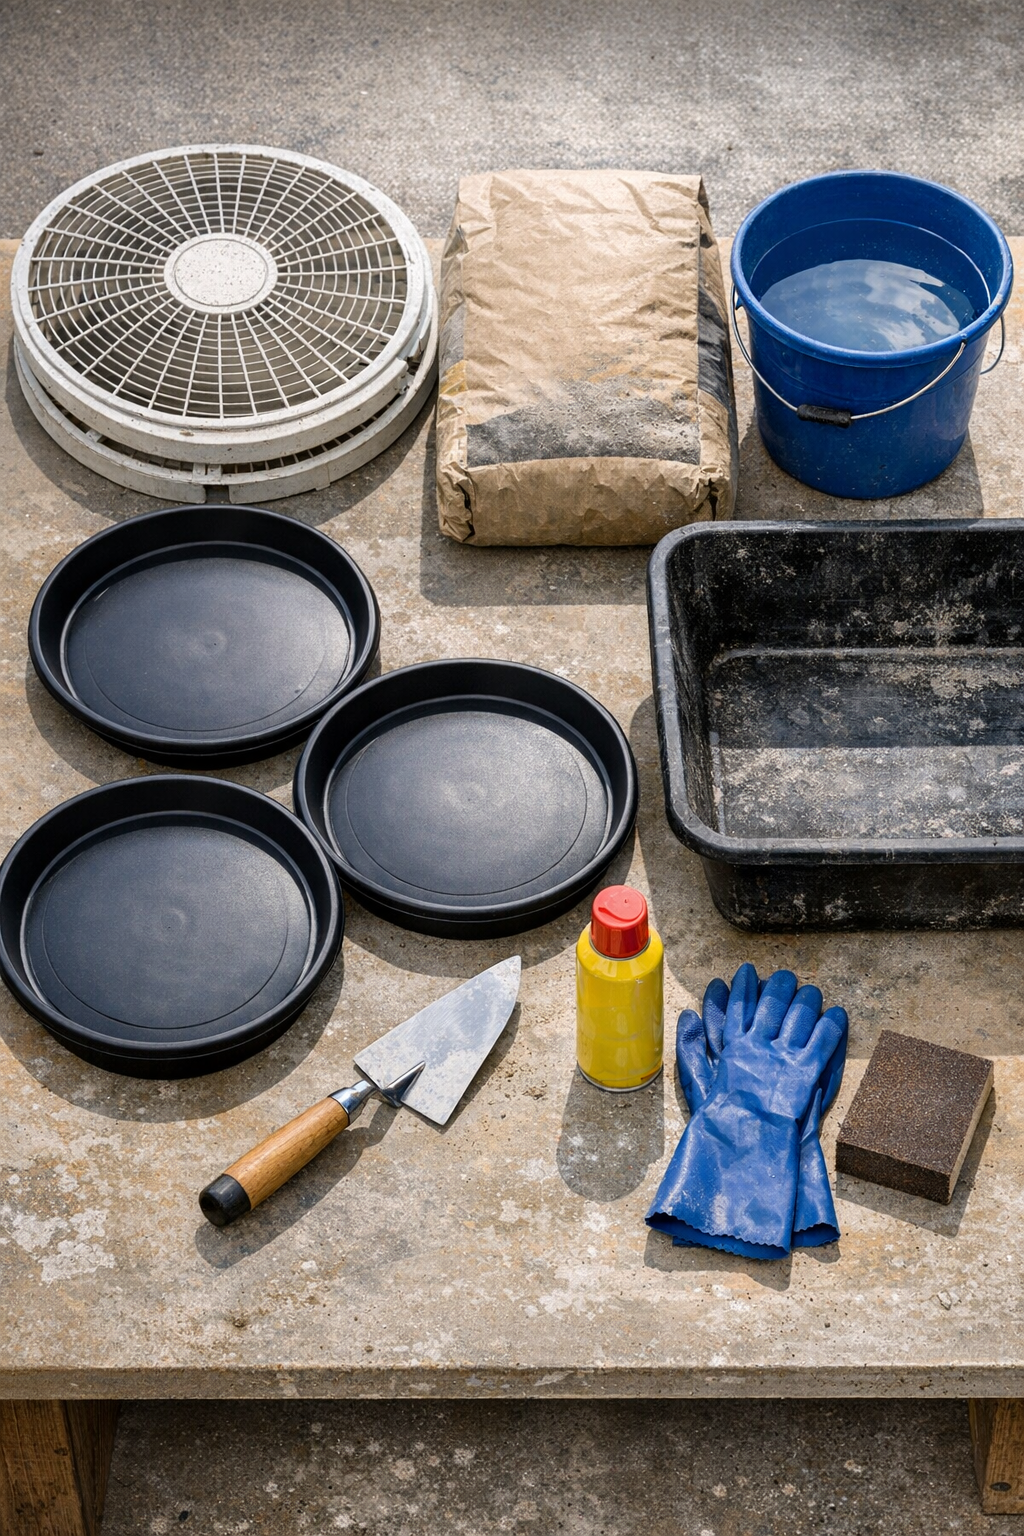
Materials
Instructions
1. Pick a flat outdoor work area where the stones can sit undisturbed for at least 24 to 48 hours, and cover it with a drop cloth or cardboard for easy cleanup.
2. Wash the plastic fan covers thoroughly and let them dry so dirt or grease does not transfer into the concrete pattern.
3. Lightly spray the inside of each plant saucer mold and the patterned side of each fan cover with cooking spray so the concrete releases cleanly later.
4. Mix the concrete in a tub, adding water a little at a time until it reaches the texture of thick oatmeal that holds its shape but still settles when tapped.
5. Fill each mold with about 1 1/2 to 2 inches of concrete, then tap the mold firmly on the ground several times to settle the mix and release air bubbles.
6. Smooth the surface lightly with a trowel, but do not overwork it; a mostly level surface will give you the cleanest stamped design.
7. Center a plastic fan cover over the wet concrete and press it down evenly until the pattern sinks in about 1/4 to 1/2 inch.
8. Lift the fan cover straight up slowly; if any section sticks, wiggle gently from side to side instead of pulling hard so the pattern stays crisp.
9. Repeat with the remaining molds, cleaning off any concrete buildup on the fan cover between presses so each stone keeps a sharp design.
10. Let the stones cure in the molds for 24 hours, then carefully pop them out and move them to a shaded spot to continue curing for another 2 to 5 days.
11. Sand any rough edges lightly once the concrete is firm, especially around the rim, so the stones are comfortable to handle and safer to walk on.
12. Set the finished stones into your garden path by scraping the soil level, adding a little pea gravel if needed, and pressing each stone into place so it sits stable and flat.
Variations & Tips
Use different molds: Round plant saucers give a classic stepping-stone look, but square trays or cake pans dedicated to crafting can create a more modern path.
Adjust the concrete thickness: I like stones around 1 1/2 to 2 inches thick because they feel solid without getting ridiculously heavy to move around the yard.
Test the fan cover first: If your plastic fan cover is especially flexible, do one practice press in a single mold before batching everything so you can see how deep the pattern reads.
Work in manageable batches: When I do projects like this after work or on a busy Saturday, I mix enough concrete for only one or two stones at a time so I am not rushing against the clock.
Add color carefully: You can tint the concrete with a masonry colorant or brush on a concrete stain after curing if you want a warmer or more dramatic garden look.
Keep the cure slow: Concrete gets stronger when it cures gradually, so avoid placing fresh stones in full blazing sun on day one or they may dry too fast and become more brittle.