
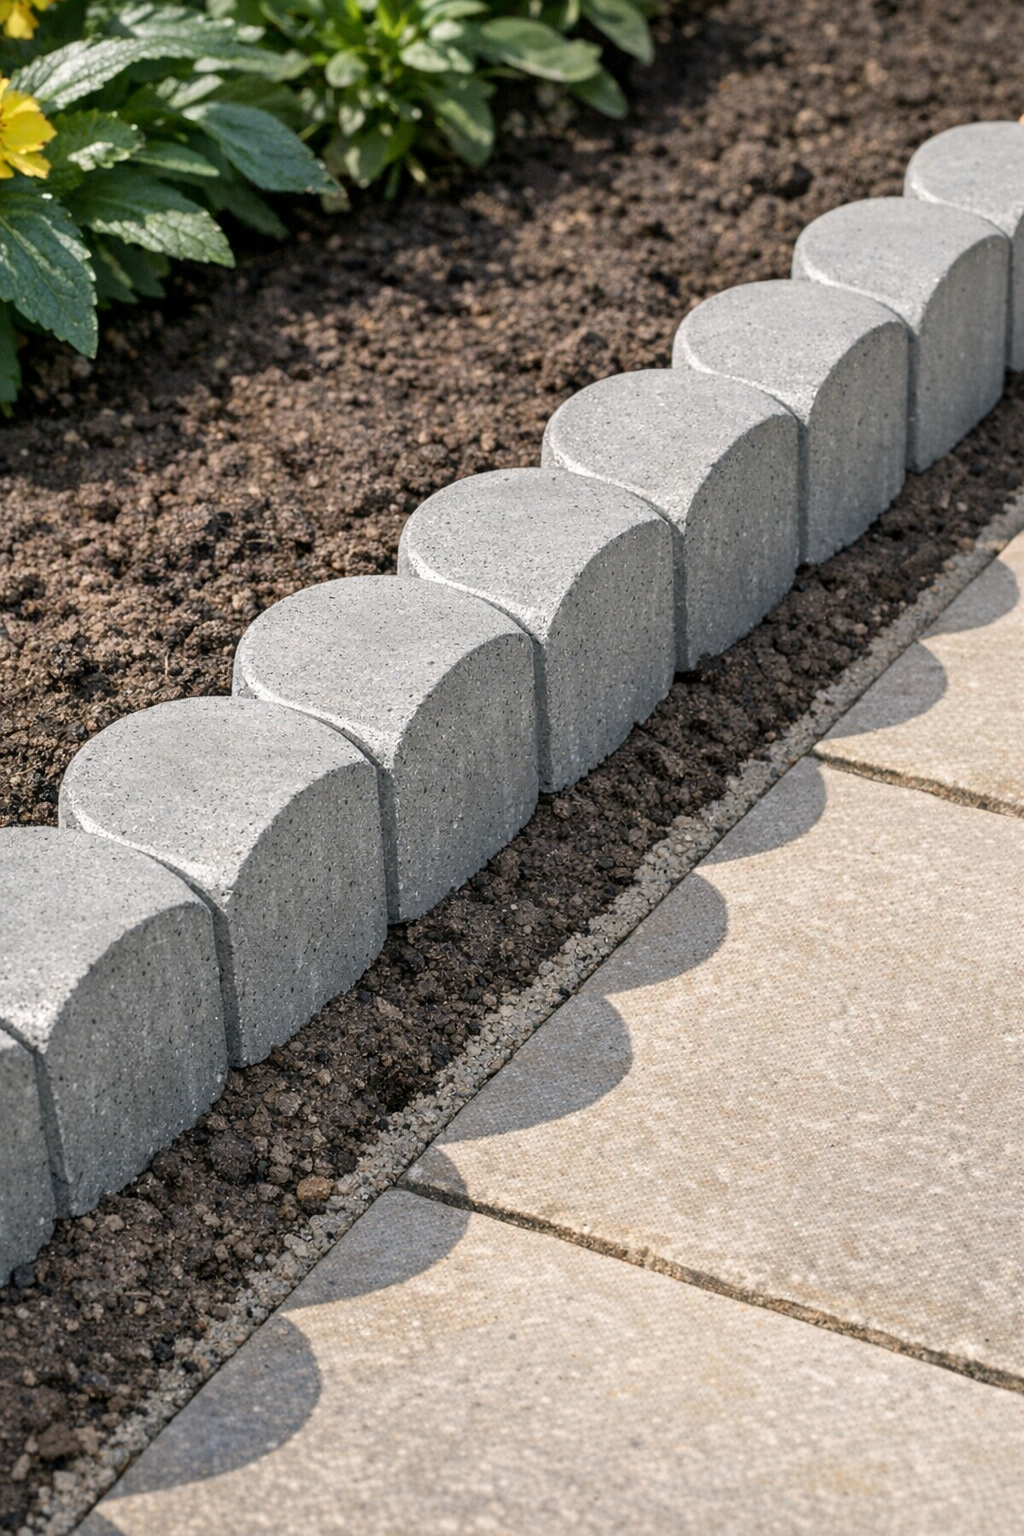
I love a garden project that gives you a polished, almost custom-landscaper look without the custom-landscaper bill, and this scalloped patio edging does exactly that. By pouring wet cement into disposable aluminum pie tins, you can make sturdy curved edging pieces that frame a patio, flower bed, or walkway with a neat repeating shape that looks surprisingly refined once it’s installed.
As someone who spends plenty of time thinking about presentation in the kitchen, I’m always drawn to projects where a simple mold creates a beautiful, consistent result. Pie tins are wonderfully practical here: they’re inexpensive, easy to find, and they give each cement piece that soft scalloped curve that makes the finished border look far more expensive than it is. This is a good weekend project for beginners who don’t mind a little mixing, lifting, and patience while the cement cures.
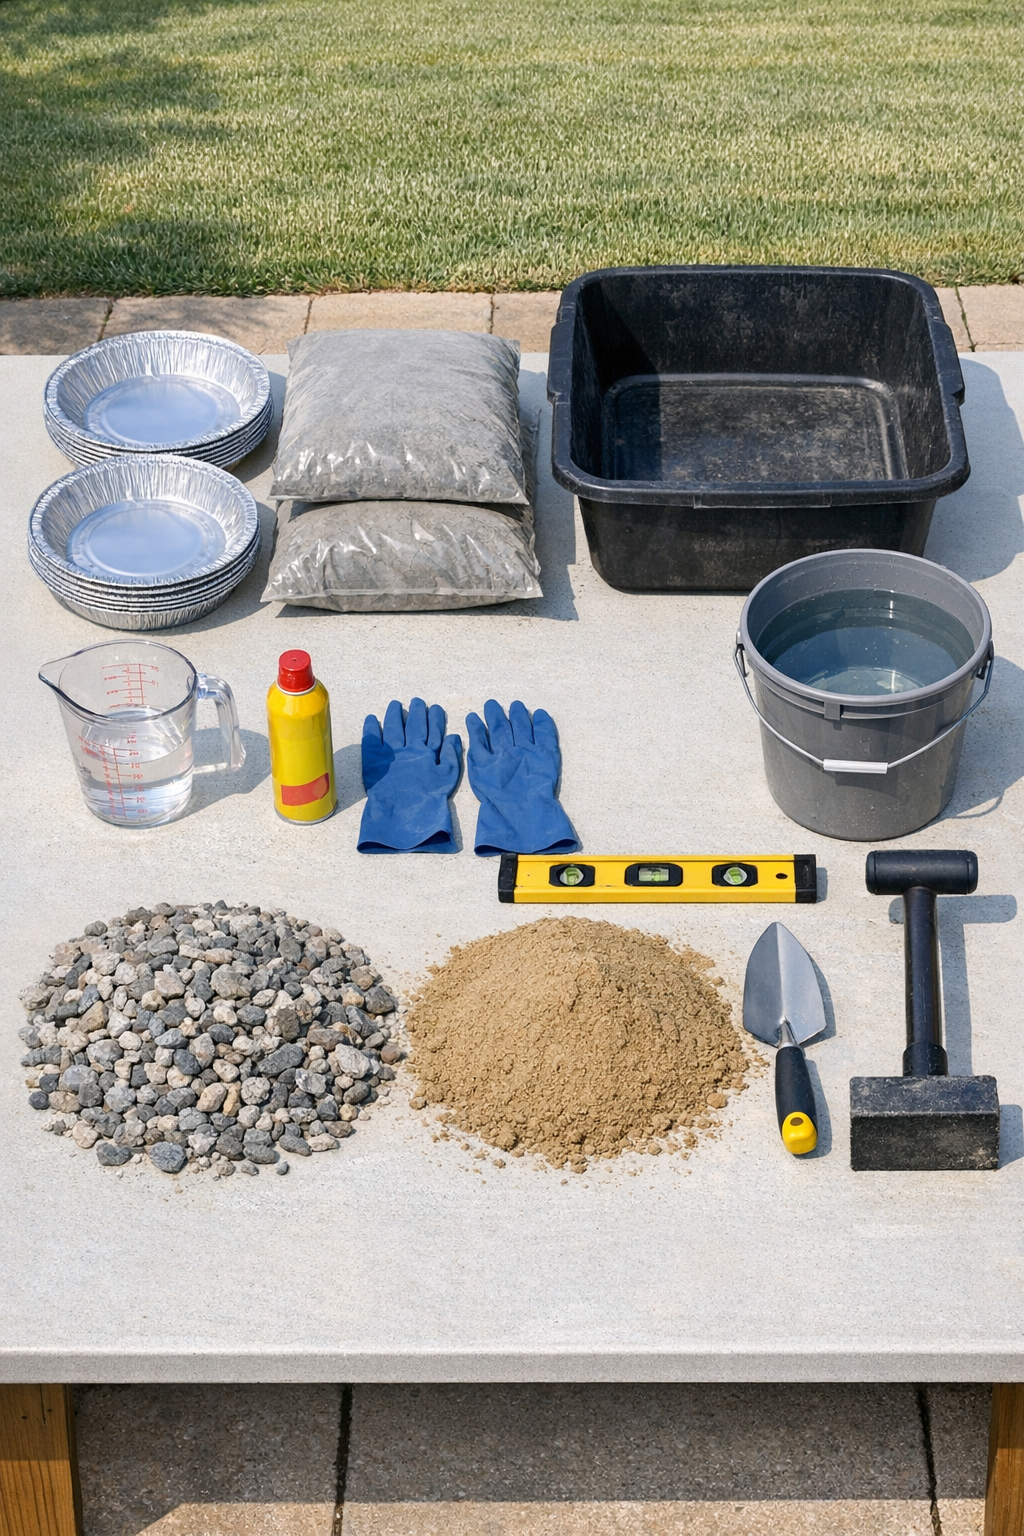
Materials
12 disposable aluminum pie tins, 9-inch diameter
Instructions
1. Measure the area you want to edge and count how many scallops you’ll need by dividing the border length by the width of one pie-tin mold. Add one or two extra pieces so you have a matching spare if any chip during installation.
2. Set the pie tins on a flat, level surface outdoors or in a garage, and lightly coat the inside of each tin with nonstick cooking spray. This thin coating makes the cured cement release more cleanly.
3. Pour concrete mix into the mixing tub, then add water gradually until it reaches a thick brownie-batter consistency that holds shape but still spreads easily. Mix thoroughly so there are no dry pockets.
4. Fill each pie tin with cement to a depth of about 1 1/2 to 2 inches, then tap the tin gently on the work surface to settle the mix and release air bubbles. Smooth the top with the trowel so each piece has an even back.
5. Let the filled tins sit undisturbed until the concrete firms up, following the setting time on your mix, usually a few hours for fast-setting concrete. Once firm, gently peel back or tear away the aluminum tins to unmold the pieces.
6. Cure the unmolded pieces for at least 24 to 48 hours on a flat surface before installing them, keeping them out of heavy rain and direct disturbance. Longer curing will make them stronger and less likely to crack during placement.
7. Mark your edging line with stakes and mason’s string, then dig a shallow trench about 3 inches deep and slightly wider than the cement pieces. Try to keep the trench depth consistent so the scallops will sit evenly.
8. Add about 1 inch of gravel to the trench, tamp it down, then add a thin layer of sand on top to help with leveling. Check a few spots with the level so the base is steady and uniform.
9. Set the cement scallops into the trench one by one with the curved side facing outward, overlapping or butting them closely for a continuous border. Adjust each piece with sand underneath until the tops align neatly.
10. Backfill soil around the installed edging and press it firmly into place on both sides. Wipe off loose dust, then step back and make small alignment adjustments before the soil fully settles.
Variations & Tips
For a cleaner finish: If the tops look rough after unmolding, rub any sharp bits lightly with a sanding stone or scrap of concrete block once the pieces are fully cured.
For a darker border: You can use charcoal-tinted concrete mix or add concrete colorant during mixing if you want a deeper gray that contrasts more strongly with pale pavers.
For curved beds: This method is especially useful around rounded planting beds because the individual scallops naturally follow gentle curves better than long straight edging sections.
For extra strength: Keep the pieces a bit thicker rather than thin and delicate; in my experience, a generous 1 1/2 to 2 inches holds up much better through seasonal freeze-thaw cycles in the Midwest.
For easier installation: Make all the pieces first, then lay them out along the patio before digging the trench. Seeing the full rhythm of the scallops helps you spot awkward spacing before anything goes into the ground.
For a tidier border line: Use a half-moon edger or flat spade to shave the trench wall straight before setting the pieces. That crisp line makes the finished project look even more professional.