
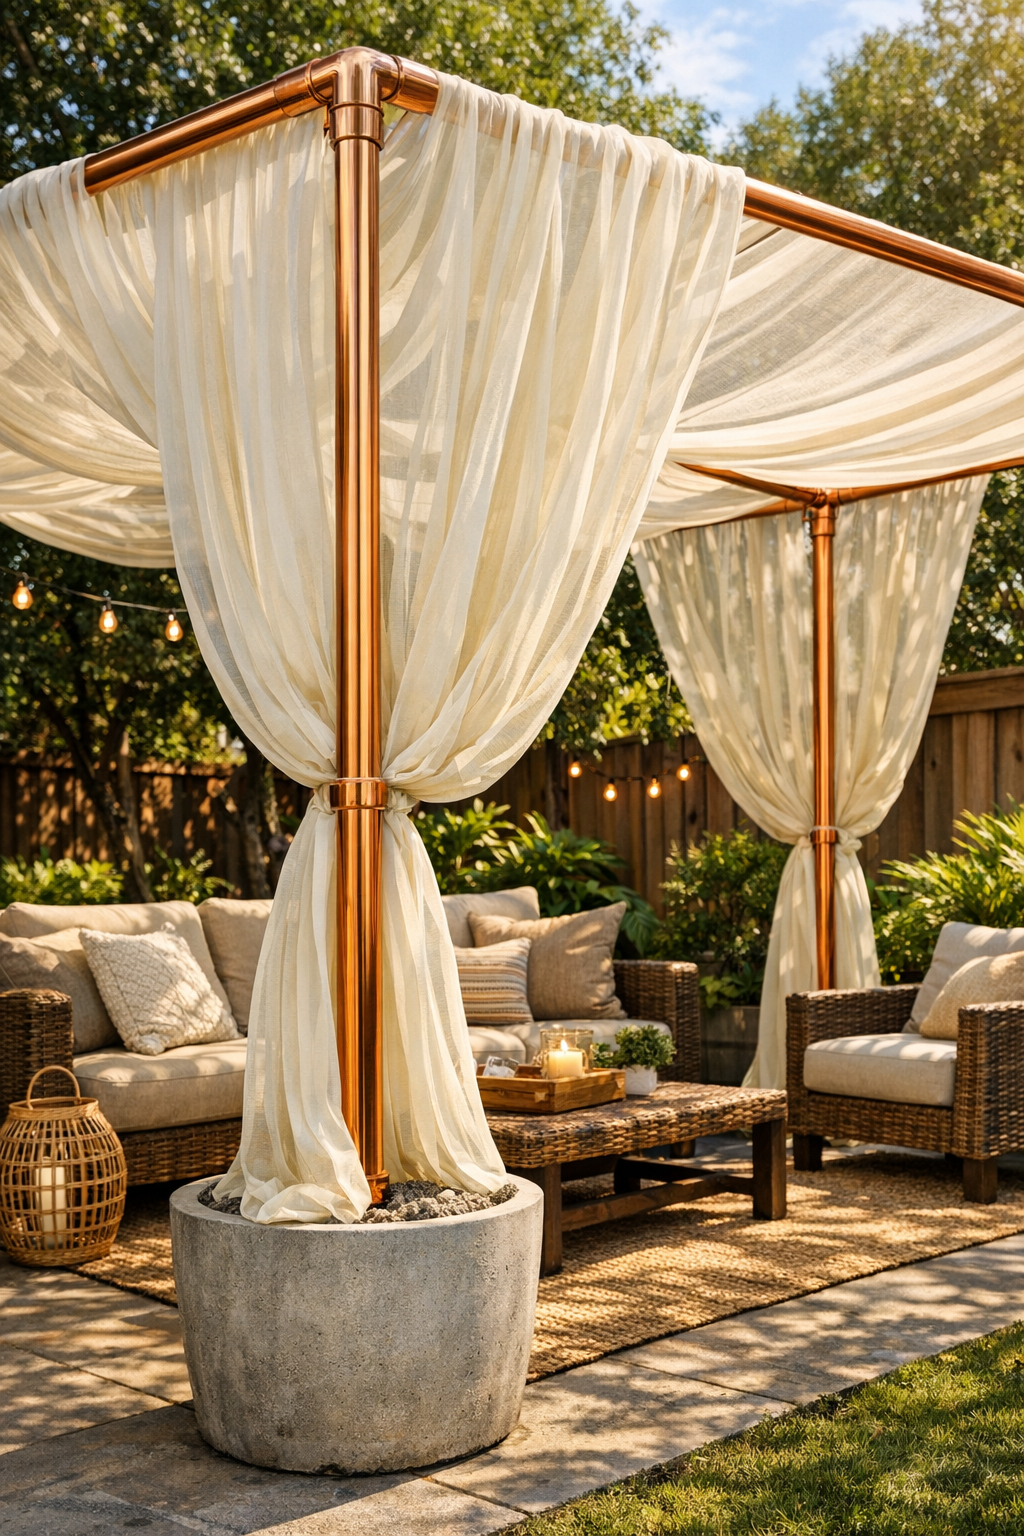
I love a backyard project that looks expensive but is actually very doable over a weekend, and this patio canopy is exactly that. The idea is simple: build a freestanding copper pipe frame, anchor the legs inside concrete-filled planters, and drape outdoor sheer curtains across the top for that soft, breezy look. It gives a patio instant structure and shade without committing to a permanent pergola, which was a huge selling point for me.
If you want a cozy entertaining spot, a prettier backdrop for outdoor dinners, or just a little more privacy from the neighbors, this is a project worth tackling. I especially like it for busy households because once the frame is set, the styling part is easy, and you can swap curtain colors or tie-backs whenever you want a different look.
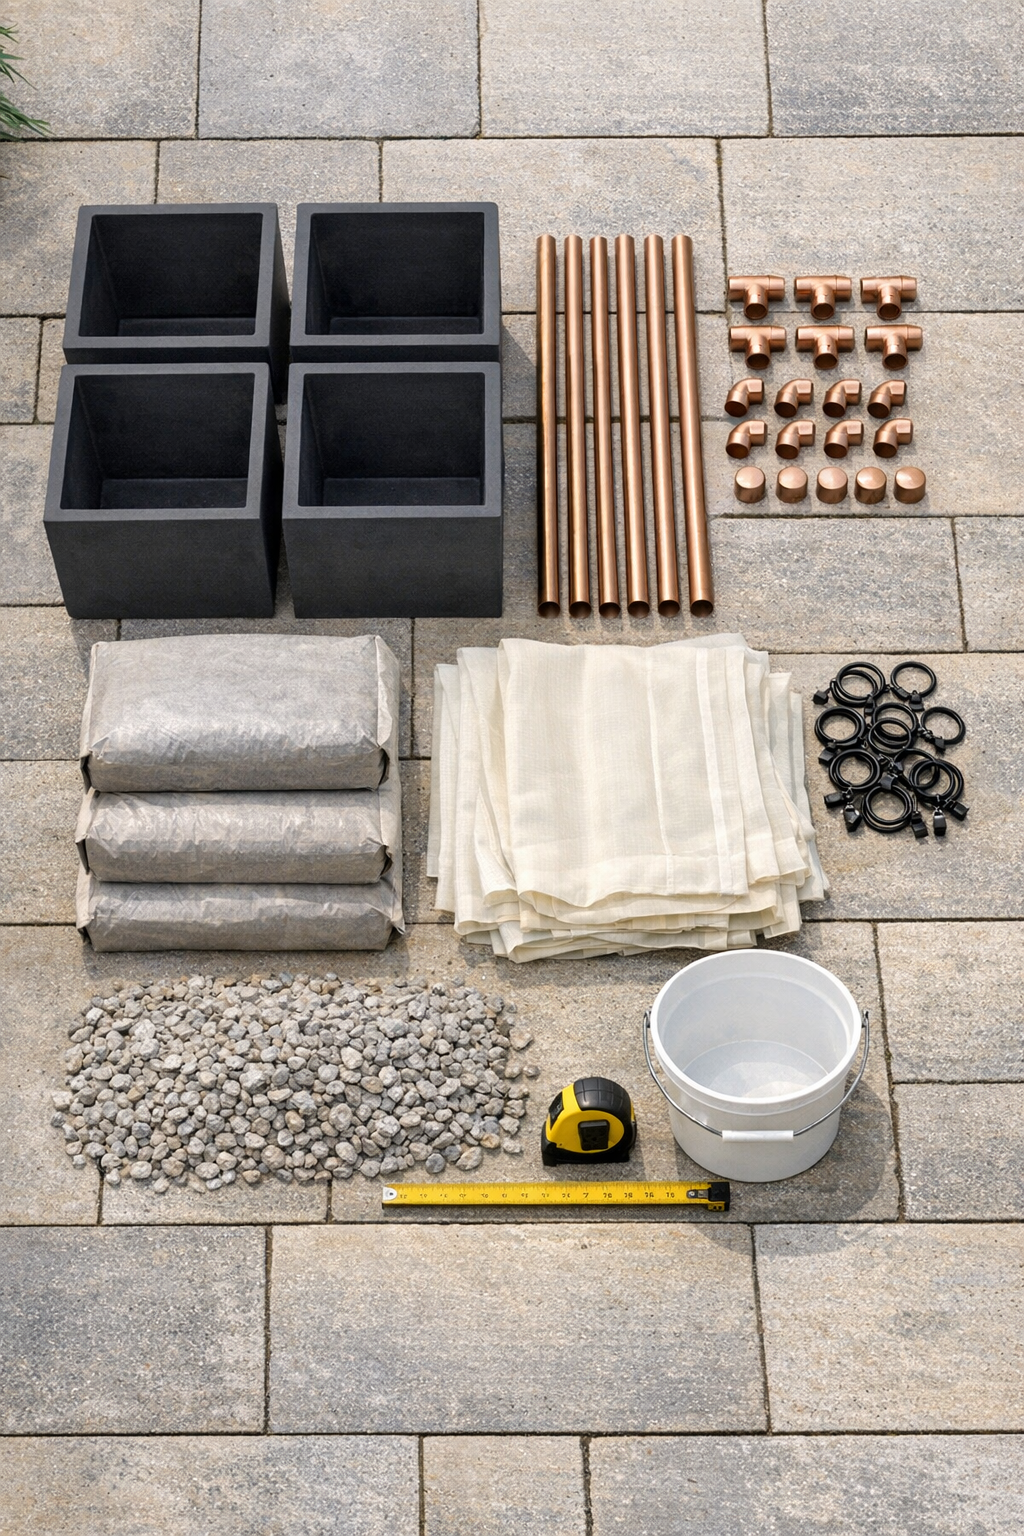
Materials
4 large outdoor planters, 16 to 20 inches wide and at least 16 inches deep
Instructions
1. Set the four planters in the exact canopy footprint on your patio, spacing them 120 inches apart on the long sides and 96 inches apart on the short sides. Check that the surface is level before you mix anything.
2. Pour 2 to 3 inches of pea gravel into the bottom of each planter for drainage and weight distribution. Center one 96-inch copper pipe upright in each planter.
3. Add painter’s tape around each pipe at the same height above the planter rim so you can quickly confirm all four posts are set evenly. Brace each pipe with scrap wood or 1x2 boards to hold it plumb.
4. Mix the fast-setting concrete according to the package directions and fill each planter until the concrete sits about 2 inches below the rim. Recheck every pipe with a level and adjust immediately before the mix starts to harden.
5. Let the concrete cure fully based on the manufacturer’s timing, keeping the braces in place until the posts are solid. I usually leave this alone longer than I think I need to, because a wobbly frame is not worth rushing.
6. Slide a 3-way corner fitting onto the top of each post, orienting the openings so they connect around the rectangle. Press the fittings down firmly and keep all side openings aligned.
7. Connect the two 120-inch copper pipes along the long sides and the two 96-inch copper pipes along the short sides to complete the top frame. Add a small bead of clear exterior adhesive or silicone inside each joint before fully seating the pipes if you want extra hold.
8. Cap any exposed pipe ends if needed and wipe the copper clean so the finish looks polished. Test the frame with a gentle shake and make small alignment adjustments before hanging the fabric.
9. Clip the outdoor curtain rings evenly along the two long top rails, using eight rings per side. Space them so the curtain panels will drape softly instead of pulling tight.
10. Hang the four ivory sheer curtain panels from the clip rings, with two panels overlapping through the center for fuller coverage across the canopy top. Let the fabric fall in loose swags between the rails for that draped look.
11. Gather any extra curtain length at the corners or sides and tie it back with short pieces of outdoor rope if you want a more tailored shape. Adjust the folds until the canopy looks balanced from every angle.
12. Style the finished canopy with outdoor seating underneath and check that the fabric moves freely without catching on fittings or scraping the concrete planter rims. Once everything hangs evenly, your patio is ready for lounging or dinner outside.
Variations & Tips
For windy yards: Use heavier outdoor curtain panels or add discreet fabric ties at the corners to keep the drape from shifting too much on breezy days.
For extra privacy: Hang additional curtain panels down one or two sides of the frame so you can pull them closed during dinner or when the sun is lower.
Copper finish option: Leave the copper bright for a clean modern look, or let it naturally patina over time if you like that weathered blue-green character.
Planter styling: Once the concrete is cured, top the planters with decorative gravel, mulch, or even faux potted greenery to soften the utilitarian base.
Size adjustment: If your patio is smaller, shorten the top rails and reduce the curtain width proportionally; just keep the rectangle square so the fabric drapes evenly.
Busy-weekend tip: I like to set the posts in concrete one day and hang the curtains the next, which breaks the project into manageable chunks and makes the whole build feel much less overwhelming.