
There’s something especially charming about little stone mushrooms tucked into a flower bed or peeking out from under a shrub. I love projects like this because they look expensive and whimsical in the garden, but they’re actually made from simple materials I can pick up at the hardware store and the dollar store in one trip. Using plastic soup bowls for the caps and cups for the stems gives these mushrooms their sweet shape with very little fuss.
This is a wonderful beginner cement project if you want something sturdy, weather-friendly, and truly handmade. I’ve made garden pieces like this when I wanted to fill an empty corner of a bed without spending a fortune, and they’re the kind of project that always gets family and neighbors talking. If you enjoy easy outdoor décor with a bit of storybook style, this one is for you.
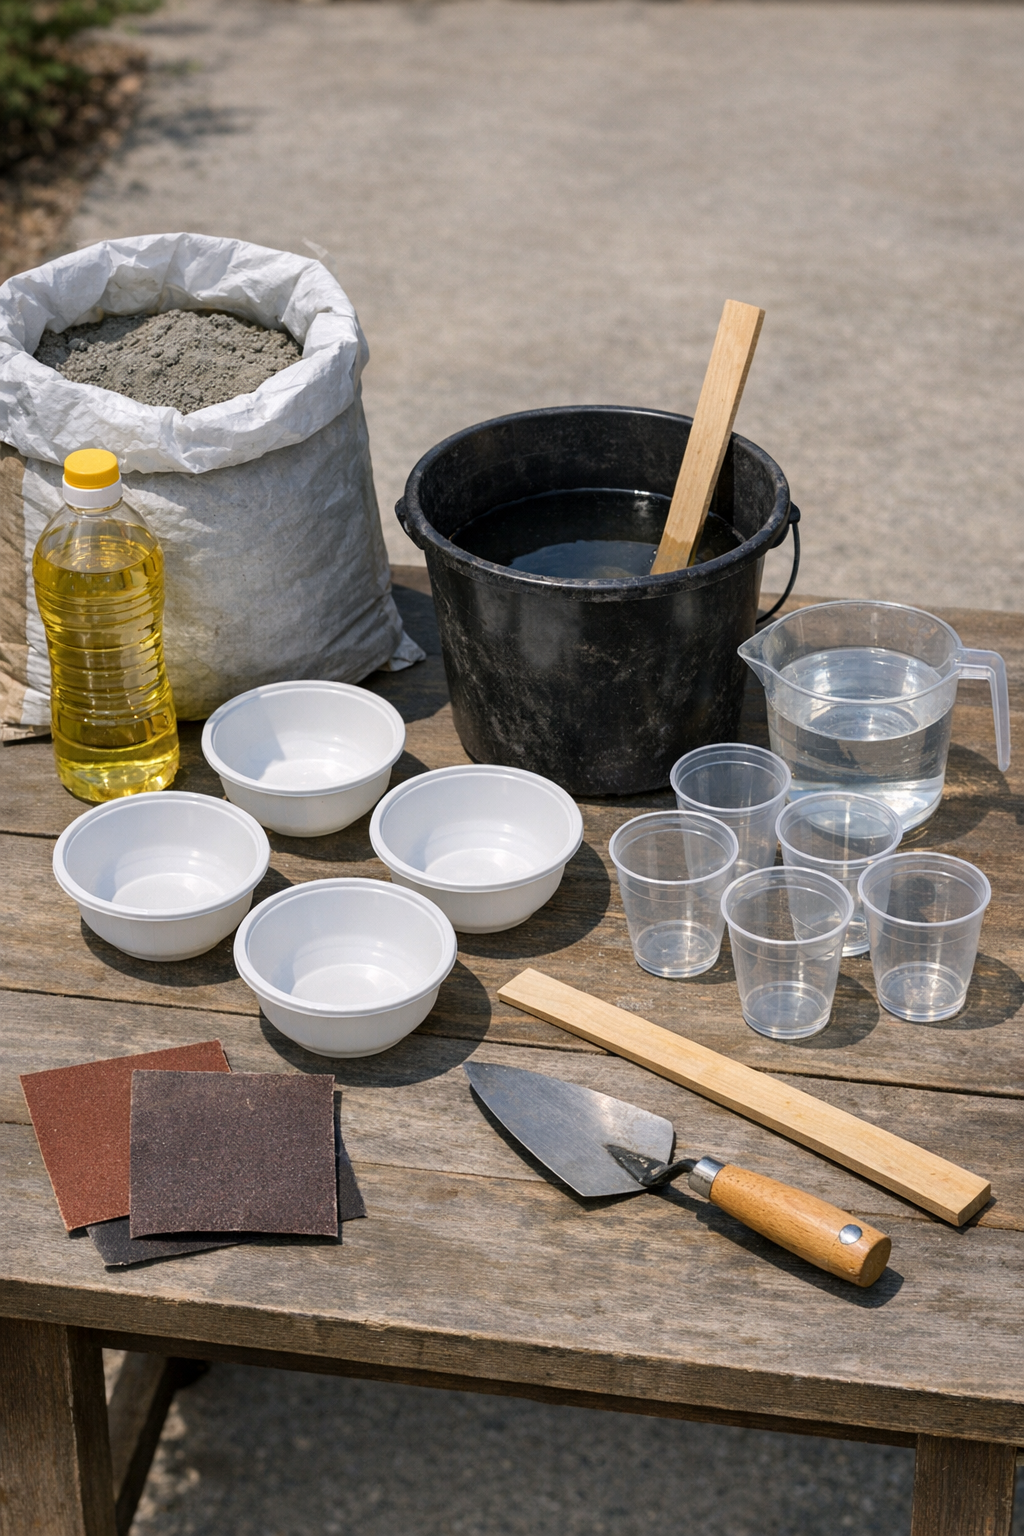
Materials
Fast-setting concrete mix or sand topping mix, 10 pounds
Instructions
1. Choose a flat outdoor work area and protect it with cardboard or a plastic drop cloth. Set your bowls upside down and your cups upright so everything is ready before you mix the cement.
2. Lightly coat the inside of each plastic bowl and the inside of each cup with a thin film of cooking oil. This helps the hardened cement release more easily from the molds later.
3. Pour the dry concrete mix into your bucket and add water a little at a time. Stir until the mixture is thick like scoopable peanut butter and holds its shape without becoming runny.
4. Scoop cement into each plastic bowl until it is about 1 1/2 to 2 inches deep, then smooth the surface. These filled bowls will form the rounded mushroom caps once unmolded and turned over.
5. Fill each plastic cup with cement, leaving about 1/2 inch at the top. Tap the sides of the cups gently to settle the mix and release trapped air bubbles.
6. Let the cement sit undisturbed until it is firm enough to hold shape, usually 24 hours for small pieces. Keep the molds in a shaded spot so they cure evenly and do not dry too fast.
7. Peel away the plastic bowls and cups carefully once the cement has hardened. If an edge sticks, flex the plastic gently instead of prying against the cement.
8. Sand any rough edges on the caps and stems with fine-grit sandpaper. Brush off the dust so the surfaces are clean before assembly.
9. Mix a small batch of fresh cement to use like adhesive, then spread a thick layer onto the top of one stem. Press a cap onto the stem and hold it steady for a minute so it begins to bond.
10. Repeat with the remaining pieces and let the assembled mushrooms cure for another 24 to 48 hours. Avoid moving them during this time so the joints stay strong.
11. If you want a natural stone look, leave the mushrooms plain and apply an exterior concrete sealer after curing. If you prefer a playful garden style, paint the caps and stems with outdoor acrylic paint and let them dry fully.
12. Place the finished mushrooms in garden beds, near stepping stones, or at the base of a tree where they can be seen but not knocked over. For extra stability, nestle the stem bases slightly into the soil.
Variations & Tips
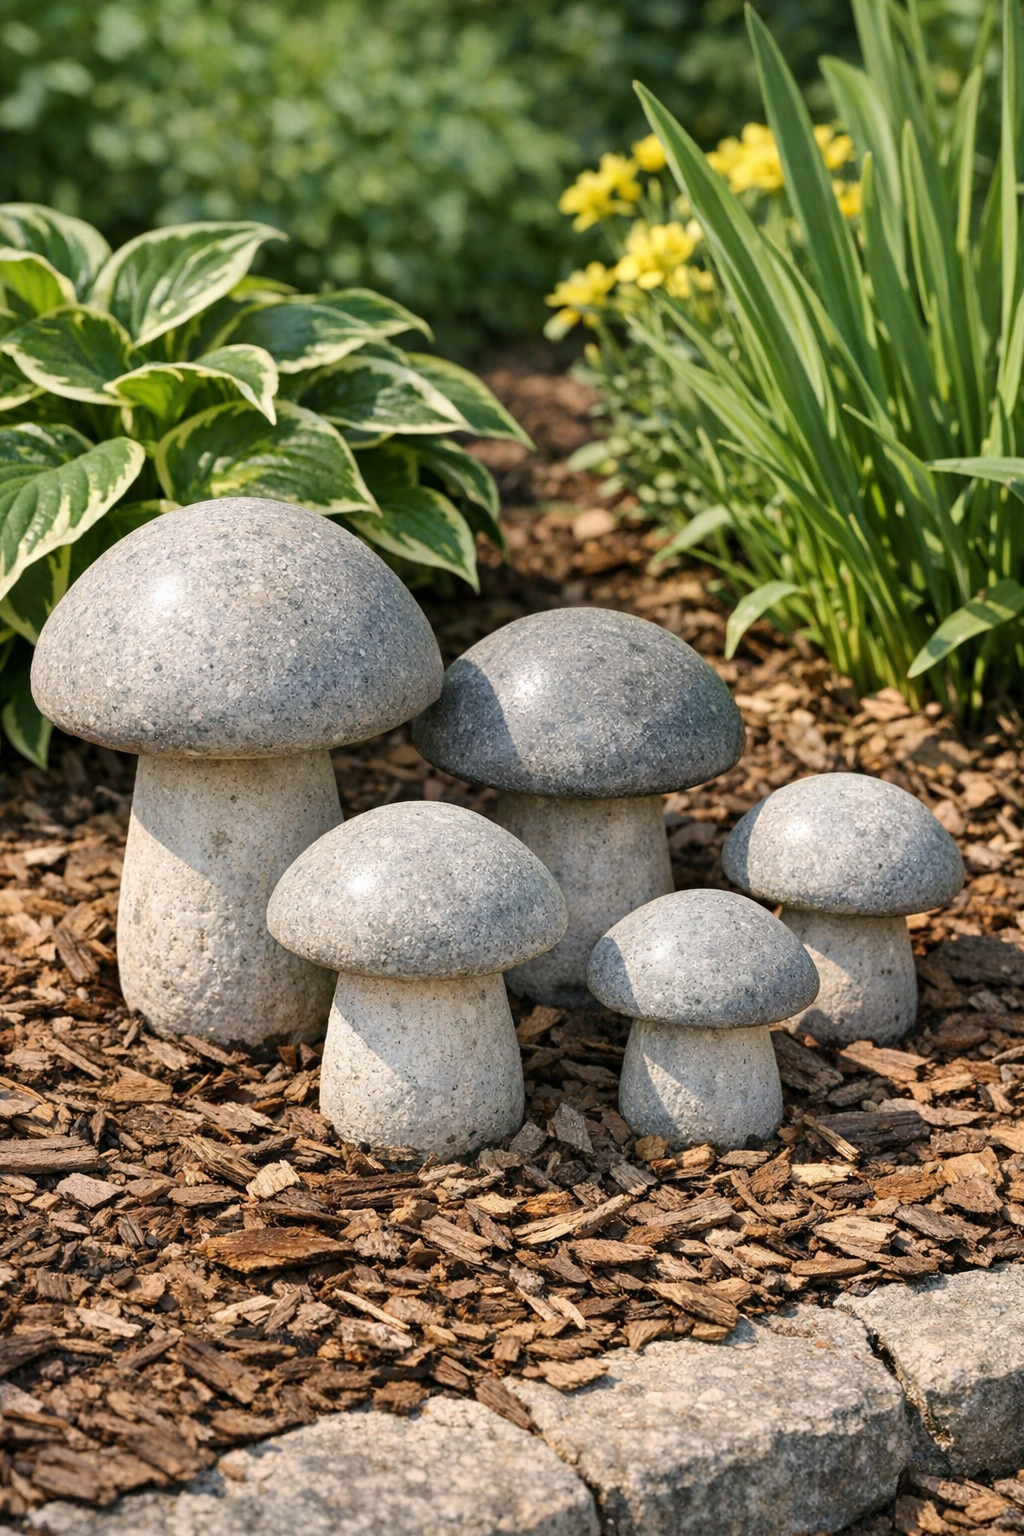
Natural stone finish: Leave the cement unpainted for a simple woodland look. I like this option when the garden already has plenty of color from flowers.
Painted caps: Try red caps with white dots, soft gray caps, or earthy brown tones for different moods. If you have children helping choose colors, this is a fun place to let everyone add a little personality.
Different sizes: Use a mix of small and medium bowls and cups to create a grouped display. A cluster of three different heights always looks more natural to me than one mushroom standing alone.
Smoother results: Tap the molds lightly after filling to reduce air bubbles. If a few tiny pits still show, I treat them as part of the stone character rather than a flaw.
Stronger joints: For larger mushrooms, rough up the contact area between cap and stem before adding the fresh cement adhesive. That little bit of texture helps the pieces grip better.
Weather tip: Let the mushrooms cure fully before exposing them to heavy rain or freezing temperatures. In my experience, patience at this stage makes them last much longer through the seasons.