
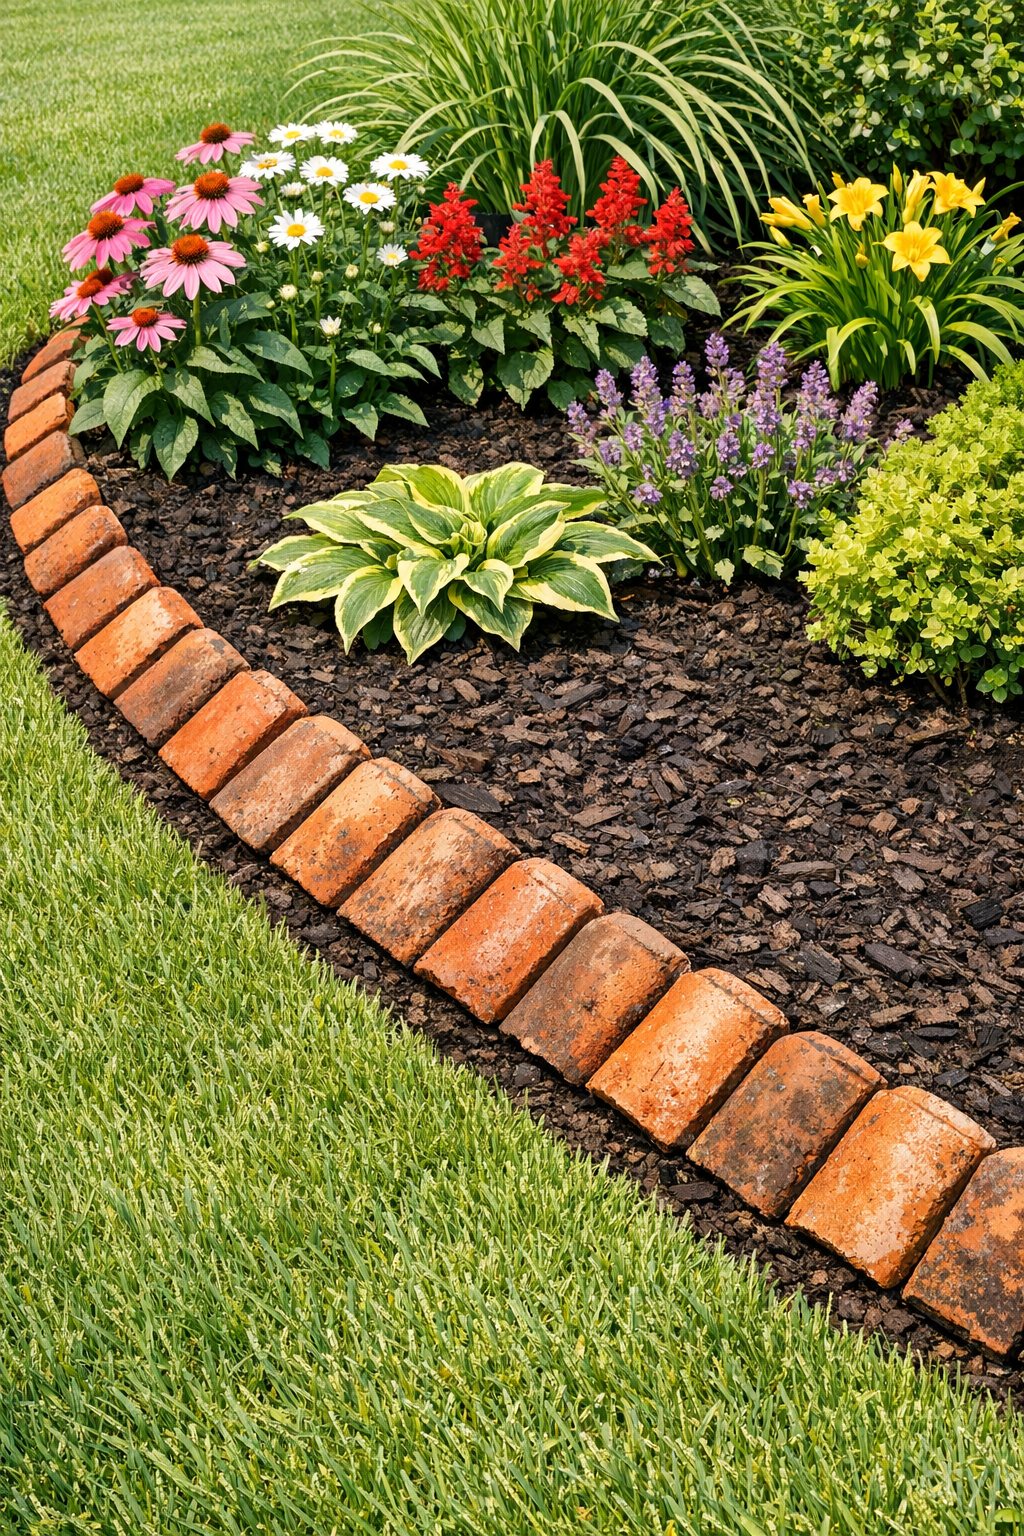
A simple border can do an astonishing amount of work in a front yard, and this terracotta tile edging is one of those projects that looks far more expensive and intentional than it really is. By setting curved roof tiles diagonally into the mulch, you get a soft scalloped line that defines the bed, keeps mulch where it belongs, and adds a warm, weathered color that pairs beautifully with greenery and flowers.
I love projects like this because they sit right at the intersection of practical and decorative. As someone who spends plenty of time thinking about presentation in the kitchen, I approach the garden the same way: a good border frames everything else. This project is especially good for beginners, for anyone refreshing a tired flower bed, or for homeowners who want a weekend upgrade without pouring concrete or buying premade plastic edging.
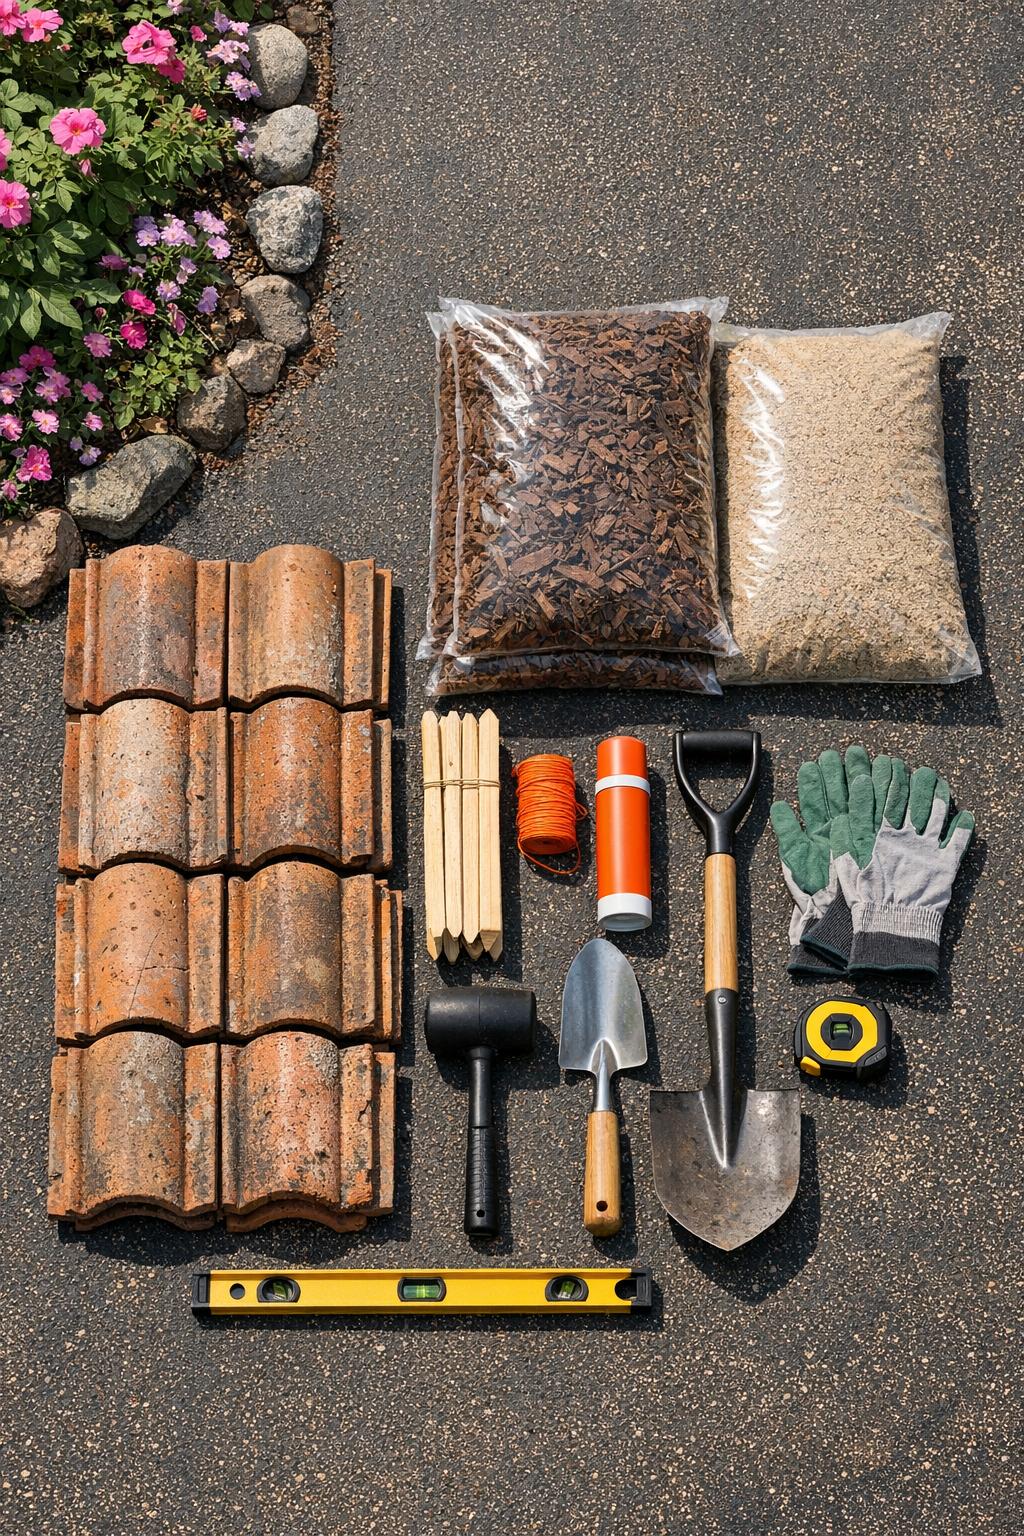
Materials
Instructions
1. Measure the length of the flower bed border you want to edge, then estimate your tile count by allowing one tile every 4 to 6 inches when set diagonally with a slight overlap.
2. Lay out the curve with stakes and mason line, or mark the border directly on the ground with landscape spray or flour until the line looks smooth from the street.
3. Use a spade to cut a shallow trench along the marked line, making it about 3 to 4 inches deep and just wide enough to hold the bottom edge of each tile.
4. Remove loose soil from the trench and level the bottom, then add a 1-inch layer of paver sand to help the tiles settle evenly.
5. Start at one end and place the first terracotta tile into the trench at a diagonal angle, with the curved face visible and roughly one-third of the tile buried for stability.
6. Set the next tile beside it at the same angle, slightly overlapping or closely spacing it so the border reads as one continuous scalloped line.
7. Tap each tile gently with a rubber mallet until it sits firmly in the sand and soil, checking every few tiles with a small level to keep the tops visually consistent.
8. Continue along the full border, stepping back every few tiles to adjust spacing and angle so the curve stays graceful rather than wobbly.
9. Backfill both sides of the tiles with soil or mulch and press it in by hand so each piece is snug and supported.
10. Rake fresh mulch inside the bed up to the base of the tiles, then brush off the exposed terracotta so the color and pattern stand out cleanly.
Variations & Tips
Use salvaged tiles: Reclaimed terracotta roof tiles are perfect here because small chips and color variation add character; just avoid pieces with major cracks that could snap during installation.
Tighten the curve carefully: On sharper bends, place the tiles a little closer together and reduce the overlap so the line stays smooth without awkward gaps.
Match the mulch depth: Keep mulch slightly below the top edge of the tiles so the scalloped pattern remains visible after watering and settling.
Add extra stability: In loose or sandy soil, deepen the trench by another inch and pack more sand around the base before backfilling.
Try a straighter, more formal look: If your landscape is symmetrical, set the tiles at the same angle but in a gentle straight run instead of a sweeping curve for a cleaner, more tailored effect.
Refresh the finish seasonally: I like to brush the tiles off when I top up spring mulch; that quick cleanup brings back the rich terracotta color and makes the whole bed look newly installed.