
I love a project that gives you the look of custom stonework without the custom-stone price tag, and this patio border is exactly that kind of win. By using plastic hexagon drawer organizers as molds, you can cast repeating concrete pieces that look crisp, geometric, and surprisingly high-end once they’re set in place around a patio, path, or garden bed.
This is a great build for anyone who wants to dress up an outdoor space with a modern touch but doesn’t want to tackle full masonry. If you’re comfortable mixing concrete and working carefully with simple forms, you can absolutely do this over a weekend. It reminds me a little of good cooking, honestly: the ingredients are humble, but the presentation makes the whole thing feel elevated.
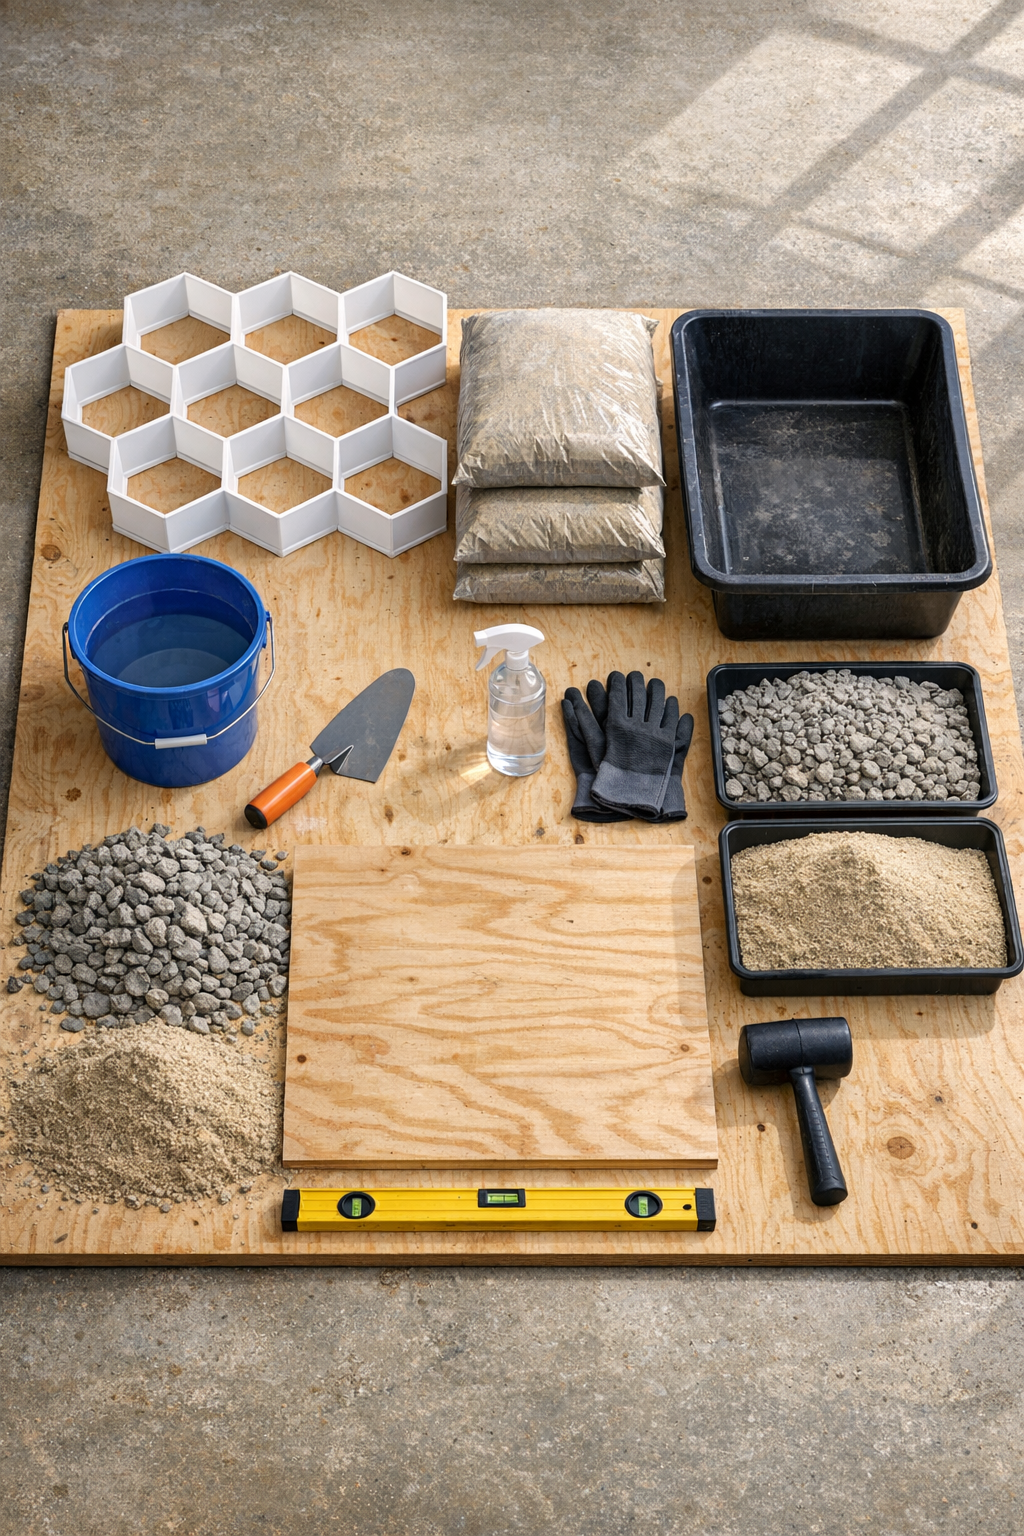
Materials
6 plastic hexagon drawer organizers, approximately 8 to 10 inches wide each
Instructions
1. Measure the section of patio or garden edge where you want the border, then calculate how many hexagon pieces you’ll need by dry-fitting the organizers side by side. I like to map the layout first so the finished pattern looks intentional rather than improvised.
2. Set the plywood or melamine board on a perfectly flat surface, then tape down the plastic hexagon organizers so they can’t shift while you pour. Spray the inside of each organizer lightly with nonstick spray or form release so the concrete will release cleanly later.
3. Put on gloves, eye protection, and a dust mask, then mix the concrete in the tub according to the bag directions until it reaches a thick brownie-batter consistency. The mix should be wet enough to settle into corners but firm enough not to separate.
4. Fill each hexagon mold halfway, tap the board firmly to release trapped air, then continue filling to the top. Smooth the surface with a trowel so each piece has an even back and sits flat once installed.
5. Let the concrete set until firm, following the cure time on the mix, usually a few hours for fast-setting concrete and up to 24 hours for safe demolding. Don’t rush this step; concrete that feels hard on top can still be fragile underneath.
6. Flex the plastic organizers gently to release the cured hexagon pavers, then brush off any loose grit and set the pieces aside to continue curing. If any edges look rough, smooth them lightly with a rubbing stone or stiff brush before they fully harden.
7. Dig a shallow trench along the patio edge that is slightly wider than your hexagon pieces and about 3 inches deep. Add 2 inches of compactable gravel and tamp it down firmly, then add 1/2 to 1 inch of leveling sand on top.
8. Set the concrete hexagons into the sand bed one at a time, checking each piece with a short level and tapping gently with a rubber mallet to seat it. Keep the spacing tight and the top edges aligned so the border reads as one continuous custom installation.
9. Backfill around the outside of the border with soil, gravel, or mulch, then sweep sand into any small joints to lock the pieces visually together. Let everything settle for a day before heavy foot traffic.
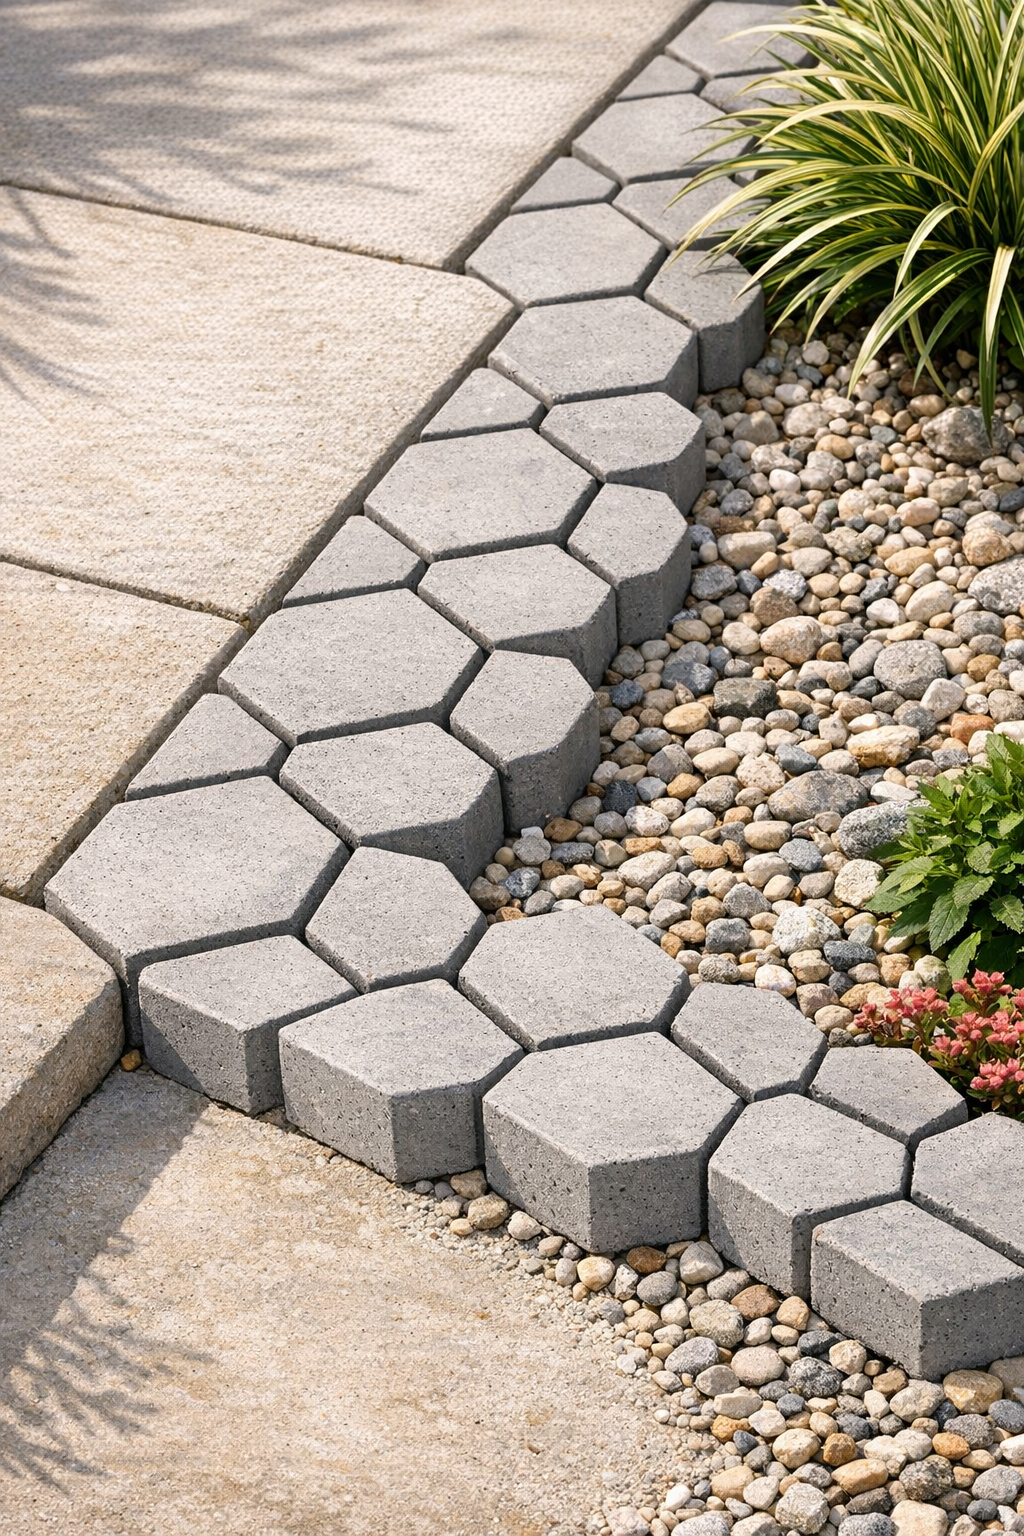
10. Apply a masonry sealer if you want a slightly richer color and easier cleanup over time. Once sealed and cured, the border will have that polished, custom-masonry look that makes the whole patio feel more finished.
Variations & Tips
Color upgrade: Add a small amount of powdered concrete pigment to the mix if you want charcoal, terracotta, or sandy tones instead of plain gray. I’d keep the color subtle so the geometric pattern stays the star.
Surface texture: For a smoother, more refined finish, tap the molds a bit longer after pouring to bring air bubbles to the surface. For a more stone-like look, leave a little natural texture on the face that will show.
Reinforcement option: If your hexagon molds are on the larger side, press a small piece of galvanized wire mesh into the center of each pour for extra strength. Just keep it away from the edges so it doesn’t show after demolding.
Best mold choice: Use sturdier plastic organizers with straight sides and minimal taper. Thin, flimsy trays can bow under the weight of wet concrete and give you uneven pieces.
Cold-weather caution: Avoid pouring concrete when temperatures are near freezing. Like many good kitchen projects, this one rewards patience and the right conditions.
Layout tip: Dry-fit all the cured hexagons along the patio before you dig the full trench. It’s much easier to adjust spacing and decide where to cut the run short before the base is prepared.