
These DIY wood-grain stepping stones are one of those wonderfully simple projects that look far more expensive than they are. By pressing a textured rubber shoe tray into wet cement, you can create garden stones that mimic the look of weathered wood, but hold up much better outdoors. I love projects like this because they give a yard or walkway a little character without asking for a big budget.
If you want an easy weekend project that doesn’t require fancy tools or advanced masonry skills, this is a good one to try. I’d especially recommend it for anyone who enjoys practical outdoor projects and wants a handmade touch in the garden. As a parent, I also appreciate that the process is straightforward enough to break into small steps, so it fits nicely into a busy day.
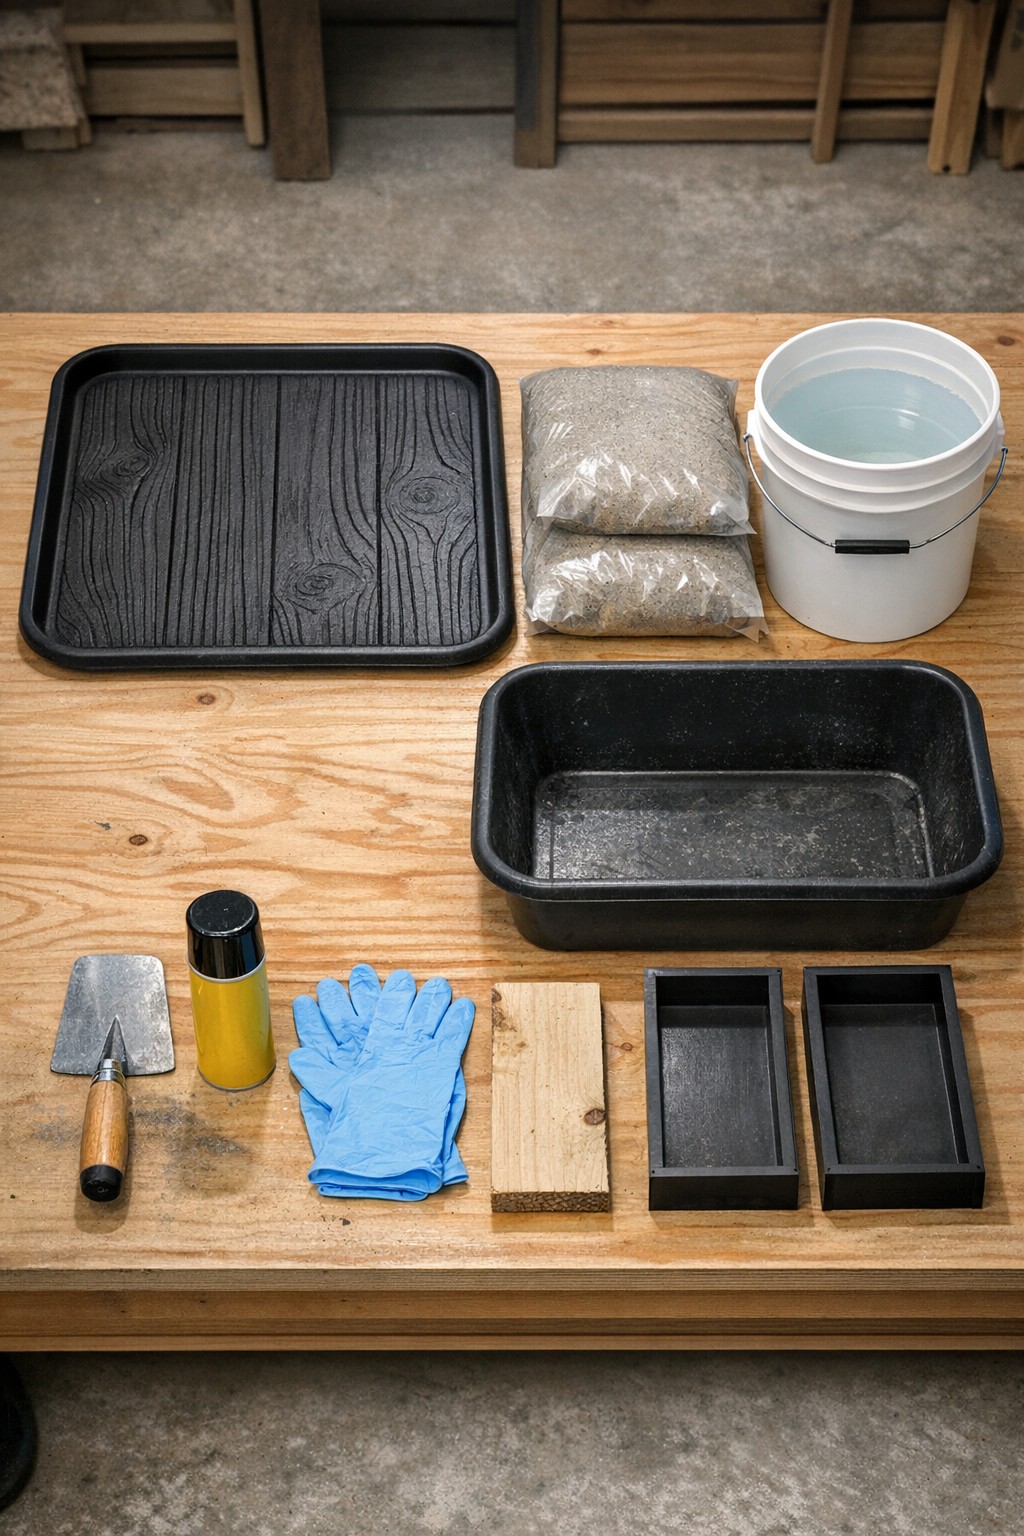
Materials
1 textured rubber shoe tray, approximately 14 x 28 inches
Instructions
1. Spread the tarp over a flat work area outdoors or in a garage, and set your molds on top so they sit level. A level surface helps every stone cure with an even thickness.
2. Clean the rubber shoe tray well and let it dry fully so the texture presses clearly into the cement. Spray the textured side lightly with cooking spray to help it release later.
3. Lightly coat the inside of each mold with cooking spray as well. This makes unmolding much easier once the slabs have set.
4. Pour concrete mix into the mixing tub and add water a little at a time, following the bag directions until it reaches a thick brownie-batter consistency. Mix thoroughly so there are no dry pockets.
5. Fill each mold with about 2 inches of wet concrete, then tap the sides of the molds several times to bring air bubbles to the surface. Smooth the tops with the trowel.
6. Let the concrete rest for a few minutes until the surface is no longer watery but still soft enough to take an impression. This short wait helps the pattern stay crisp instead of sinking too deeply.
7. Center the textured rubber shoe tray over one slab and press it down evenly with both hands. Press firmly enough to transfer the pattern, but not so hard that you hit the bottom of the mold.
8. Lift the tray straight up carefully to avoid smearing the pattern. Repeat with the remaining slabs, checking that each one has a clear wood-grain texture.
9. If any edge looks rough, tidy it gently with the trowel while the concrete is still workable. Don’t fuss too much; slight imperfections make these look more like real aged wood.
10. Leave the stones undisturbed to set according to the concrete mix directions, usually several hours to overnight. Once firm, remove the molds carefully.
11. Cure the stepping stones for at least 24 to 48 hours before placing them in the garden, and longer if your mix recommends it. Full curing gives them better strength for foot traffic and weather.
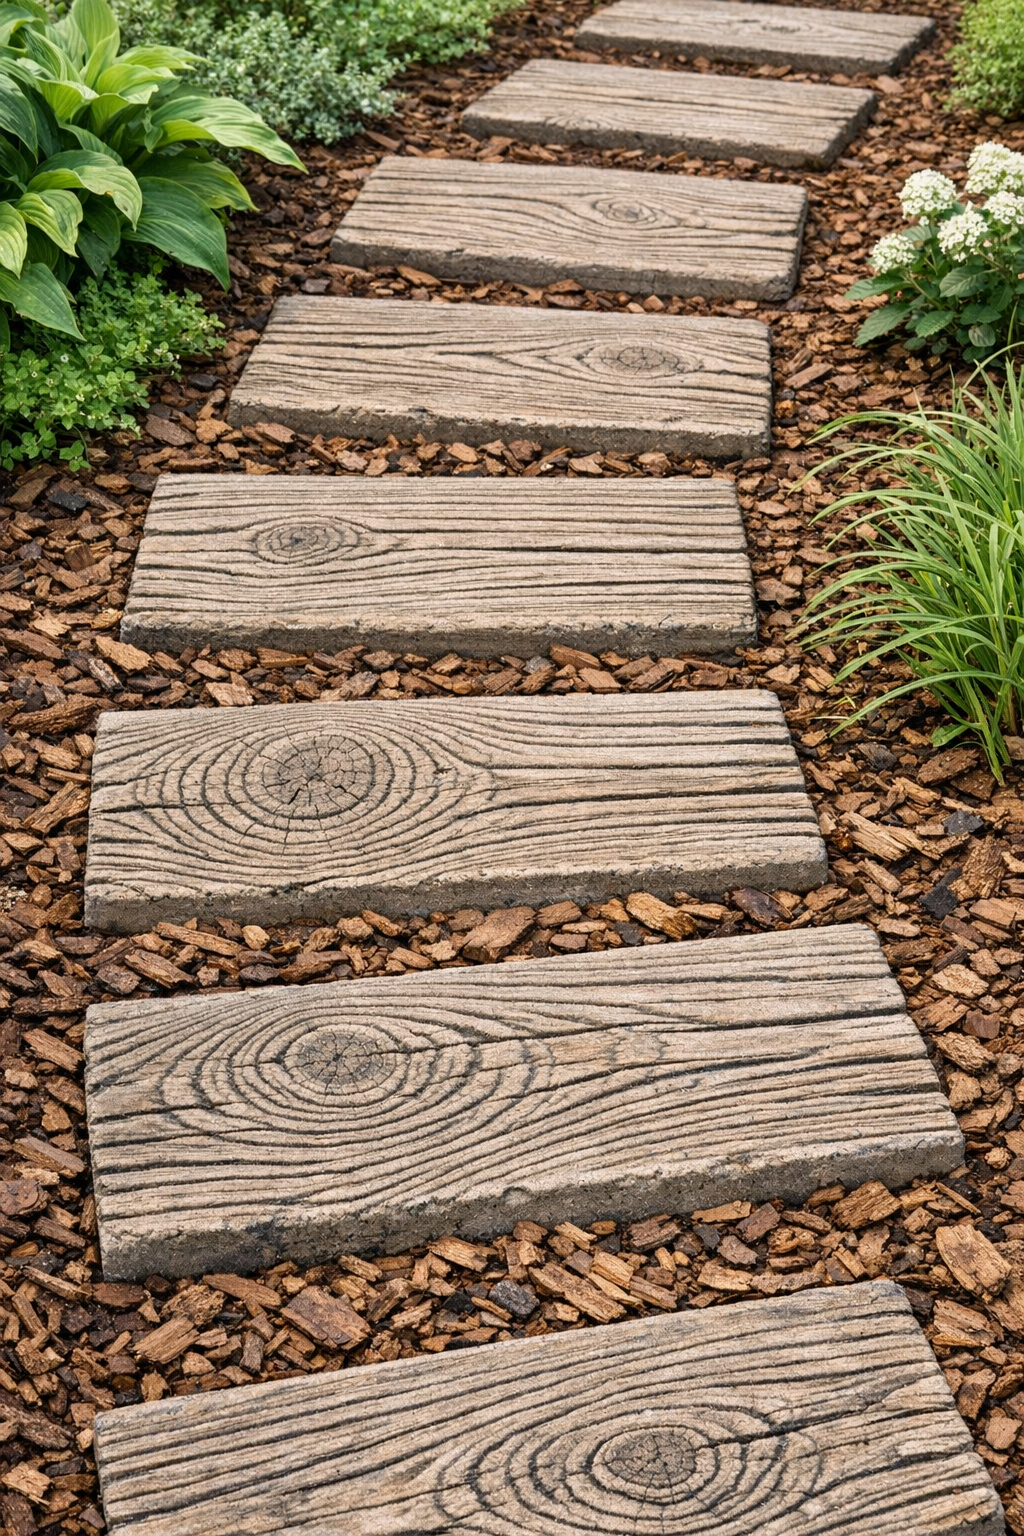
Variations & Tips
For a deeper grain pattern: Wait until the concrete is just beginning to firm up before pressing the tray. If the mix is too wet, the texture can soften when you lift the tray away.
For different stone shapes: Try square, round, or longer plank-style molds. The same tray texture works beautifully on several mold sizes.
For a more natural finish: After curing, you can lightly brush on diluted gray or brown concrete stain to mimic aged wood tones. I like subtle color best so the texture stays the star.
For easier placement: Set the finished stones into a shallow bed of sand or soil so they sit level in the garden. This helps keep them from rocking when someone steps on them.
For family-friendly success: Make one test stone first before mixing a big batch. It’s a simple way to learn how much pressure gives the nicest pattern, and it saves materials if you want to adjust your timing.