
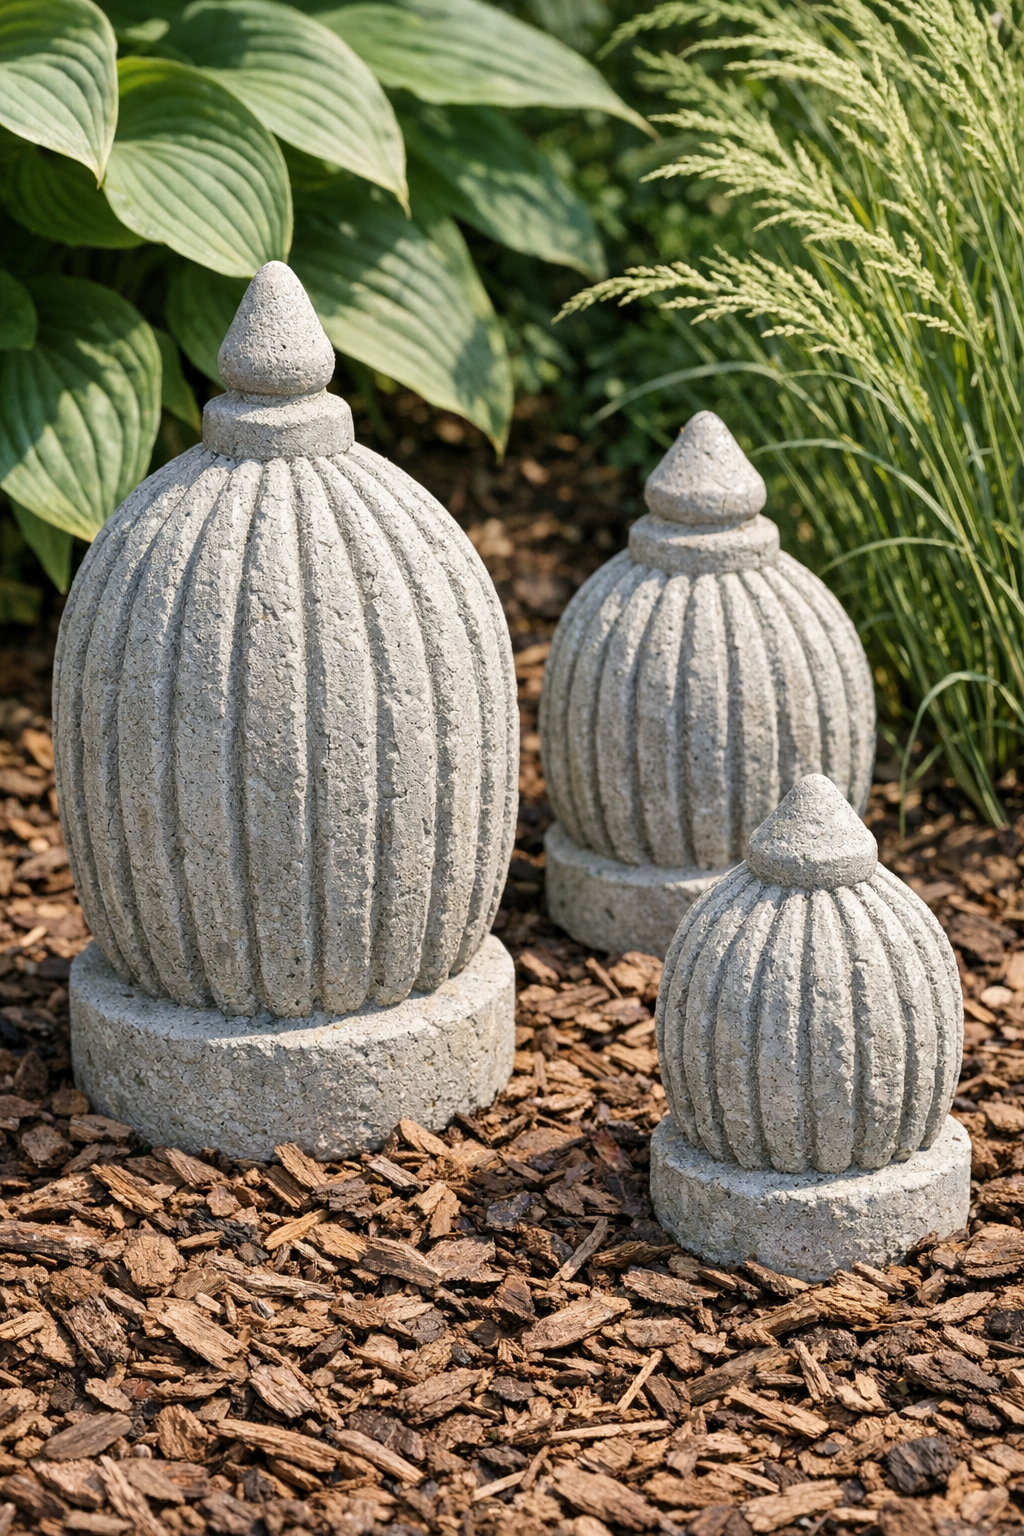
There’s something satisfying about turning a plain old plastic bottle into something that looks like it came from an old stone garden. These ribbed garden finials are made by pouring wet cement into empty water bottles, and once they cure and the plastic peels away, the ridges leave behind a texture that reminds me of carved stone you’d see on a weathered gatepost or tucked into a perennial bed.
I’m especially fond of projects like this because they use simple materials, don’t require fancy woodworking tools, and add a bit of old-fashioned character outdoors. If you enjoy garden décor with a sturdy, timeless look, this is a good beginner project that feels far more impressive than it is difficult.
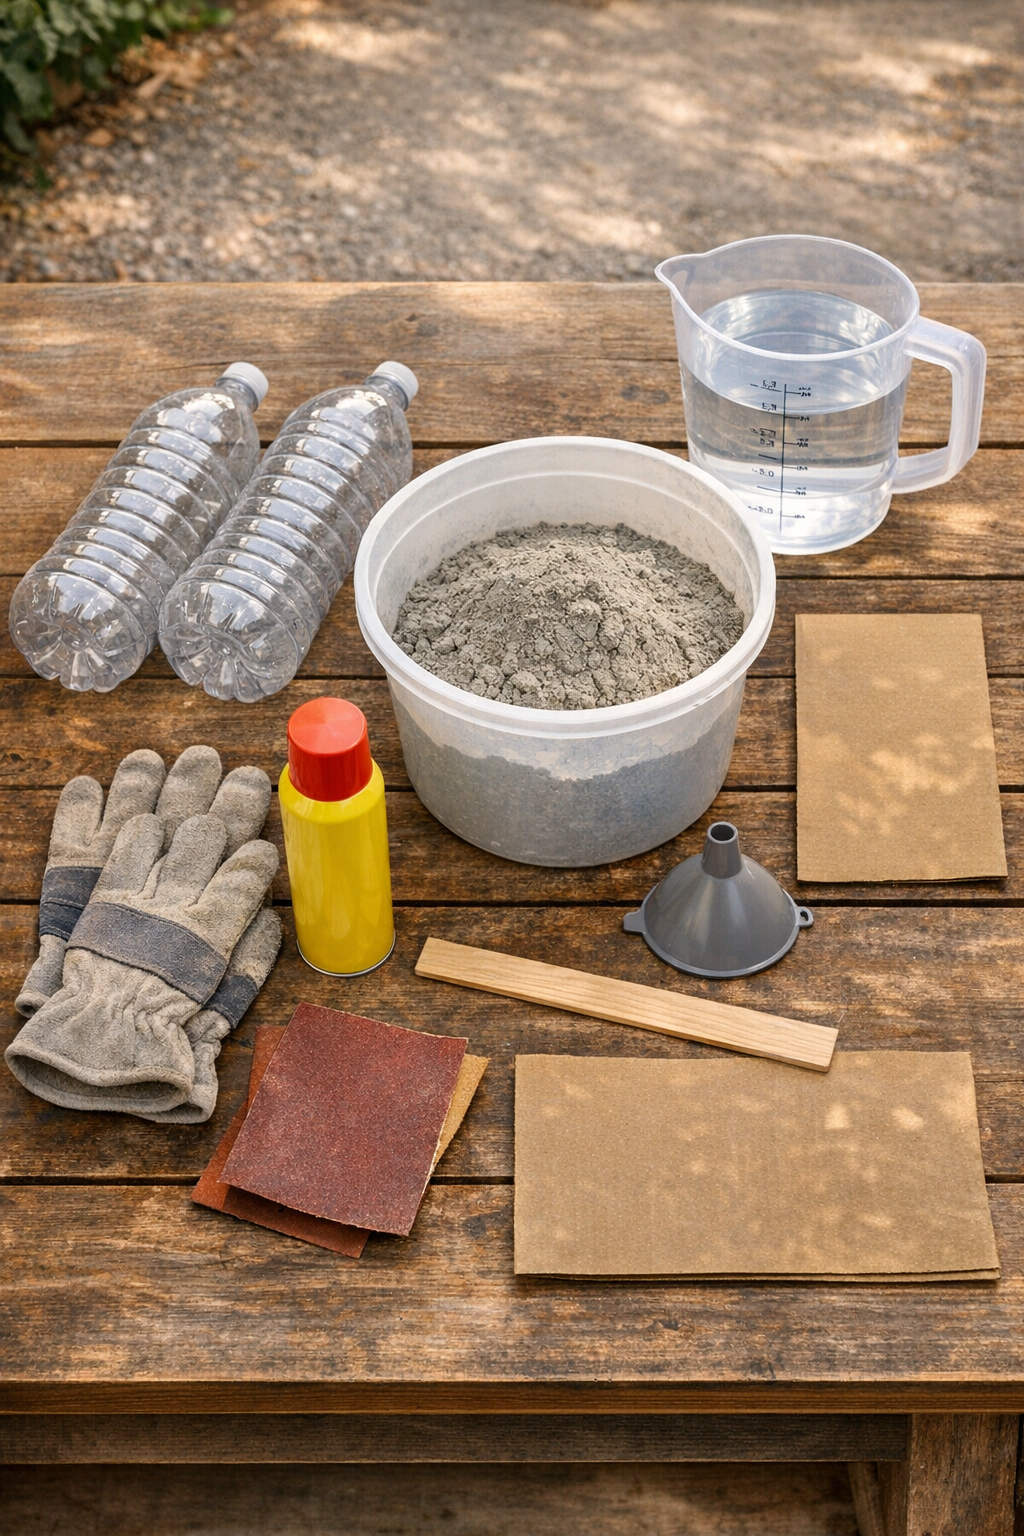
Materials
3 empty ribbed plastic water bottles, 16.9 ounces each, clean and dry
Instructions
1. Set up your work area on a flat surface with cardboard or a drop cloth, and put on gloves. I like to do this outside or in an open shed, where a little dust and splatter won’t matter.
2. Rinse and dry the water bottles thoroughly, then remove the caps and any loose plastic rings. If the bottles have labels, peel them off so the ribbed texture is fully exposed.
3. Lightly coat the inside of each bottle with a little cooking oil or nonstick spray, then tip and rotate to spread it. This small step makes it much easier to peel the plastic away later.
4. In the mixing bucket, combine the cement mix with water a little at a time until it reaches the texture of thick pancake batter or soft mashed potatoes. Stir well so there are no dry pockets hiding at the bottom.
5. Place a funnel in the first bottle and carefully spoon or pour in the wet cement, tapping the bottle gently on the table every few scoops to release air bubbles. Fill to within about 1 inch of the top.
6. If you want the finial to stake into the ground, press one dowel or piece of rebar into the center of the wet cement, leaving about 5 to 6 inches sticking out from the top end. Keep it centered so the finished piece stands nicely.
7. Repeat the filling process for the remaining bottles, then tap each one several more times and smooth the top opening with a stick or gloved finger. Stand them upright where they can stay undisturbed.
8. Let the filled bottles cure for at least 24 to 48 hours, or longer if the weather is cool and damp. Around here, I’ve learned not to rush concrete; patience is what gives you a strong piece instead of a crumbly one.
9. Once fully hardened, cut the plastic bottle carefully from top to bottom with a utility knife or heavy scissors and peel it away from the cement. Work slowly so you don’t chip the ridges you’ve just created.
10. Sand any rough edges at the top or bottom with medium-grit sandpaper, and let the finials continue curing another 2 to 3 days before placing them outdoors. If desired, brush on a coat of exterior stone sealer once the cement is completely dry.
11. Set the finished finials in the garden bed, group them near steps or a path, or press the exposed stake into the soil if you added one. They look especially handsome nestled among hostas, ornamental grasses, or old brick edging.
Variations & Tips
Taller finials: Use taller ribbed bottles, such as sparkling water bottles, for a more dramatic shape. Just be sure the bottle can stand upright securely while the cement cures.
Different cement finishes: For a smoother look, use a finer sand-topping mix; for a rougher, more aged appearance, use standard concrete mix with small aggregate. Both have their place, depending on whether you want elegant or rustic.
Antique patina: After curing, dab on watered-down gray, mossy green, or brown exterior paint and wipe most of it off. That little wash settles into the grooves and gives the finials the kind of age that usually takes years.
Cold-weather advice: If temperatures are low, let the pieces cure indoors in a garage or shed where they won’t freeze. Cement that freezes too early can crack before it ever gets a proper chance to harden.
Easy placement: If you skip the stake, nestle the finials halfway into mulch or soil to keep them steady. I also like setting them in clusters of three, because garden ornaments nearly always look more natural in a little gathering.
Safety tip: Wear gloves and avoid breathing cement dust while mixing. It’s a humble material, but it’s still hard on skin and lungs if handled carelessly.