
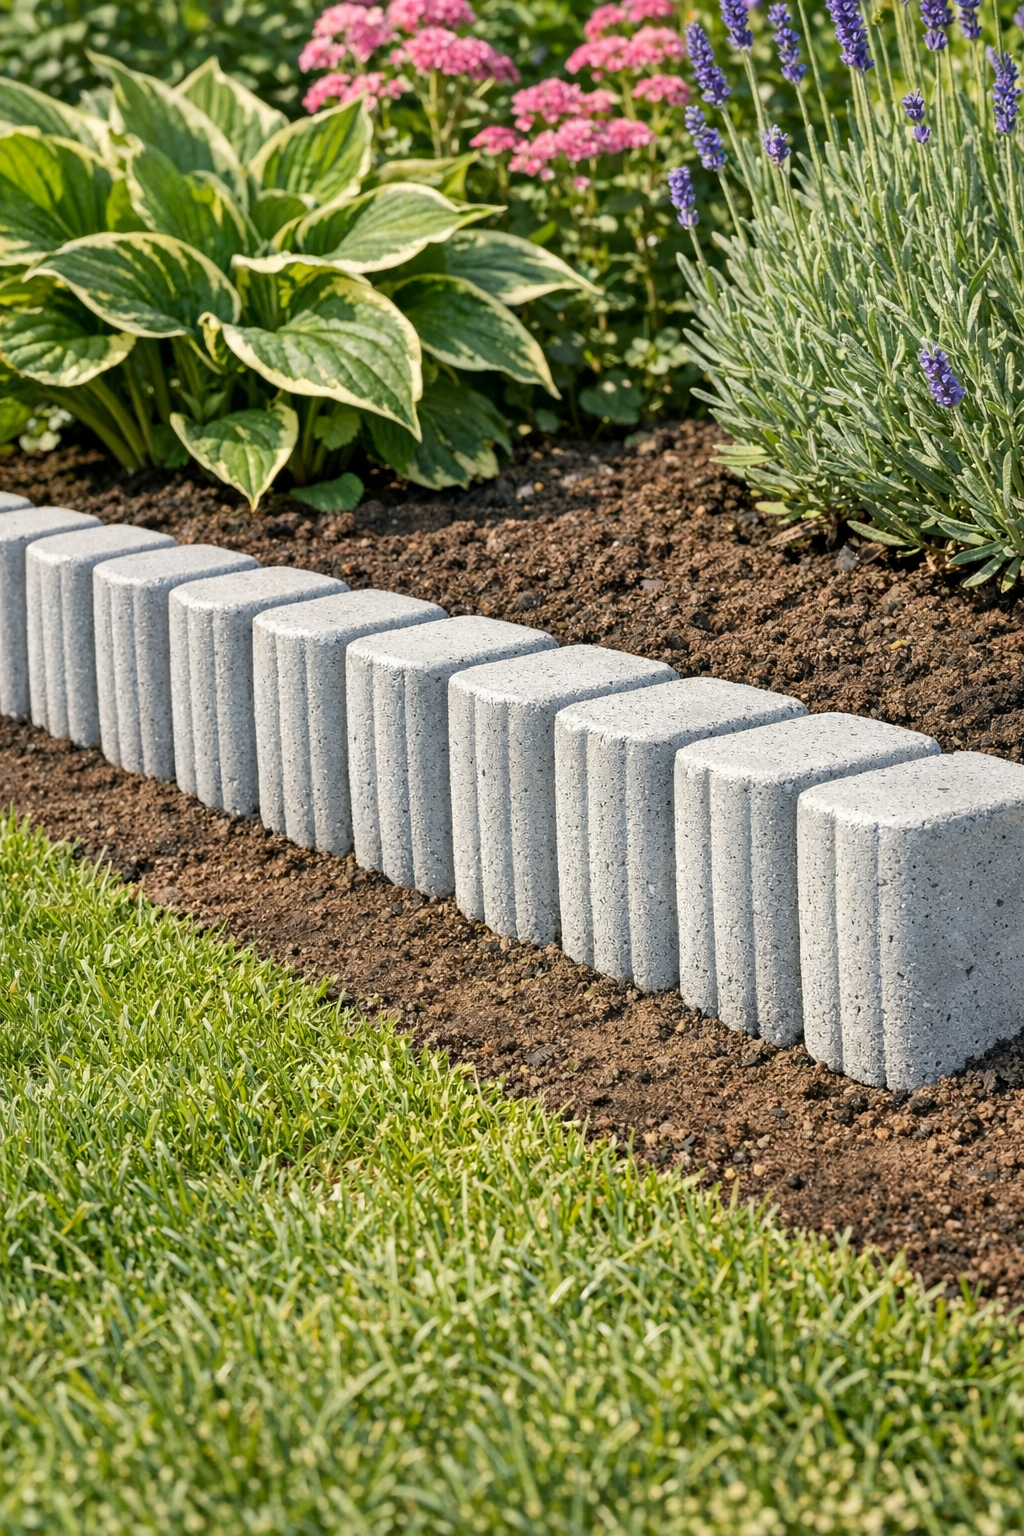
A ribbed garden border like this gives a flower bed or path a crisp, finished edge without the cost of store-bought concrete edging. Using standard plastic paint roller trays as molds is the kind of practical shortcut I love: the tray’s ridged base creates that neat, uniform texture for you, so the finished pieces look far more polished than the effort suggests.
If you want a weekend project that feels sturdy, useful, and surprisingly clever, this is a good one. I’d recommend it for anyone comfortable mixing a bag of concrete and lifting small pavers, whether you’re tidying up a vegetable bed, outlining a front walk, or giving a plain planting area a more intentional shape.
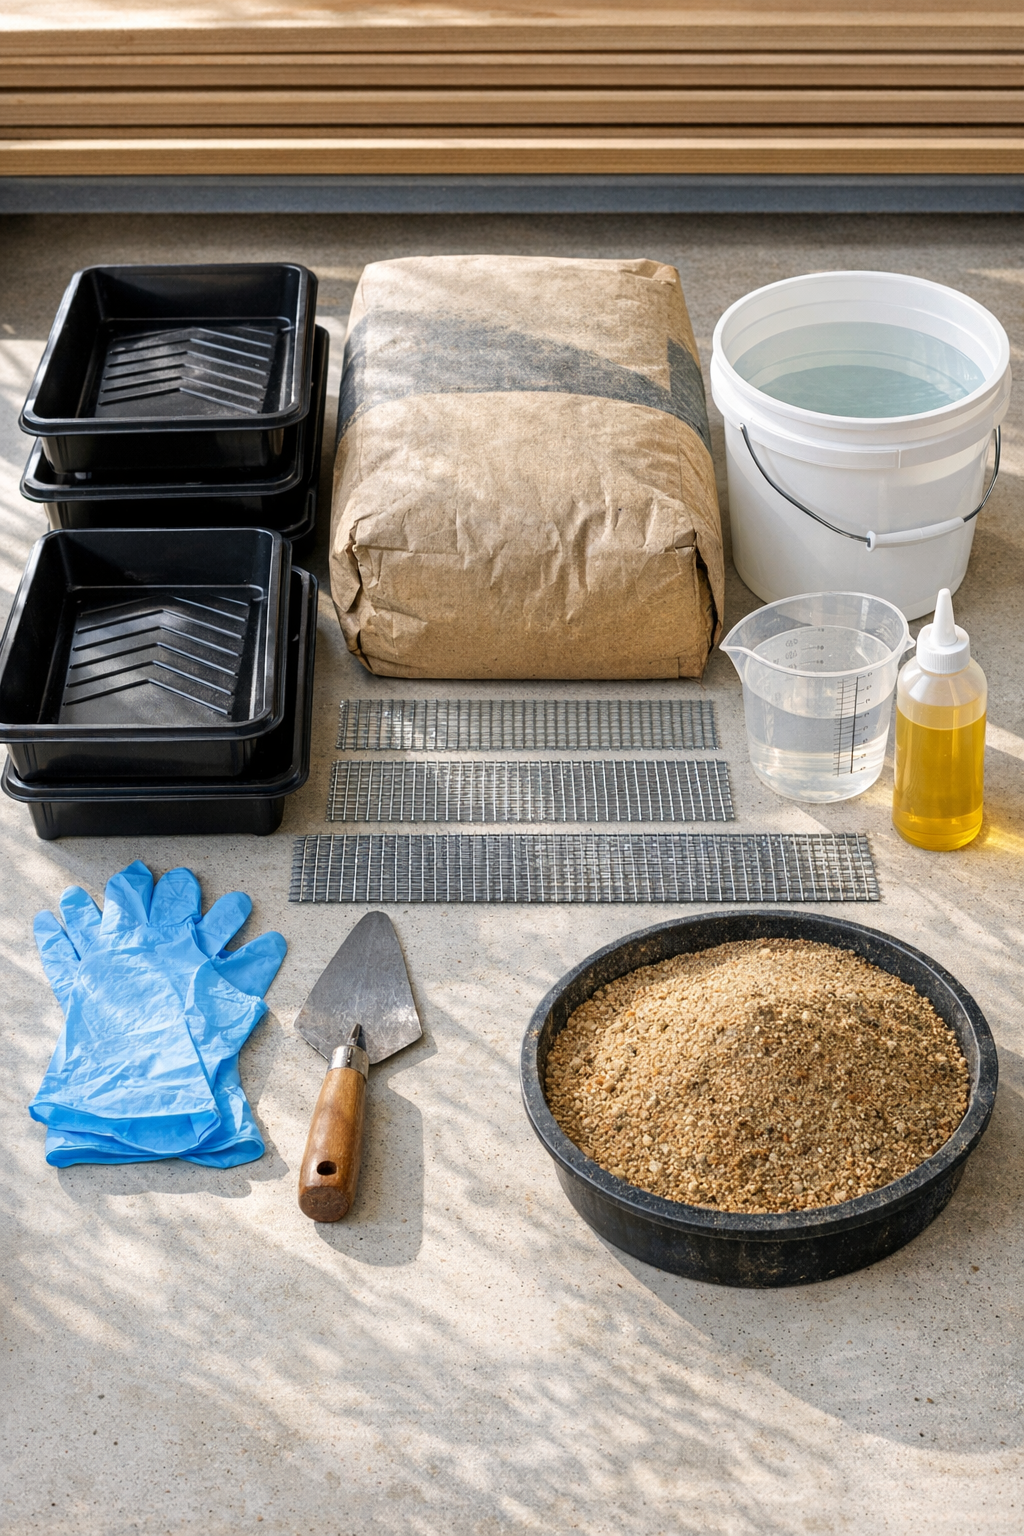
Materials
Instructions
1. Set the paint roller trays on a flat, sturdy surface outdoors or in a well-ventilated work area, and check that each tray sits level so the border pieces cure evenly.
2. Lightly coat the inside of each tray with vegetable oil or mold release, brushing into the ridges and corners to help the concrete release cleanly later.
3. Mix the concrete in a tub or bucket, adding water gradually until it reaches a thick, scoopable consistency similar to stiff oatmeal and holds its shape when troweled.
4. If you want colored edging, stir the concrete colorant into the wet mix thoroughly before filling the molds so the finished pieces are evenly tinted.
5. Fill each tray about halfway with concrete, pressing the mix into the ridges and corners with the trowel to remove trapped air.
6. Lay one wire mesh strip into the center of each tray, keeping it away from the edges so it will be fully covered and reinforce the finished border piece.
7. Add more concrete until each tray is full, then tap the sides of the trays several times and gently shake them to bring air bubbles to the surface.
8. Drag the scrap board across the top of each tray to screed off the excess, then smooth the back surface with the trowel so the pieces will sit steadily in the ground.
9. Let the trays sit undisturbed for 24 to 36 hours, or until the concrete is firm enough to demold without flexing or chipping.
10. Flex each plastic tray gently and turn it over onto a soft surface, then ease the concrete piece out slowly to avoid cracking the thinner edges.
11. Cure the demolded pieces for another 5 to 7 days in a shaded spot, lightly misting them once or twice a day for the first 2 days if the weather is hot or dry.
12. Dig a shallow trench along your garden bed, set the border pieces side by side with the ribbed face outward or upward as preferred, and backfill the soil firmly around them to lock them in place.
Variations & Tips
Color option: Add charcoal, terra-cotta, or stone-toned concrete pigment if you want the border to blend more naturally with brick, mulch, or existing hardscape.
Stronger pieces: Wire mesh makes a real difference here, especially if the border will be moved often or installed in freeze-thaw climates where unreinforced concrete can chip more easily.
Smoother demolding: Don’t skip the oil in the trays, and wait until the concrete is truly firm before unmolding; impatience is what usually causes broken corners.
Uniform sizing: Use identical roller trays from the same brand if possible, since even small differences in tray shape can make the border pieces look uneven once installed in a row.
Installation tip: I like to set the pieces into a thin bed of sand at the bottom of the trench when the soil is lumpy, because it makes leveling much easier and gives the line a cleaner, more professional look.
Weather watch: Avoid pouring in direct blazing sun or during rain; moderate temperatures help the concrete cure more evenly and reduce surface cracking.
Finishing touch: Once fully cured, brush on a light coat of exterior concrete sealer if you want a slightly richer color and easier cleanup around damp soil and mulch.