
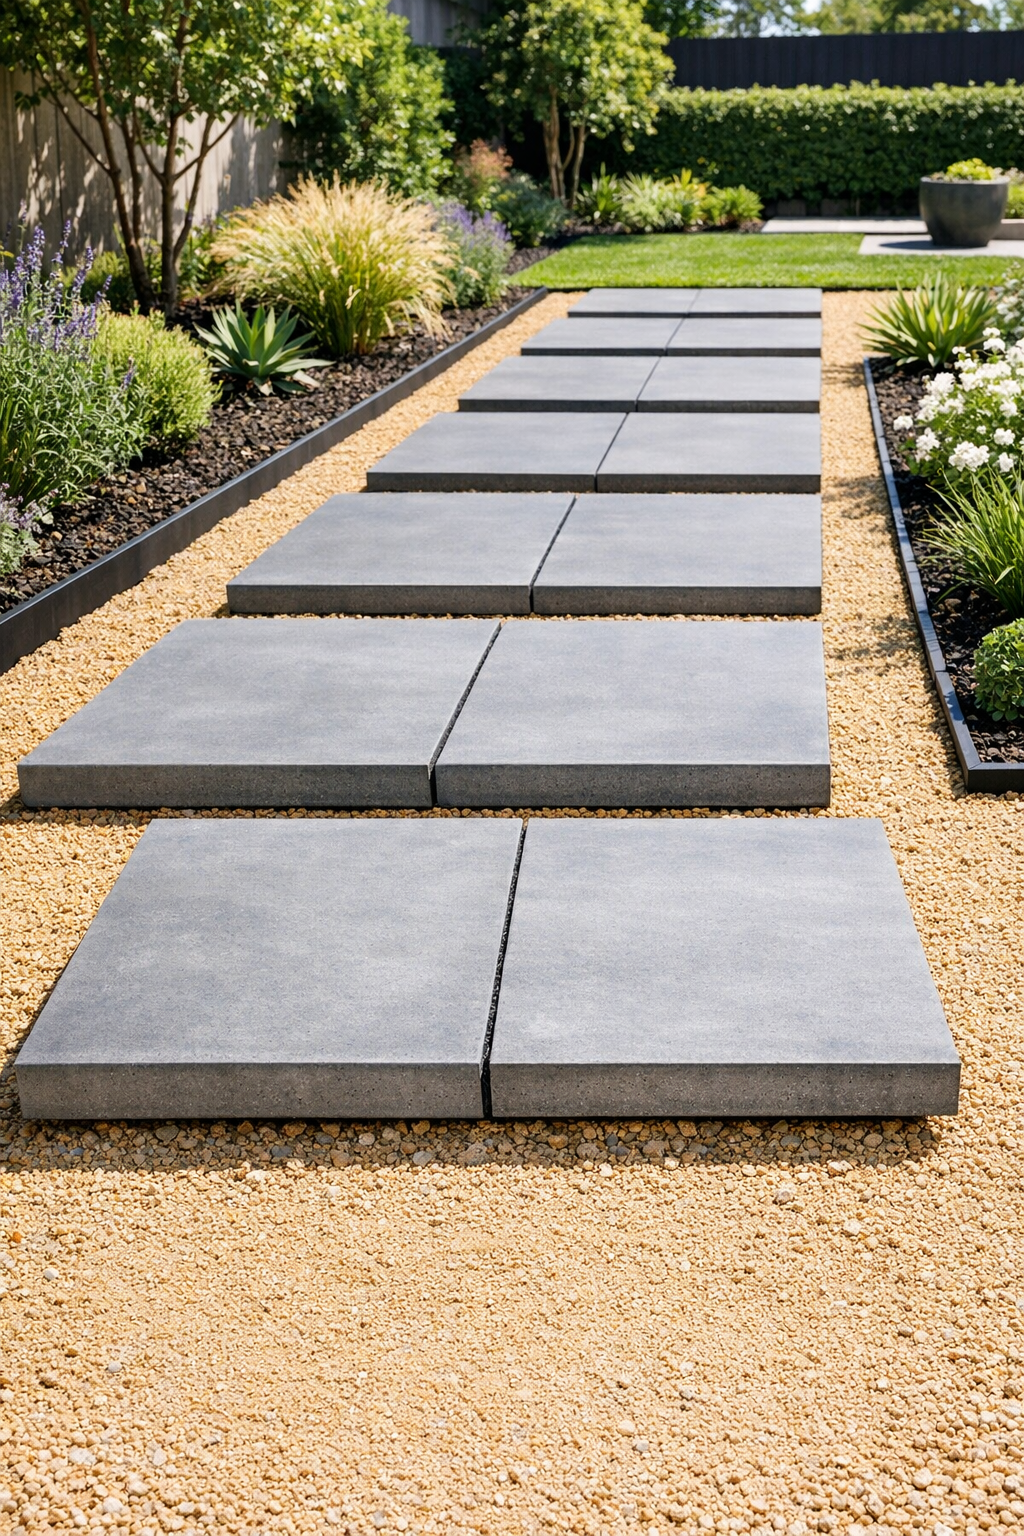
There’s something about a simple garden path that makes a whole backyard feel settled and cared for. This floating pathway uses square gray concrete pavers set over a smooth bed of decomposed granite, and the finished look has that clean, high-end style you usually see in magazine landscapes. I especially love that it’s practical as well as pretty, because it gives you a sturdy walking surface without pouring concrete or taking on a big masonry project.
Out where I live, we’ve always appreciated projects that are handsome, durable, and sensible with the budget, and this one checks every box. If you’re comfortable measuring, digging a shallow base, and taking your time leveling as you go, you can absolutely make this path yourself. It’s a wonderful weekend project for connecting a patio, garden gate, shed, or side yard in a way that looks polished and intentional.
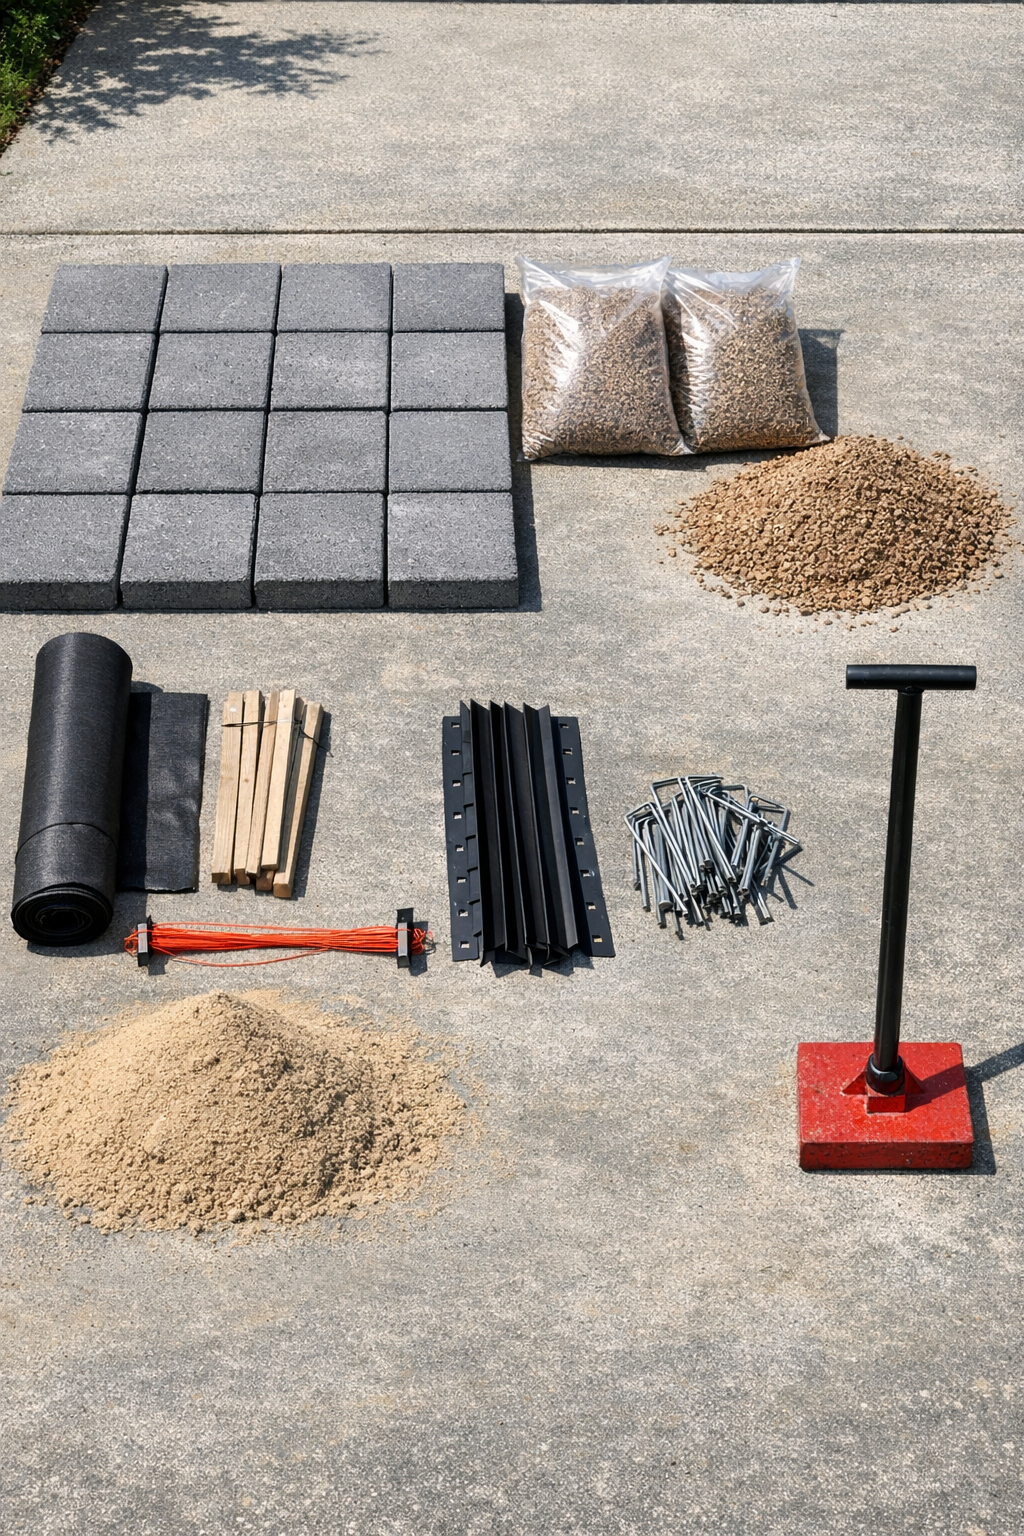
Materials
12 gray square concrete pavers, 24 inch x 24 inch x 2 inch thick
Instructions
1. Mark the pathway route with marking paint or flour, keeping the width at about 3 feet and the length sized to your space. Lay the pavers on top temporarily to test the spacing before you dig.
2. Measure the thickness of your pavers and plan for a finished height that sits about 1/2 inch above the surrounding soil. Dig out the path area 3 to 4 inches deep, removing grass, roots, and loose soil.
3. Rake the excavated area smooth and check that the path slopes slightly away from the house for drainage, about 1/8 to 1/4 inch per foot. Set stakes and string lines along the sides to guide your depth and final height.
4. Roll out landscape fabric across the full excavated area and trim it to fit. Secure it with landscape staples every 18 to 24 inches so it stays flat.
5. Install the landscape edging along both sides of the path, following the string lines. Stake the edging firmly so the decomposed granite stays contained and the path keeps its shape.
6. Spread about 2 inches of decomposed granite over the fabric and rake it evenly. Lightly mist it with water if it is very dry, then compact it thoroughly with a hand tamper.
7. Add a thin 1/4 to 1/2 inch layer of leveling sand where each paver will sit, then screed it smooth with a scrap board or trowel. Work in small sections so the surface stays even.
8. Set the first paver in place at one end of the path and press it down gently. Check it front to back and side to side with a level, then tap it with a rubber mallet until it is flat and steady.
9. Place the next pavers one at a time, keeping the gaps consistent at about 2 to 4 inches for that floating look. Use your string line and level often so the tops stay aligned and each stone feels solid underfoot.
10. Fill around and between the pavers with more decomposed granite, sweeping it into the gaps. Tamp lightly around the stones and add more granite as needed until everything is snug and level.
11. Walk the full path slowly and check for rocking or low corners. Lift and adjust any uneven paver with a little extra sand or by removing some base material underneath.
12. Sweep the surface clean, hose off any dust if needed, and dress the sides with soil, mulch, or low plants. Once the path settles for a few days, top up the decomposed granite in the joints if it has dropped.
Variations & Tips
Change the spacing: For a more modern look, leave wider gaps between the pavers and fill them with decomposed granite. For an easier stride, especially on a main walkway, keep the gaps narrower and more uniform.
Use a template first: I like to dry-lay the pavers before final installation because it saves fussing later. It reminds me of setting biscuits on a pan before they go in the oven; a little arrangement ahead of time makes the whole thing come out better.
Add planting between stones: If you want a softer cottage-garden look, tuck in low-growing thyme, dwarf mondo grass, or another step-tolerant ground cover in the gaps instead of filling them completely with granite.
Mind the drainage: If your yard holds water, dig a bit deeper and add an extra inch of compacted decomposed granite. A well-prepared base is what keeps a pretty path from turning troublesome after the first hard rain.
Keep edges crisp: Edging may seem like a small detail, but it gives the pathway that finished, expensive look. It also keeps the crushed stone from creeping out into the lawn over time.
Choose the right paver size: Large 24-inch squares create the cleanest floating effect, but 16-inch or 18-inch pavers also work well in tighter spaces. Just adjust your spacing so the path still feels balanced and easy to walk.
Refresh it seasonally: Every so often, sweep in a little extra decomposed granite and re-level any stone that shifts. Like a good old farm path, it stays at its best when you give it a bit of attention now and then.