
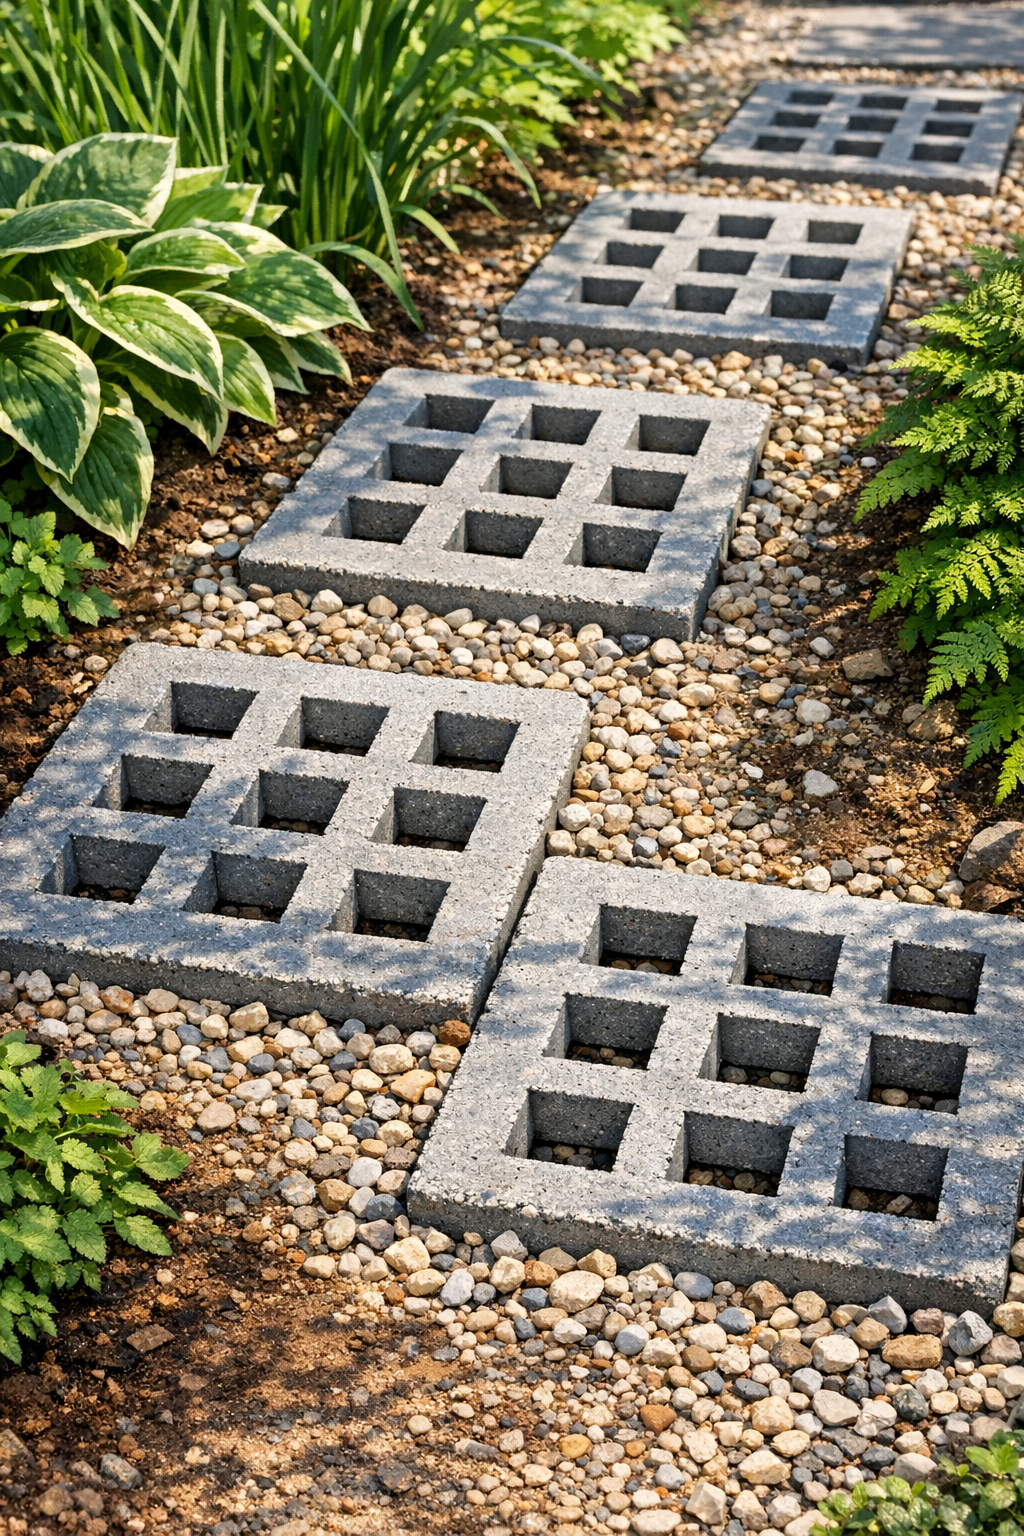
I love a weekend project that gives a garden a finished, intentional look without demanding fancy tools or a contractor-sized budget, and these lattice-style cement pavers do exactly that. By pressing a simple plastic dish drying rack into wet cement, you get a patterned stepping stone that looks surprisingly polished once it cures. It is one of those clever shortcuts that feels a bit like kitchen ingenuity wandered out into the yard, which is probably why I was so charmed by it.
This project is ideal if you want to create a path through mulch, grass, or a vegetable bed edge, and it is especially good for beginners because the pattern does most of the decorative work for you. I also appreciate that you can make several in one weekend, then set them in place for an instant garden upgrade that looks custom rather than improvised.
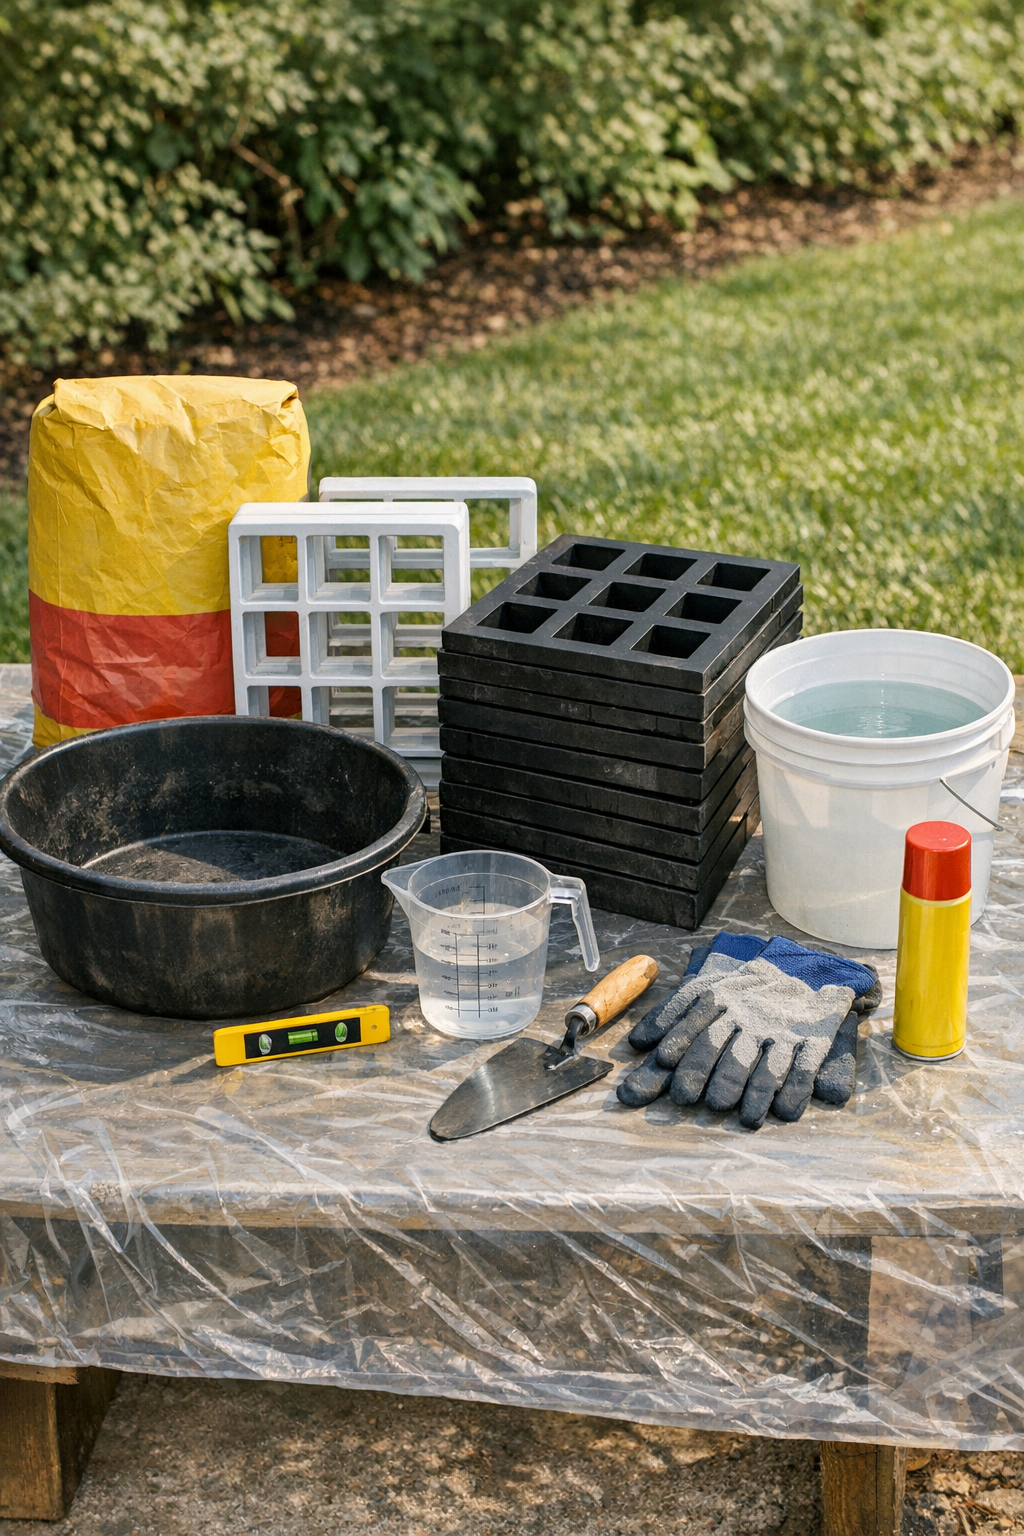
Materials
Instructions
1. Choose a flat, shaded work area and cover it with a plastic drop cloth so the molds can sit level while the pavers cure. Lightly coat the inside of each mold and the underside of each dish rack with cooking spray for easier release.
2. Pour the concrete mix into the mixing tub and add water gradually, stirring until it reaches a thick brownie-batter consistency. Mix only as much as you can place in 15 to 20 minutes so the concrete does not begin setting before you finish shaping it.
3. Fill each mold halfway, tap the sides to release air bubbles, then add more concrete until the mold is full to about 2 inches deep. Drag the wood scrap across the top to screed the surface level.
4. Let the filled molds rest for 5 to 10 minutes, just until the surface starts to lose its watery sheen but is still soft. This short wait helps the dish rack pattern hold its shape instead of sinking too deeply.
5. Center a plastic dish drying rack over each mold and press it straight down into the wet concrete about 1/2 inch deep. Press evenly with both hands so the lattice pattern transfers at a consistent depth across the whole paver.
6. Lift the dish rack straight up carefully after 30 to 60 seconds, or leave it in place for up to 5 minutes if the mix is still very soft. If any spots pull or smear, smooth them lightly with the trowel and re-press the rack once.
7. Clean the mold edges with the trowel and tap the sides again to settle the concrete. Check the top with a small level and adjust by pressing gently on any high corners.
8. Let the pavers cure in their molds for 24 hours without moving them. If the weather is hot or windy, lay plastic loosely over the tops to prevent the surface from drying too fast and cracking.
9. Remove the pavers from the molds and set them on a flat surface to continue curing for another 2 to 3 days. Handle them with both hands from underneath, because green concrete is stronger than it looks but can still chip at the edges.
10. Prepare the garden path by marking the layout and digging shallow spaces for each paver about 2 1/2 inches deep. Add 1 inch of pea gravel and 1/2 inch of sand to each spot, then level the base.
11. Set each cured paver into place, checking that the tops sit flush and stable. Add or remove a little sand under each one until they do not rock when stepped on.
12. Sweep soil, sand, or fine gravel around the edges and into the surrounding path so the pavers look integrated with the garden. Water the area lightly to help everything settle before using the path regularly.
Variations & Tips
Shape option: Use round plant saucers, cake pans, or rectangular bus tubs as molds if you want a less formal path. Just make sure every mold is sturdy and at least 2 inches deep.
Pattern depth: For a subtle texture, press the dish rack only 1/4 inch into the surface. For a bolder lattice look, go closer to 1/2 inch, but avoid pressing so deep that the paver becomes weak at the top.
Color variation: Add powdered concrete pigment to the dry mix before adding water if you want charcoal, terracotta, or warm stone tones. I find muted earth colors sit more naturally in a garden than bright shades.
Cleaner release: If the rack sticks, wait another minute before lifting it and make sure it is evenly coated with release spray next time. A straight upward lift gives a much sharper pattern than peeling it back from one side.
Durability tip: Let the pavers cure a full 7 days before placing them in a high-traffic area or rolling wheelbarrows over them. Concrete continues to strengthen as it cures, and patience here pays off.
Garden design idea: Space the pavers 2 to 4 inches apart and fill between them with creeping thyme, gravel, or mulch depending on the style of your beds. That little bit of negative space helps the lattice pattern stand out beautifully.