
Front-yard projects are my favorite kind of DIY when they make a big visual difference without turning into a full weekend construction marathon, and these glowing planter columns absolutely do that. This project uses stacked white cylinder planters, simple rope lights, and flat flagstone bases to create tall, modern garden accents that look polished in the daytime and softly illuminated at night.
I love this idea for anyone who wants their entry or garden bed to feel more intentional without pouring concrete or building custom columns from scratch. If you’re comfortable measuring, drilling a drainage or cord pass-through hole if needed, and stacking pieces carefully, you can make these in an afternoon and have the whole front yard looking brighter by evening.
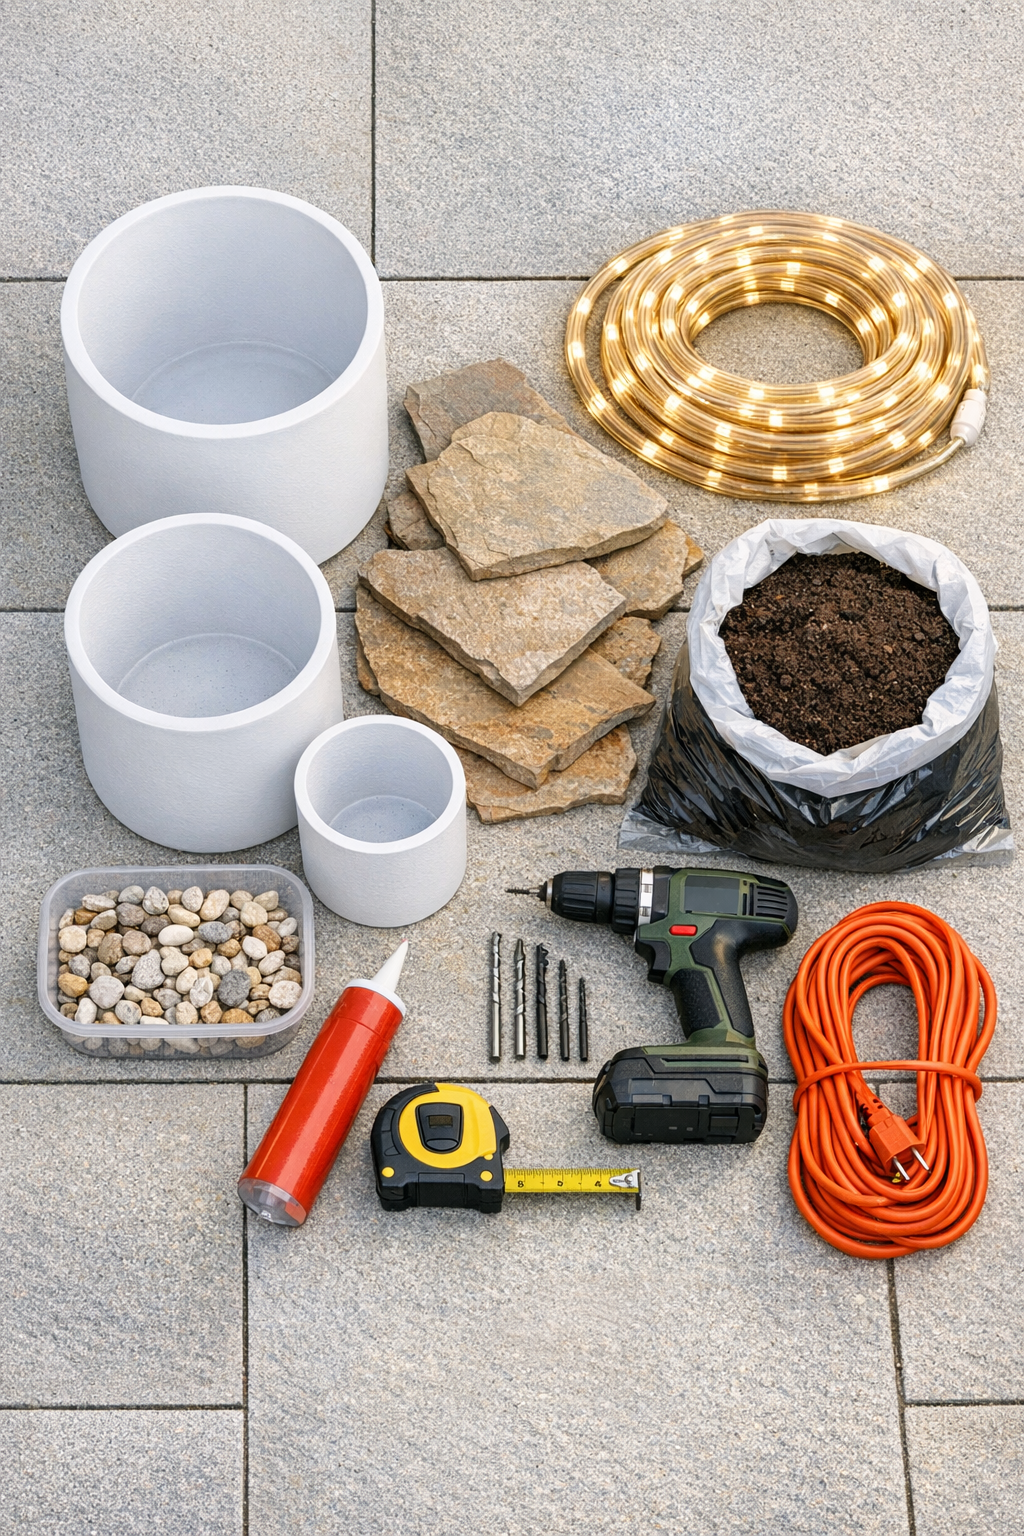
Materials
Instructions
1. Choose a flat spot in the garden or near the front walk, and test both column locations before you build anything. Leave enough room around each base so the finished planters won’t feel crowded once planted.
2. Set one flagstone paver at each location and shim or level the stone as needed so it doesn’t rock. A stable base matters more here than speed, because tall stacked planters will show any wobble right away.
3. Place the largest white cylinder planter centered on each flagstone and check that it sits evenly. If the planter has a raised bottom or uneven rim, rotate it until it feels most stable.
4. Add 2 to 3 inches of pea gravel to the bottom of each large planter for weight and drainage. If you want to reduce the amount of soil used, set an upside-down nursery pot or filler bucket in the center before adding gravel around it.
5. Feed the rope light into the first planter, starting near the back where the cord will be least visible. Coil the light around the inside wall or around the center filler support, securing it with zip ties or small pieces of weather-resistant tape so it stays in place.
6. Add enough potting mix around the light setup to hold everything steady, but keep the top 4 to 5 inches open for planting later. Leave the plug end accessible near the back or through a drainage opening so you can connect power once the stack is finished.
7. Run a bead of landscape adhesive around the top rim area of the large planter where the next planter will sit. Center a medium planter on top, press gently, and make sure it looks straight from all sides.
8. Repeat the lighting process inside the medium planter, using the remaining length of rope light to create an even glow higher up the column. Add a little gravel for weight if needed, then enough potting mix to stabilize the light and leave planting space at the top.
9. Apply another bead of adhesive and stack the small planter on top, keeping all three planters centered. Let the column rest for the adhesive’s recommended set time before adjusting it again.
10. Build the second column the same way, matching the height and planter alignment as closely as possible. Step back several feet and compare both columns so the pair looks balanced from the street.
11. Plant the top openings with simple fillers or trailing plants, then top each planter with white decorative stone to hide the soil and soften the look. I like keeping the planting restrained here so the clean column shape still stands out.
12. Plug the rope lights into outdoor-rated extension cords and connect them to a timer or smart plug. Tuck the cords behind the columns, switch the lights on at dusk, and make any last alignment tweaks before the adhesive fully cures.
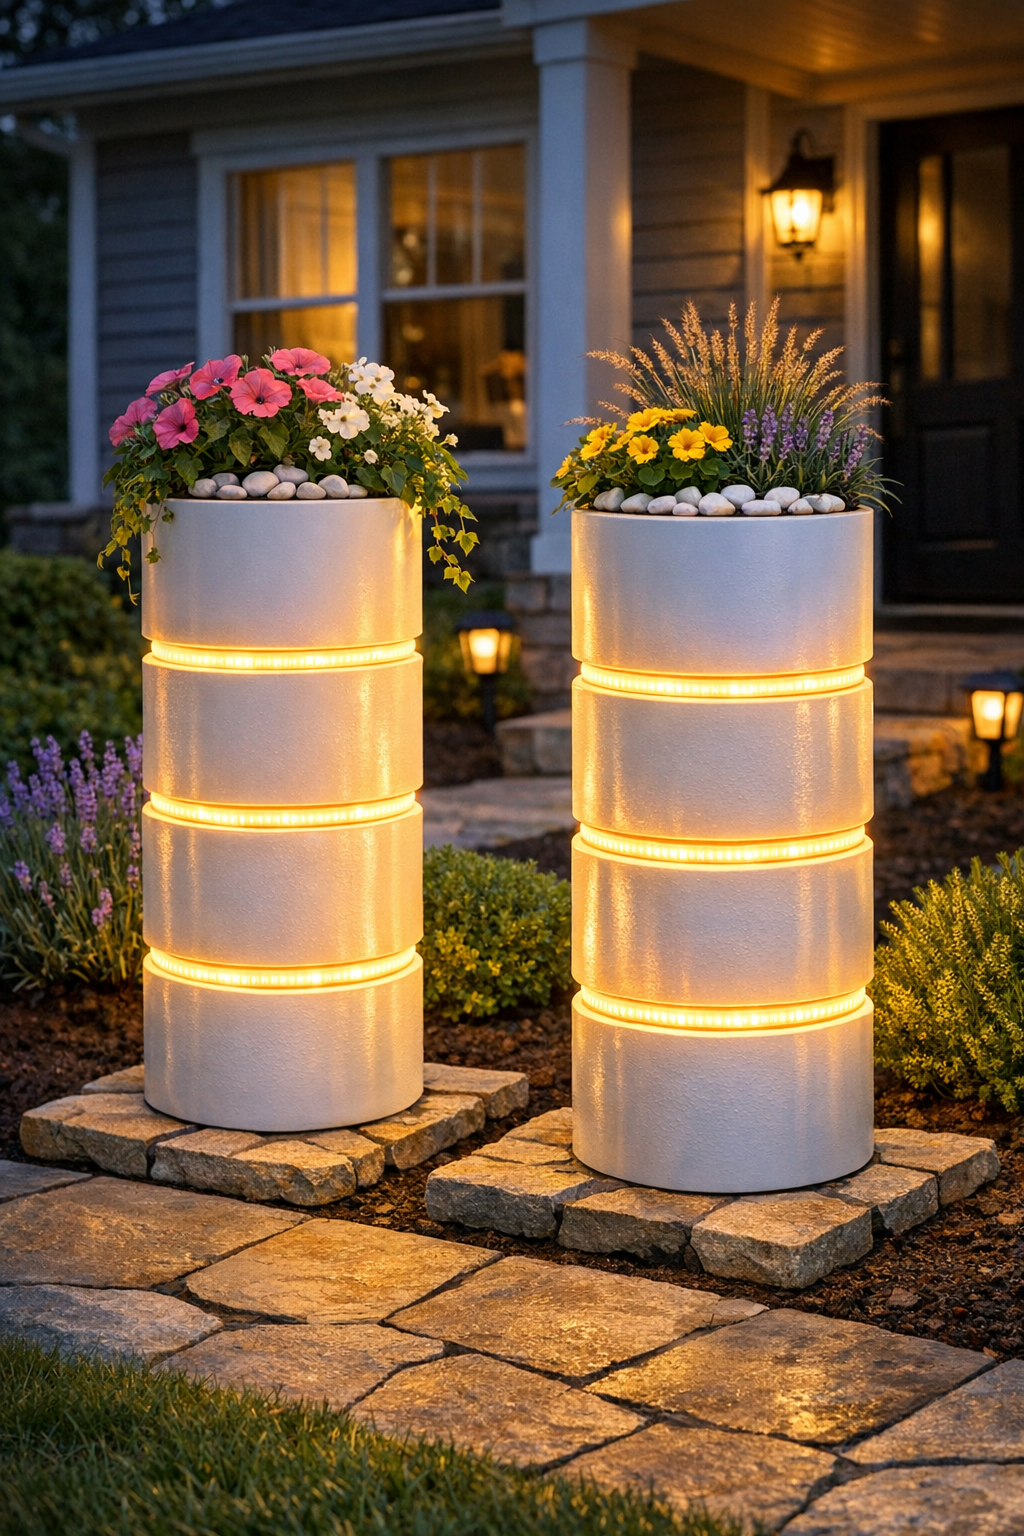
Variations & Tips
Use one statement column: If your front entry is narrow, make a single taller column instead of a pair. One well-placed glowing planter beside the steps can still make the whole area feel finished.
Choose the right plants: Shallow-rooted annuals, faux stems, or compact ornamental grasses work best because the rope lights and filler support reduce planting depth. I’d skip anything that needs a deep root zone.
Pick warm white lights: Warm white gives the nicest evening glow and feels more high-end than cool blue-toned light. It also blends better with porch lighting and most landscaping.
Hide cords early: Before you finalize placement, plan exactly where the extension cords will run. I usually angle the back of each column toward a mulch bed or foundation line so the cord disappears more easily.
Add weight for windy spots: If your front yard gets strong wind, increase the gravel in the bottom planter and use a wider flagstone base. A little extra weight makes these feel much more secure.
Try a seasonal refresh: These columns are easy to update through the year with different top plantings or fillers. In summer I’d use trailing greenery, and in fall I’d swap in ornamental kale, mini grasses, or even faux picks for quick curb appeal.