
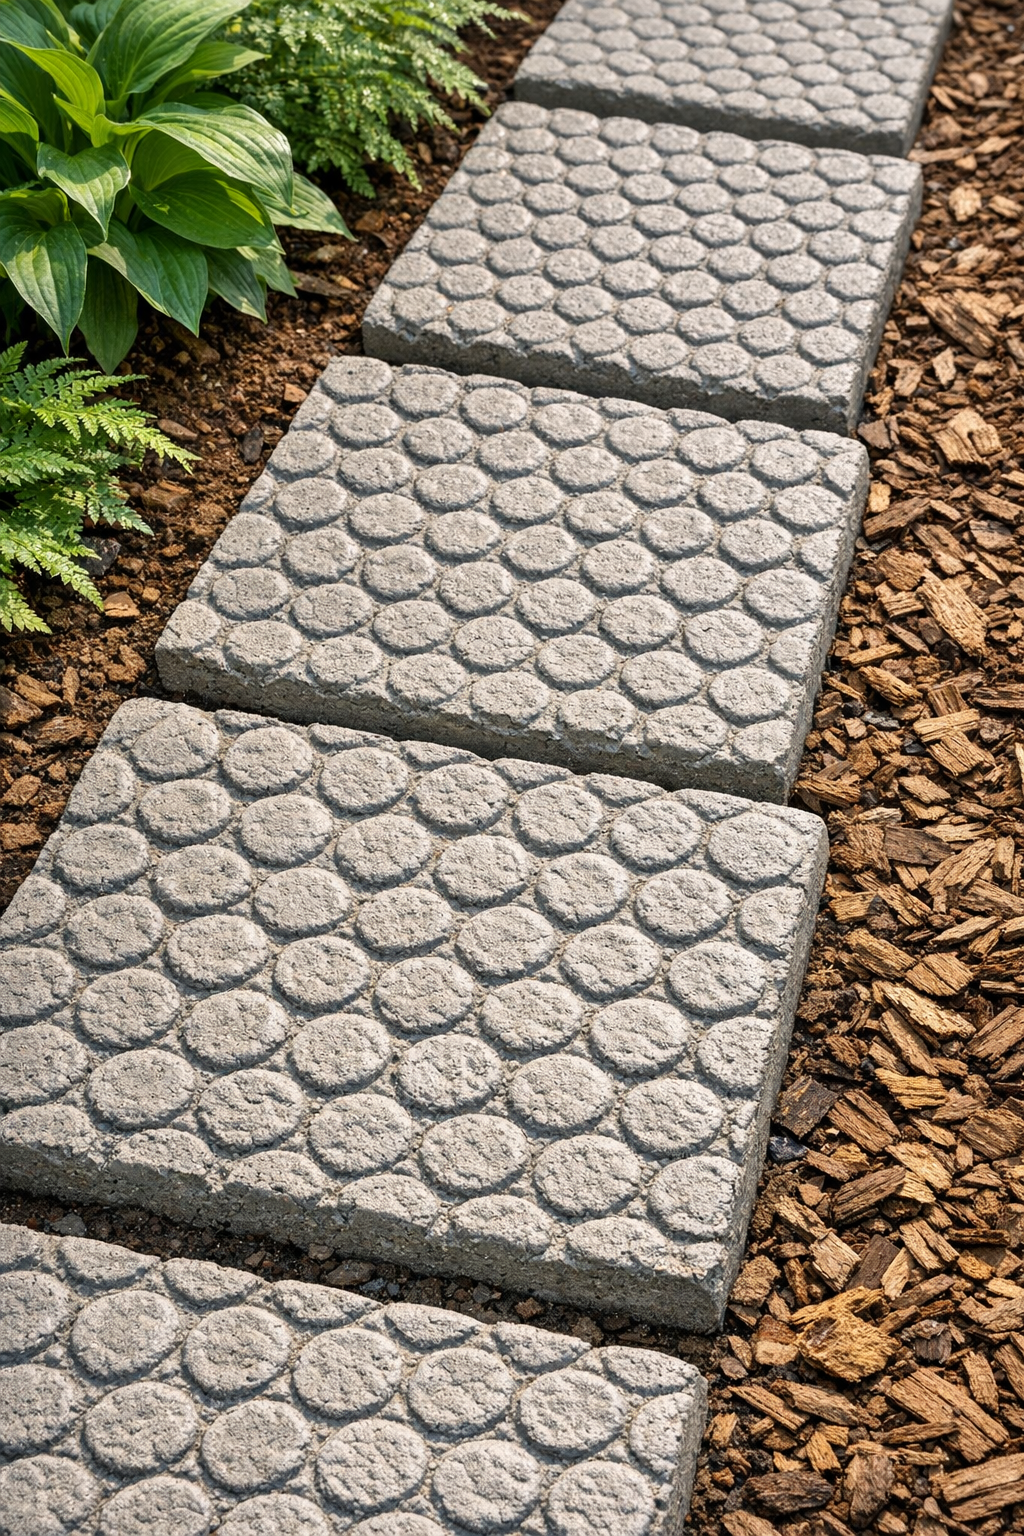
I love a garden project that looks high-end but starts with the most ordinary stuff, and this one absolutely fits that category. These quilted garden pavers are made by pressing plastic bubble wrap into wet cement, and the finished texture really does look a bit like carved stone or hand-chiseled tile. If you want a simple weekend project that adds charm to a walkway, herb bed, or side yard without spending a fortune, this is such a satisfying one to make.
As someone who is usually squeezing DIY time in between work and figuring out dinner, I appreciate projects that don’t require fancy tools or a full day of uninterrupted focus. These pavers are beginner-friendly, easy to batch out, and forgiving as long as you keep an eye on the cement consistency. Once they cure, they have that lovely textured, custom look that makes a garden feel much more intentional.
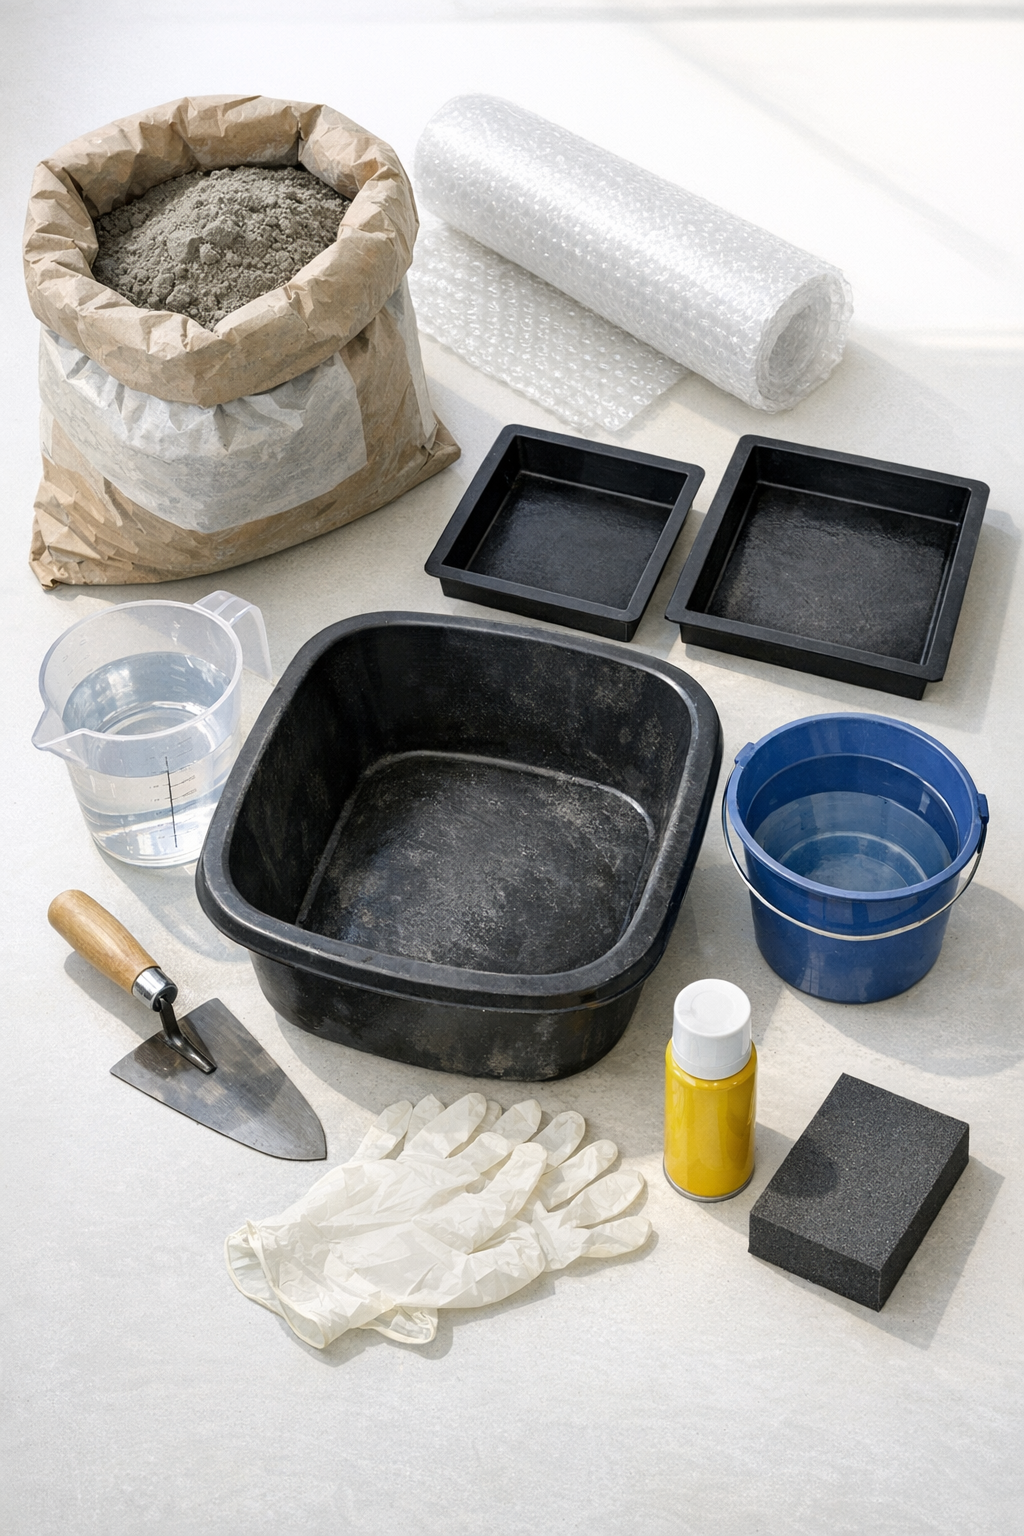
Materials
1 bag fast-setting concrete or sand-topping mix, 50 pounds
Instructions
1. Set up your work area on a flat surface outdoors or in a garage, and place the molds on a level board or table so the pavers cure evenly.
2. Lightly coat the inside of each mold with cooking spray or mold release, then cut bubble wrap pieces so they fit just inside the mold with the bubble side facing down later.
3. Pour the concrete mix into a mixing tub, add water a little at a time, and stir until it reaches a thick brownie-batter consistency that holds its shape without being dry or crumbly.
4. If you want tinted pavers, stir in the concrete colorant now and mix thoroughly so the color is even throughout the batch.
5. Fill each mold halfway with cement, tap the mold firmly on the table to release air bubbles, then add more mix until each mold is filled to about 1 1/2 inches thick.
6. Smooth the top with a trowel, which will become the bottom of the paver, and tap the sides again to settle the mix and reduce voids.
7. Lay one piece of bubble wrap on each mold with the bubble side touching the wet cement, and press it down gently and evenly with your hands so the pattern transfers without sinking too deeply.
8. Let the molds sit undisturbed until the cement firms up, usually 2 to 4 hours for fast-setting mix, then carefully peel back one corner of the bubble wrap to check that the texture has held.
9. Remove the bubble wrap completely once the surface can keep its shape, and leave the pavers in the molds for another 20 to 24 hours to harden.
10. Gently unmold the pavers, set them on a flat surface, and cure them for 5 to 7 more days, lightly misting once or twice a day if the weather is hot and dry.
11. Lightly sand any rough edges after curing, and brush off the dust so the pavers look clean and finished.
12. Place the pavers in your garden on compacted soil or a thin leveled layer of pea gravel, and seal them if you want extra stain and weather resistance.
Variations & Tips
Make them larger: Use 12-inch or 16-inch square molds if you want more of a statement path, but increase the paver thickness to at least 1 1/2 to 2 inches so they stay sturdy.
Try a more organic shape: Instead of square molds, use round plant saucers or irregular stepping stone molds for a softer garden look.
Use different bubble sizes: Small bubble wrap gives a tighter, more subtle stone effect, while large bubble wrap creates a bolder quilted pattern that reads more clearly from a distance.
Don’t overwater the mix: This is the biggest thing I watch for, especially when I’m rushing. If the cement is too wet, the bubble pattern will blur and the pavers can cure weaker than you want.
Batch your prep first: I like to cut all the bubble wrap and spray all the molds before mixing cement, because once the water goes in, the clock starts ticking and everything moves faster.
Dress up the finish: After curing, you can dry-brush a little masonry stain or diluted exterior paint over the high spots for an aged stone look, then seal it well for outdoor use.
Plan for placement: These work best in lower-traffic garden areas, between raised beds, or as decorative stepping stones rather than in a driveway or heavily loaded path.