
This project turns those lightweight orange trick-or-treat pumpkin pails into chunky, faux-stone porch decor that looks far more expensive than it is. I love a fall project that feels high impact without eating up my whole weekend, and this one checks every box: inexpensive, easy to customize, and sturdy enough to hold its own on a front step.
As someone who is usually squeezing creative projects in between work deadlines and figuring out dinner, I really appreciate decor hacks that don’t require specialty tools or advanced skills. If you want the look of weathered concrete pumpkins without hauling home real stone pieces, this is a very doable way to get that viral look with basic supplies and a little drying time.
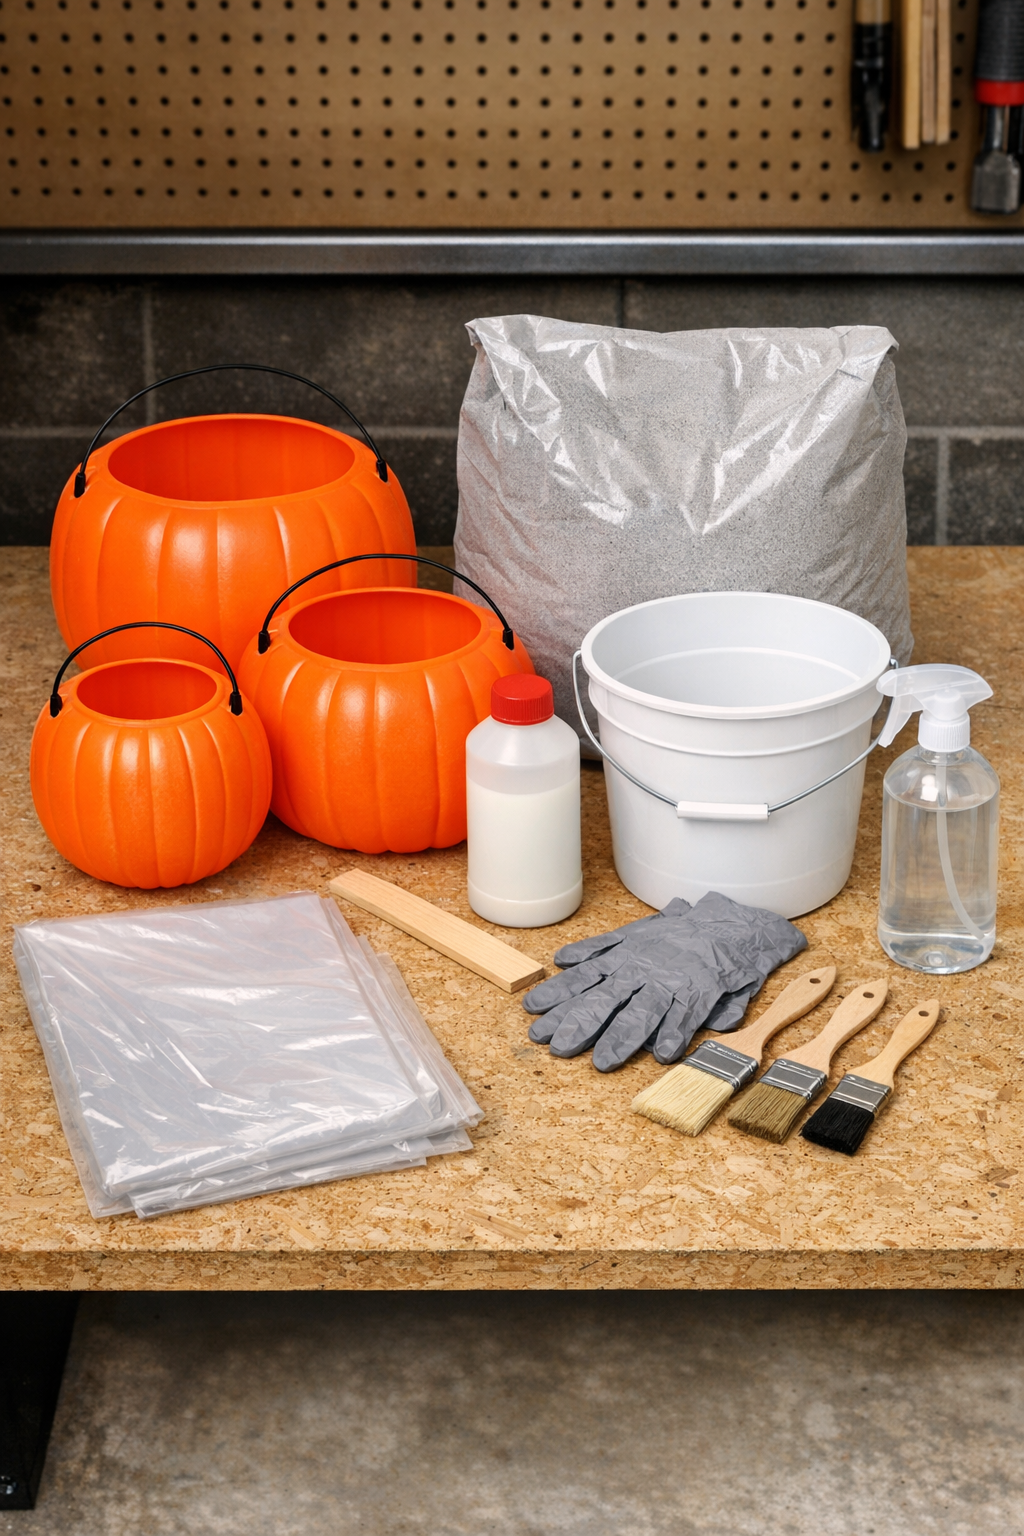
Materials
3 bright plastic pumpkin trick-or-treat pails, assorted sizes from 8 inches to 12 inches tall
Instructions
1. Cover your work surface with the drop cloth and set each pumpkin pail upside down on a wood block or cup so you can coat the outside without it sticking to the ground.
2. Wipe the pails clean and dry them fully, then lightly scuff the outside surface with 120-grit sandpaper so the cement mix has a better surface to grip.
3. In the bucket, combine the gray patching mix with the bonding additive and enough water to make a thick, scoopable paste that resembles brownie batter or thick frosting.
4. Put on gloves and use your hands or a chip brush to spread a generous coat of the cement mixture over the outside of one pumpkin pail, covering the handle attachments and working it into the molded ridges.
5. Keep the first coat about 1/4 inch thick, and don’t worry if some orange still peeks through in places because the second coat will cover and build the stone look.
6. Repeat the coating process with the remaining pails, then let them sit for 30 to 45 minutes until the surface firms up and is no longer shiny-wet.
7. Apply a second coat anywhere the plastic shows through, using a chip brush or gloved fingers to dab and stipple the surface so it looks rough and stone-like instead of perfectly smooth.
8. If the mix starts drying too quickly while you texture it, mist the surface lightly with water from the spray bottle to keep it workable for a few extra minutes.
9. Let the pumpkins cure undisturbed for 24 hours, then check for any sharp drips or rough lumps and sand them lightly once fully dry.
10. Brush off all dust and apply a light coat of matte outdoor sealer over the entire surface to help protect the finish from moisture on a covered porch.
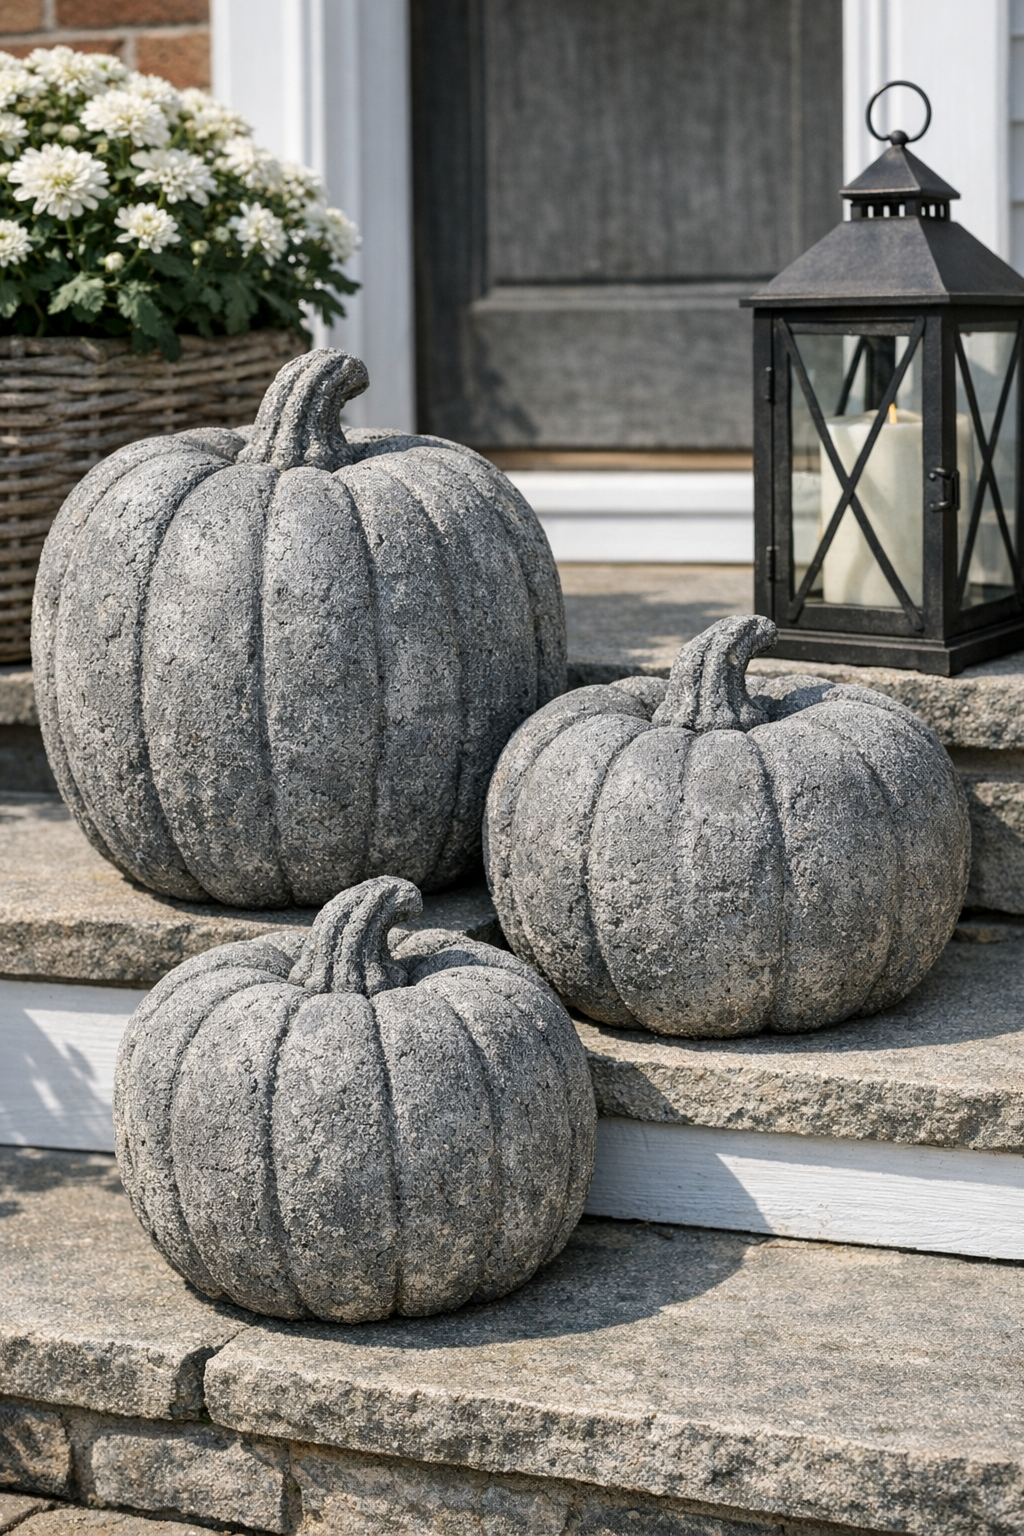
11. Let the sealer dry completely, then style the pumpkins on your porch steps, by a planter, or next to a lantern for that heavy faux-stone look without the actual weight of solid concrete.
Variations & Tips
Use mixed sizes: I like grouping at least three pails in different sizes because the finished display looks more intentional and expensive, kind of like something you’d spot outside a boutique.
Try a softer stone finish: For a smoother cast-stone look, brush the second coat more evenly and skip some of the stippling texture.
Add age with color: Once the cement is fully cured, you can dry-brush a little watered-down black, taupe, or mossy green outdoor paint into the crevices for an older garden-stone effect.
Keep them on a covered porch: Since the base is still plastic, I treat these as seasonal decor and place them where they won’t get soaked by every rainstorm.
Work in small batches: If you’re making several pumpkins, mix only enough cement for one or two at a time so it stays thick and workable instead of hardening in the bucket.
Don’t skip the bonding additive: This is the little extra step that helps the cement grip the plastic better, and it makes the whole project feel much less temporary.