
I love a backyard project that makes people want to linger a little longer, and this sunken-style fire pit seating area does exactly that. By laying curved concrete retaining wall blocks in a circle around a pea gravel center, you can create a cozy gathering spot that feels polished without taking on a huge construction job. It has that “how did this yard get so inviting?” look, but the process is very doable if you take it one step at a time.
This is a great project for families, first-time hardscaping DIYers, or anyone who wants a low-maintenance place to sit around a fire, roast marshmallows, and enjoy cool evenings outdoors. I’m always looking for ways to make our backyard more welcoming for friends and neighbors, and this kind of simple circular layout gives you a finished look with materials that are easy to find at most home improvement stores.
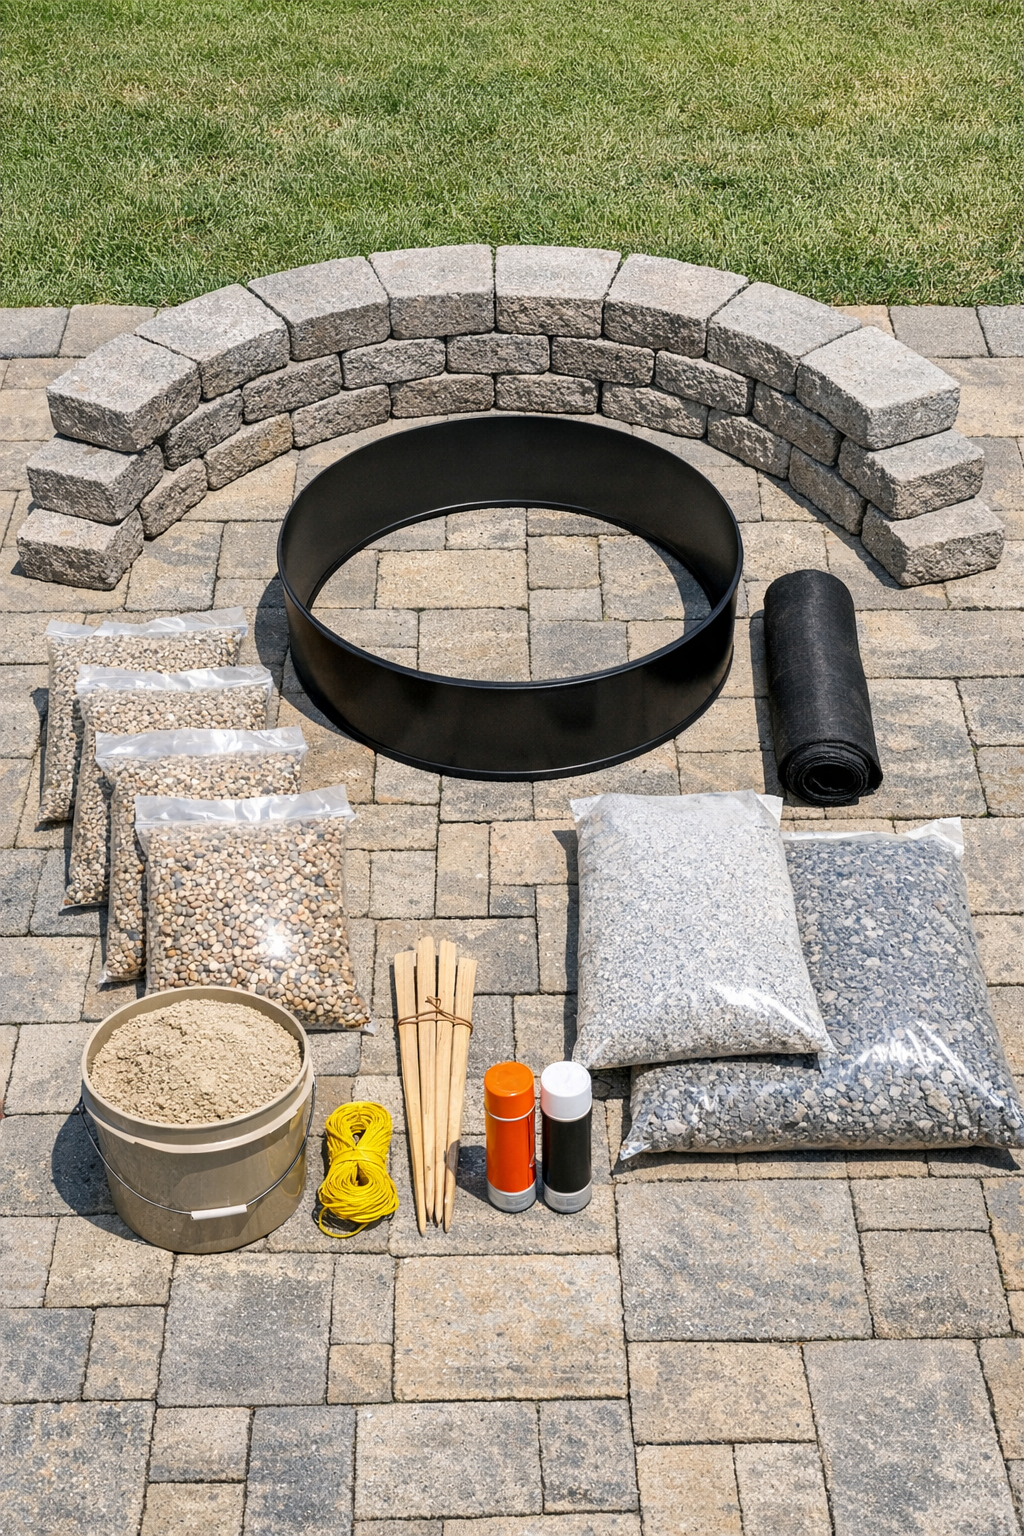
Materials
36 curved concrete retaining wall blocks, 12 inches wide each, for a 10- to 12-foot seating circle
Instructions
1. Choose a level spot on your patio edge or in the backyard where you have plenty of clearance from structures, trees, and fences. Check local fire safety rules before you begin so your finished fire pit area is both cozy and safe.
2. Mark the center of your circle with a stake and use string and marking paint to outline a 10- to 12-foot diameter seating area. In the middle of that, mark a smaller inner circle for the fire pit, usually 3 to 4 feet across.
3. Remove the grass and top layer of soil from the large circle to a depth of about 4 inches, and dig the fire pit center slightly deeper if you want that sunken look. Rake the area smooth and keep checking that the base stays as level as possible.
4. Add landscape fabric across the excavated area and secure it with landscape spikes. This extra step helps keep weeds down and keeps the gravel area looking tidy over time.
5. Pour in 3 inches of paver base over the seating ring and inside the center area, then spread and tamp it firmly. Add a thin 1-inch layer of leveling sand on top where the retaining wall blocks will sit.
6. Set the first row of curved retaining wall blocks around the outer circle, fitting them tightly together as you go. Adjust each block so the tops line up evenly and the curve stays smooth and consistent.
7. If you want taller seating, add a second course of blocks, staggering the joints over the first row for strength. Use landscape block adhesive between rows if recommended by the block manufacturer.
8. Place the metal fire ring in the center circle and make sure it is centered and level. Leave enough space between the fire ring and the seating wall for safe foot traffic and comfortable leg room.
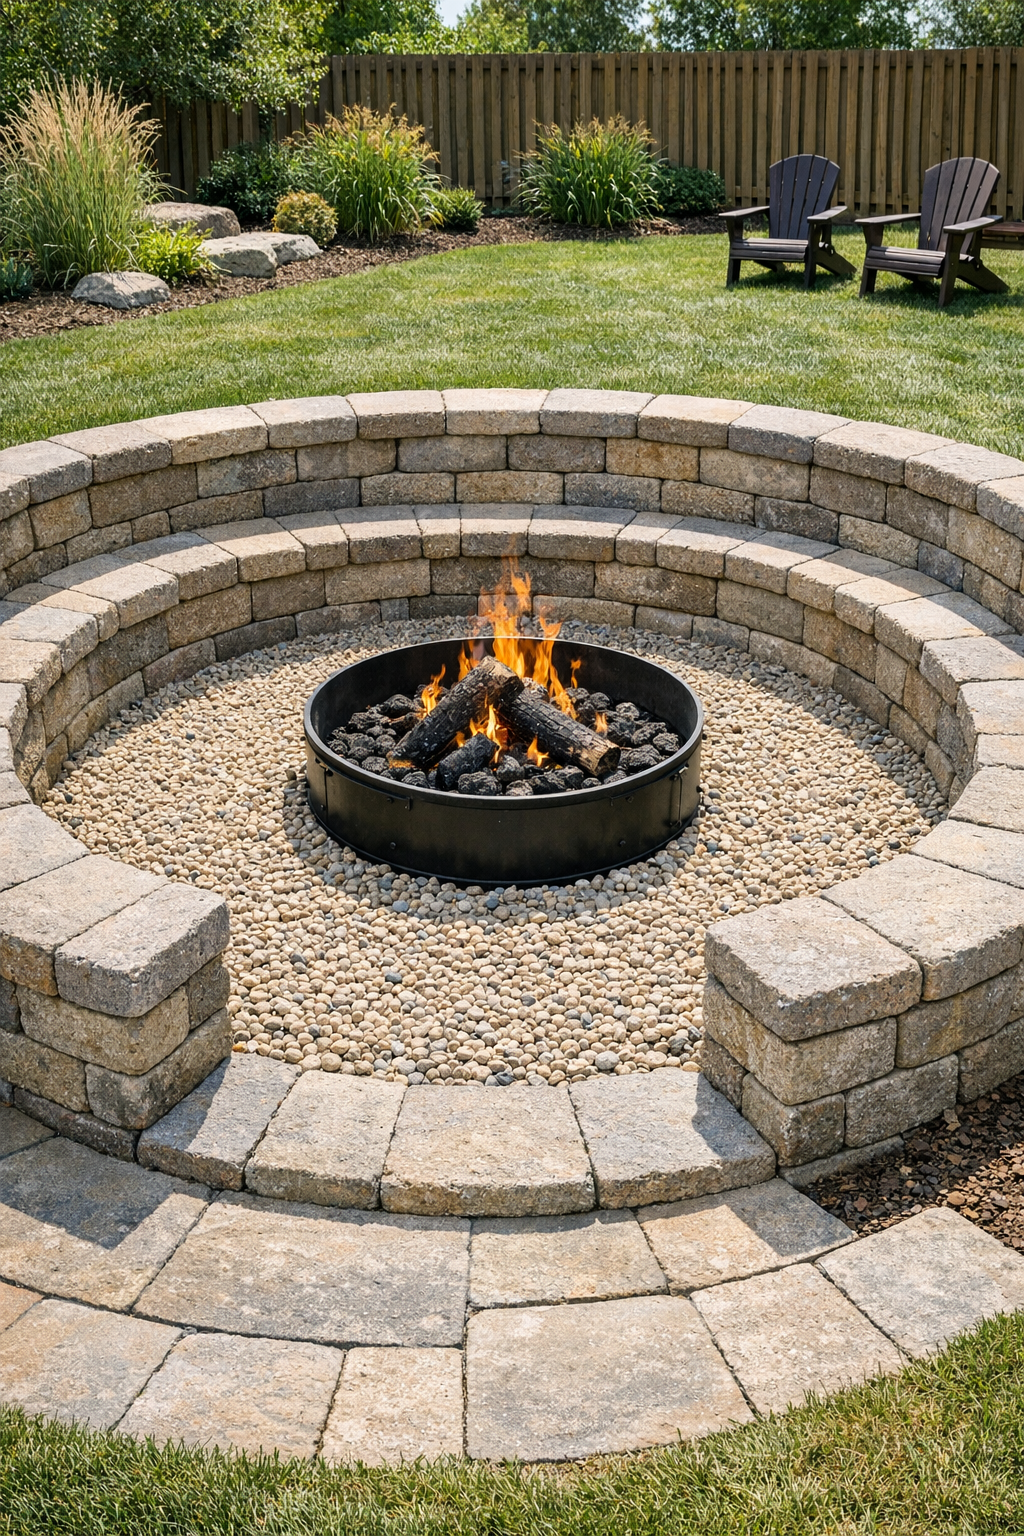
9. Fill the entire center area and walking ring with pea gravel, spreading it evenly to cover the base and create a clean finished surface. Rake the gravel smooth so it sits just below the top of the block edge.
10. Walk the circle and make small adjustments to the blocks and gravel until everything looks balanced and neat. Add outdoor chairs, seat cushions, or a few lanterns nearby to make the space feel warm and inviting for evenings outside.
Variations & Tips
For picky decorators: If your family members all like different looks, keep the block color neutral and bring in personality with outdoor pillows, cushions, or blankets instead of permanent finishes.
Make it more comfortable: For a true seating feel, top the wall with flat capstones or place weather-resistant benches and Adirondack chairs around the circle.
Budget-friendly option: Start with a single course of retaining wall blocks and a smaller circle, then expand later if you decide you want more seating.
Drainage tip: If your yard tends to hold water, dig an extra inch or two and use more compacted paver base under the gravel so the area drains better after rain.
Kid-friendly upgrade: Keep a lidded bin nearby with roasting sticks, outdoor blankets, and marshmallow supplies so the space is always ready for an easy family night.
Safety reminder: Use only a proper fire ring or fire-rated insert, and keep the fire area clear of overhanging branches, dry mulch, and anything flammable.
Low-maintenance tip: Rake the pea gravel back into place every so often and pull the occasional weed early; that little bit of upkeep keeps the whole project looking fresh.