
These embossed autumn stepping stones are one of my favorite low-cost yard projects because they look surprisingly polished for something made with basic cement and a clever household find. Pressing plastic leaf serving platters into wet cement gives you that pretty raised vein and leaf shape without needing special molds, and the finished stones add a cozy seasonal touch to a garden bed, walkway, or even a mulch path.
I love projects like this because they fit real life: inexpensive, easy to do over a weekend, and forgiving if you're not a hardcore DIYer. If you want outdoor décor that feels handmade but still neat enough for a front yard, this is a great one to try.
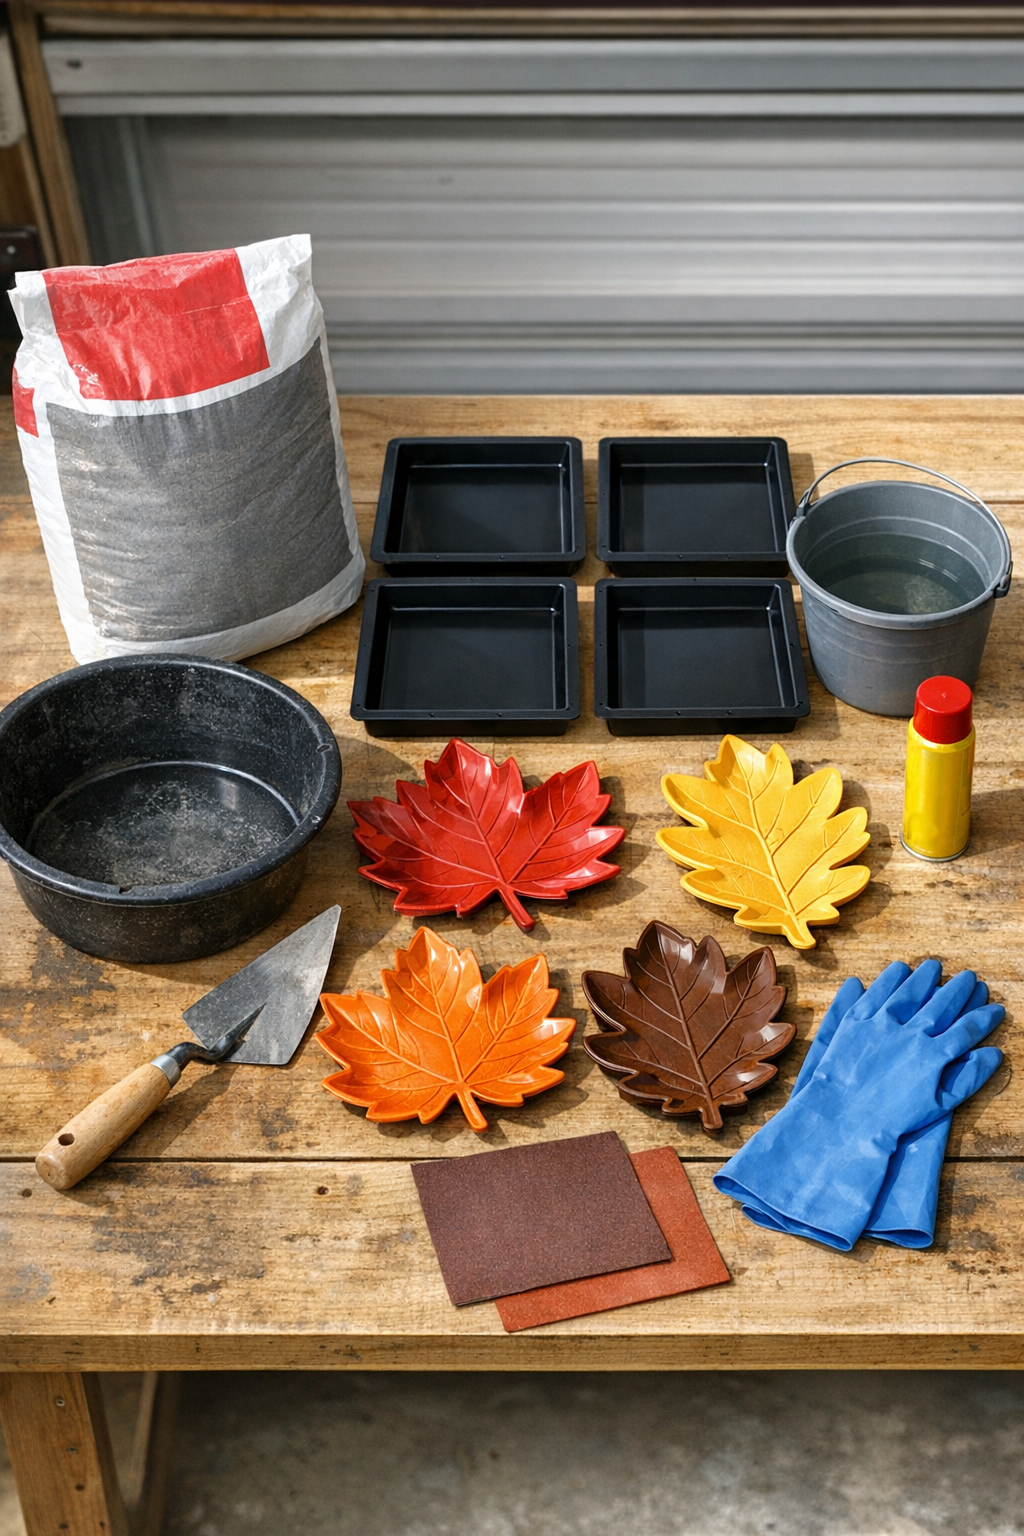
Materials
Instructions
1. Set up your work area on a flat surface outdoors or in a garage, and cover it with a plastic drop cloth. Place the square molds on a level surface so the stones cure evenly.
2. Lightly coat the inside of each mold and the front side of each plastic leaf platter with nonstick spray. Wipe away any heavy excess so it does not pool in the details.
3. Mix the concrete in a tub according to the package directions, adding water a little at a time until it reaches a thick brownie-batter consistency. It should hold its shape briefly when stirred, not run like soup.
4. Fill each square mold with 1 1/2 to 2 inches of wet concrete, then tap the sides of the mold several times to release trapped air. Smooth the top with a trowel, but do not overwork it.
5. Wait 10 to 20 minutes, until the surface is starting to firm up but is still soft enough to take an impression. Press one plastic leaf serving platter firmly into the center of each mold, detail side down, to emboss the design.
6. Press evenly across the platter so the leaf veins transfer well, but do not push all the way to the bottom of the mold. If concrete squeezes up too much around the edges, scrape a little away and smooth the border.
7. Let the concrete sit for another 20 to 30 minutes, then gently lift the plastic platter straight up. If the concrete sticks, wiggle the platter slightly instead of pulling hard.
8. Allow the stones to cure in the molds for 24 hours without moving them. After that, carefully unmold each stone and let it continue curing for another 2 to 3 days in a dry, shaded spot.
9. Lightly sand any rough corners or sharp edges once the stones are fully hardened. Brush off the dust before placing the stones in the garden or along a path.
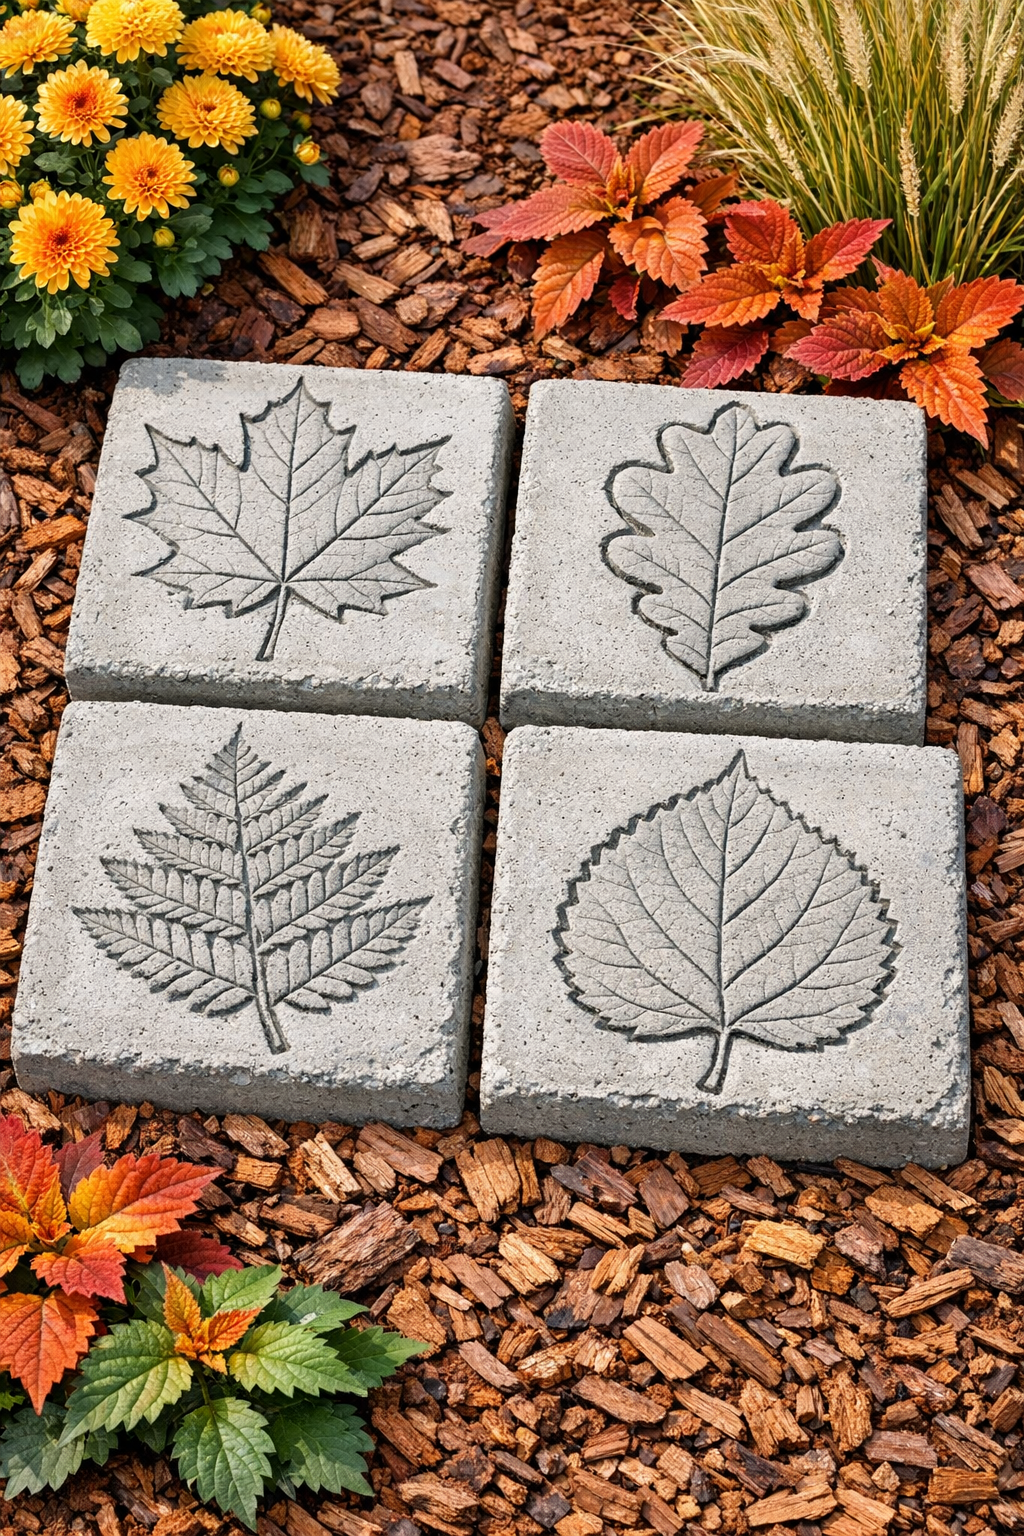
Variations & Tips
Different leaf shapes: If you find platters in maple, oak, or generic fall leaf shapes, mix them together for a more natural look. I think a set looks best when the shapes are similar in size so the path feels intentional.
Add color: You can brush concrete stain or outdoor acrylic paint into the leaf impression after curing if you want more contrast. I prefer keeping the base stone natural gray and adding just a soft wash of rust, gold, or brown in the veins.
Make them sturdier: For stepping stones that will get heavy foot traffic, keep them closer to 2 inches thick. Thin stones are fine for decorative spots, but thicker ones hold up better through Midwest freeze-thaw weather.
Work in batches: Fast-setting concrete does exactly what its name promises, so I like to mix only enough for one or two stones at a time. It is less stressful, especially if you're squeezing this project into a busy Saturday afternoon.
Get a clean imprint: If the platter sinks too deep, your mix is too wet; if it barely leaves a mark, the surface has set too much. After the first stone, you'll get the timing down quickly.
Placement tip: Set the finished stones on compacted soil or sand instead of loose mulch alone. That keeps them level and makes them feel much more solid underfoot.