
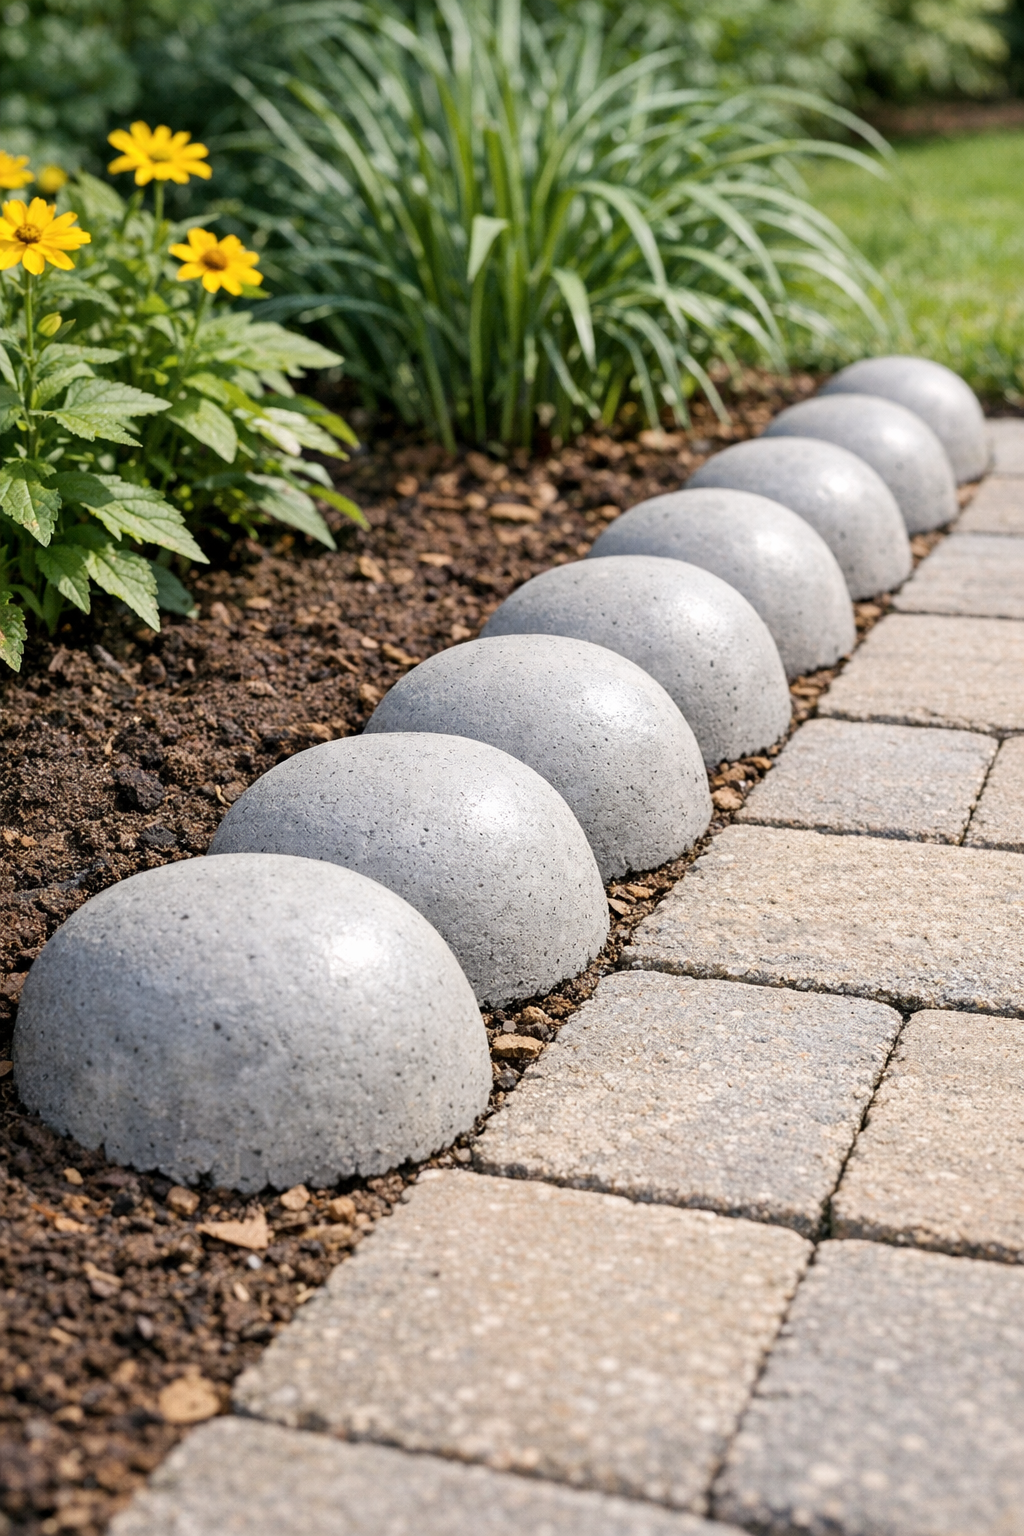
I love a weekend project that looks much more expensive than it really is, and this domed patio edging is exactly that. By pouring cement into clear plastic bakery cake containers, you can make a set of neat, rounded garden or patio borders that add structure and polish without buying pricey premade edging stones. It’s one of those simple ideas that makes the whole yard feel more finished almost immediately.
This project is especially good if you want a clean, custom look and don’t mind a little hands-on mess for a day or two. As someone who tends to squeeze outdoor projects in between work deadlines and figuring out what’s for dinner, I really appreciate that these can be made in batches and installed over a single weekend.
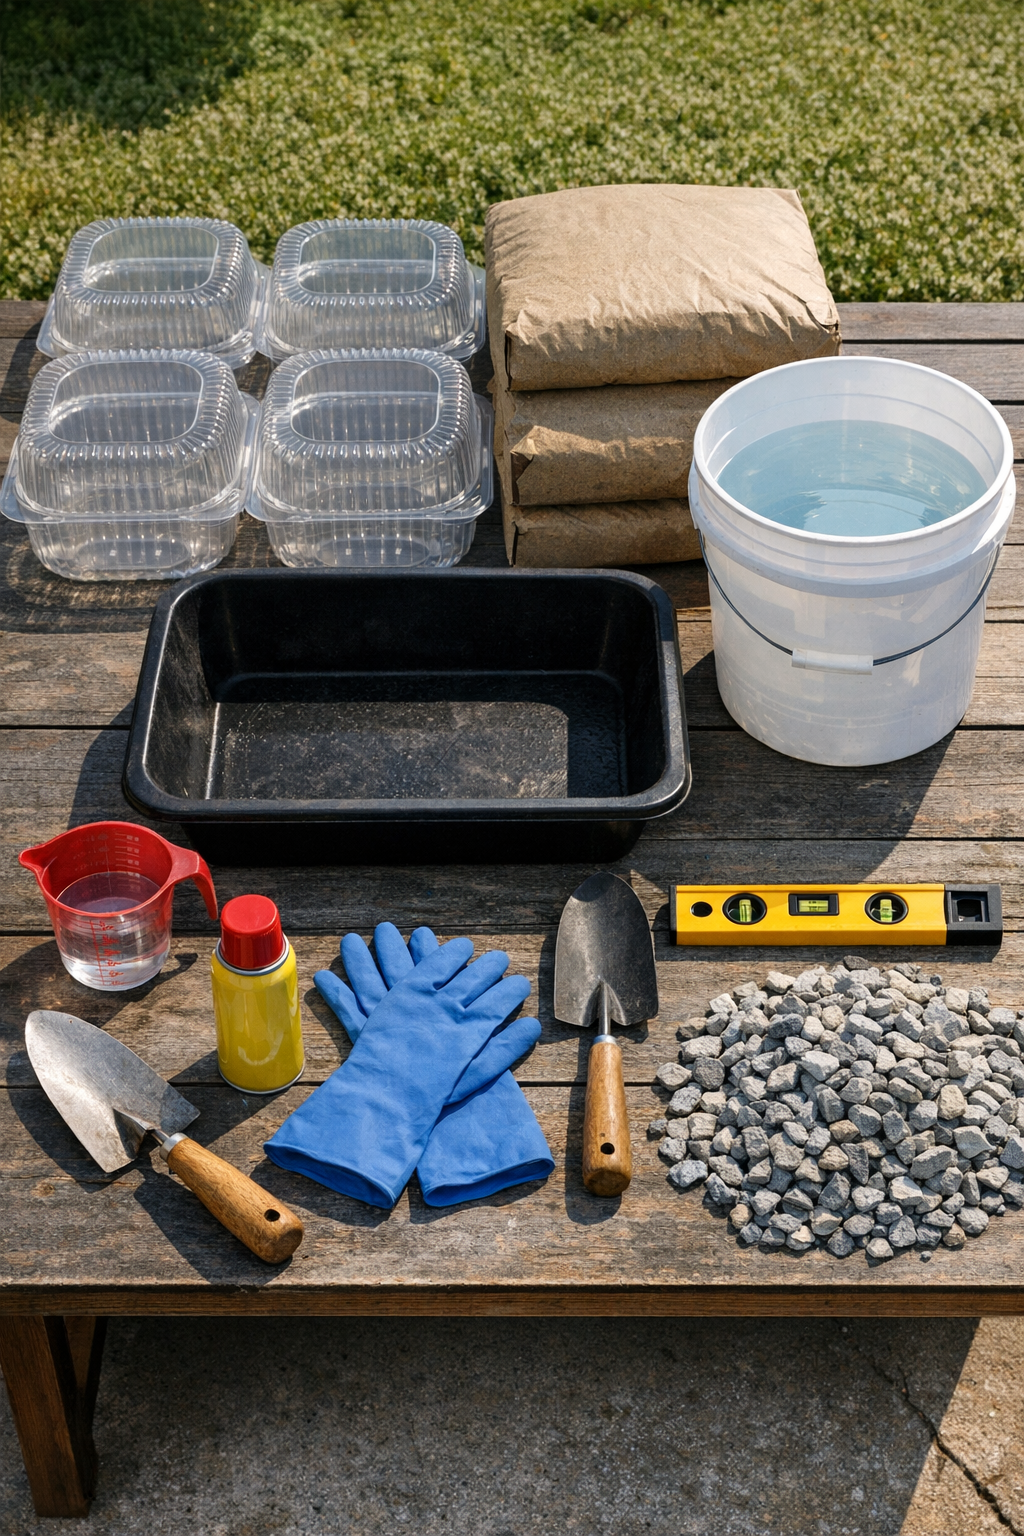
Materials
12 clear plastic bakery cake dome containers, 8 to 10 inches wide, cleaned and dried
Instructions
1. Decide where the edging will go and lay out a garden hose or marking line to shape the curve around your patio, bed, or walkway. I like to step back a few times here because a small tweak in the curve makes a big difference once the pieces are installed.
2. Clean the plastic cake containers thoroughly and let them dry completely so the cement sets smoothly. Lightly coat the inside of each dome with cooking spray or mold release to help the finished pieces pop out easily.
3. Set the containers on a flat, level surface outdoors or in a garage with a drop cloth underneath. Make sure they won’t shift, because even a slight tilt will give you uneven domes.
4. Put on gloves and a dust mask, then mix one batch of concrete in the mixing tub according to the bag directions. Aim for a thick brownie-batter consistency that holds its shape but still settles when tapped.
5. Scoop the wet concrete into each cake dome, filling them about 2 to 3 inches deep or to your desired edging thickness. Use the trowel to press the mix into the edges so there are no hollow spots.
6. Tap the sides of each container several times and gently shake the work surface to release trapped air bubbles. Smooth the flat back of the concrete with the trowel so each piece will sit evenly in the ground.
7. Let the concrete cure undisturbed for at least 24 to 48 hours, depending on temperature and humidity. If the weather is very hot, cover the molds loosely with plastic so they don’t dry too fast and crack.
8. Flex the plastic containers gently to release each hardened dome, then turn them out onto a soft surface like cardboard or grass. If a piece sticks, tap the outside of the mold rather than prying hard against the concrete.
9. Dig a shallow trench along your marked line that is about 3 inches deep and slightly wider than each dome. Add a 1-inch layer of pea gravel or paver base to help with drainage and leveling.
10. Set the concrete domes into the trench one by one with the rounded side facing up and the flat side down. Check every few pieces with a level and tap them into place with a rubber mallet so the tops line up nicely.
11. Adjust the spacing so the domes sit snugly together, or leave a small gap if you want to tuck in moss or low ground cover later. For extra hold in a high-traffic area, add a little exterior construction adhesive between touching sides.
12. Backfill soil around the edging and tamp it firmly on both sides to lock the pieces in place. Sweep off the tops, water the surrounding soil lightly, and you’re done.
Variations & Tips
Different dome sizes: Use larger or smaller bakery containers to create varied edging sizes. I like the more uniform look for a formal patio, but mixed sizes can feel more relaxed in a cottage-style garden.
Color option: Add concrete pigment to the mix if you want a warmer stone tone or a darker charcoal look. It’s an easy upgrade if you’re trying to match existing pavers.
Smoother finish: For cleaner-looking domes, wipe the inside of each mold well before pouring and tap out air bubbles thoroughly. Clear plastic molds usually give a surprisingly polished surface.
Budget tip: Save cake containers over time or ask a local bakery if they have extras headed for recycling. This is one of my favorite kinds of projects because it turns something disposable into a yard feature that looks intentional.
Cold-weather planning: Avoid pouring concrete when overnight temperatures are near freezing. Mild, dry weather gives you stronger pieces and a much less stressful curing process.
Installation tip: If your yard shifts a lot after heavy rain, set the domes a little deeper than you think you need. A slightly buried edge usually stays straighter and looks more professional long term.