
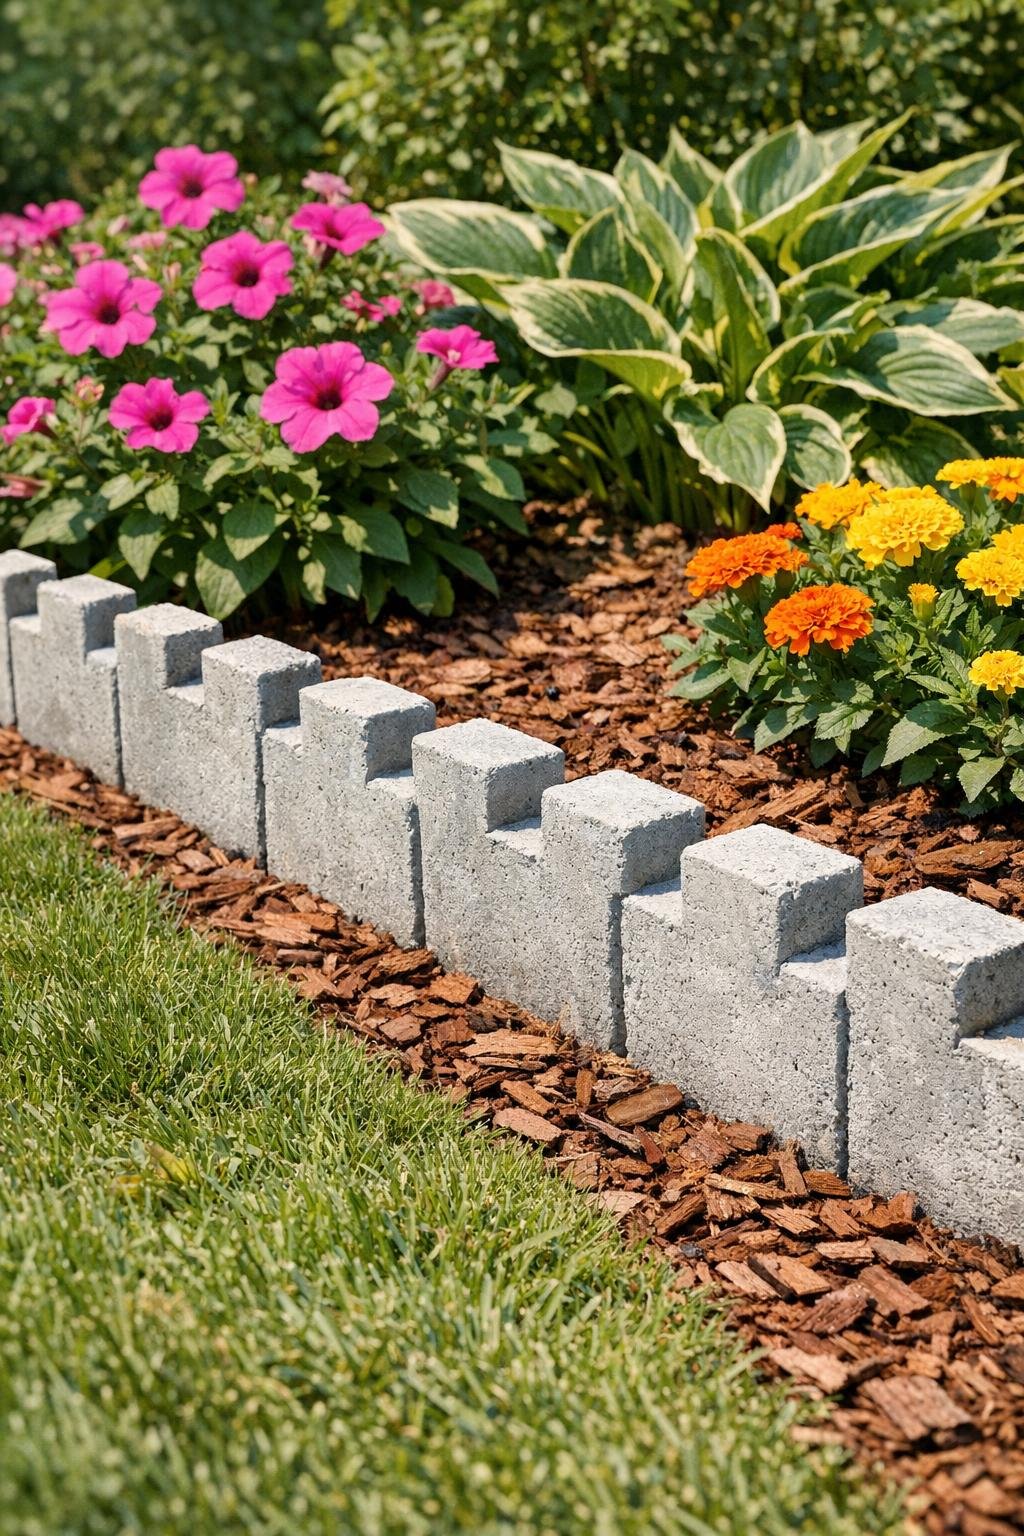
I love a garden project that looks charming but doesn’t ask for a full weekend and a huge budget, and this one checks both boxes. These castle-top garden edging pieces are made by packing wet cement into plastic sandcastle buckets, letting them cure, and then lining them along a flower bed or walkway. The finished look is playful in a surprisingly polished way, and it gives a plain garden edge a little storybook character.
This is a great project if you want something sturdier than flimsy plastic edging but easier than pouring a continuous concrete border. I’m especially fond of projects like this in late spring, when I’m already outside fussing over mulch and planters and want one more little upgrade before heading back inside to answer emails. If you can mix cement and lift a bucket, you can make these.
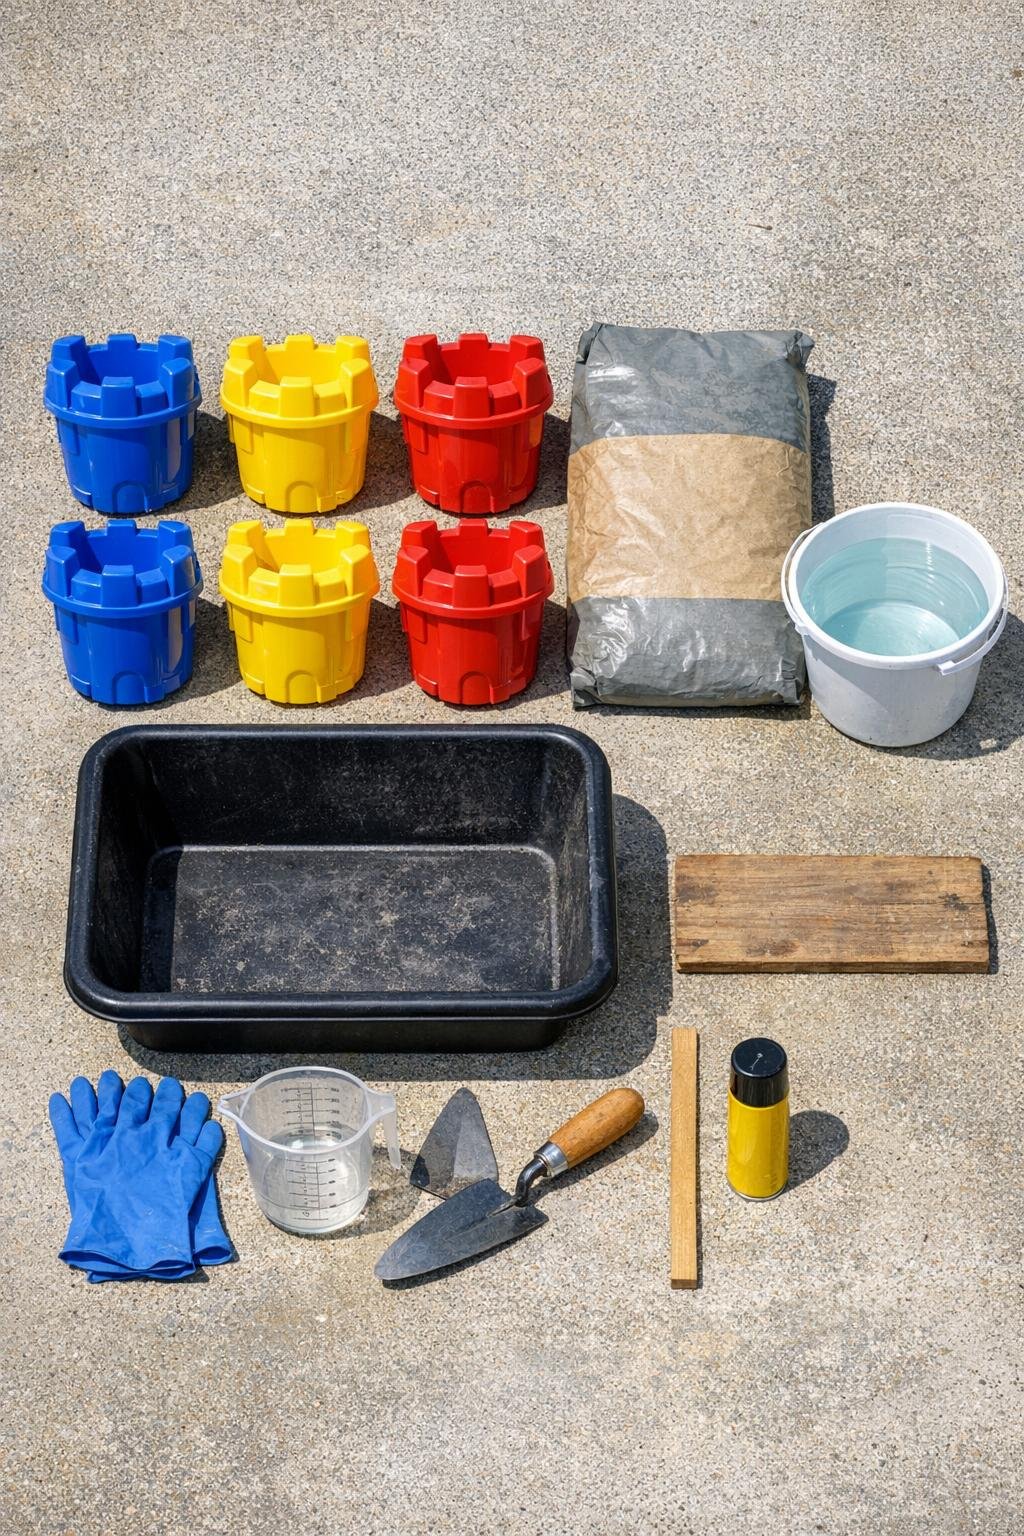
Materials
Instructions
1. Choose a flat outdoor work area and cover it with a plastic drop cloth. Set your scrap board on top so the buckets can cure on a level surface.
2. Rinse and dry the sandcastle buckets, then lightly coat the inside of each one with cooking spray or a very thin layer of petroleum jelly. This makes unmolding much easier later.
3. If the bucket bottoms are rounded or wobbly, press a little play sand into a shallow tray or directly under each bucket to help hold them upright. Arrange all the buckets on the board before you start mixing.
4. Pour the concrete mix into a mixing tub and add water a little at a time, stirring until it reaches the texture of thick oatmeal. It should be wet enough to settle into the castle details but not soupy.
5. If you want slightly heavier edging pieces, stir in a small amount of pea gravel. Mix thoroughly so the texture stays even.
6. Scoop the wet concrete into each bucket, filling to the top and tapping the sides several times to release air bubbles. Smooth the exposed surface with a trowel so the back of each piece will sit flat in the garden.
7. Let the filled buckets sit undisturbed for 24 hours, or according to the concrete mix directions, until they are firm enough to handle. If the weather is very hot or windy, loosely cover them with plastic so they do not dry too fast.
8. Gently flex or peel the plastic buckets away from the cured concrete forms. If a bucket sticks, tap the sides and turn it upside down onto a folded towel before easing it off.
9. Allow the pieces to cure for another 2 to 5 days until fully hardened. Mist them lightly once or twice a day during the first couple of days if your concrete mix recommends a slower cure.
10. Prepare the garden edge by removing weeds and leveling a narrow strip of soil where the pieces will sit. Push each castle piece about 1 to 2 inches into the ground for stability, spacing them tightly or with a small gap depending on the look you want.
Variations & Tips
Make it look more aged: If you like that old garden-stone look, leave the concrete natural and let it weather outdoors. I actually prefer this over paint because it stays low maintenance.
Use matching buckets: Identical sandcastle molds give you a cleaner repeating pattern, but mixing two similar bucket shapes can make the border feel a little more playful.
Work in small batches: Quick-setting concrete waits for no one. I usually mix only enough for two or three buckets at a time so I’m not scrambling while it starts to firm up.
Add drainage-friendly footing: In soft or muddy beds, set a thin layer of gravel under each piece before placing it. This helps reduce sinking after heavy rain.
Try a tinted finish: You can mix in concrete colorant or brush on masonry stain after curing if you want a warmer stone shade. Soft gray, sand, or charcoal all work nicely in a flower bed.
Protect the details when unmolding: The little turret points can chip if you rush. I’ve found it’s better to peel the plastic mold away slowly instead of trying to yank the concrete piece out.