
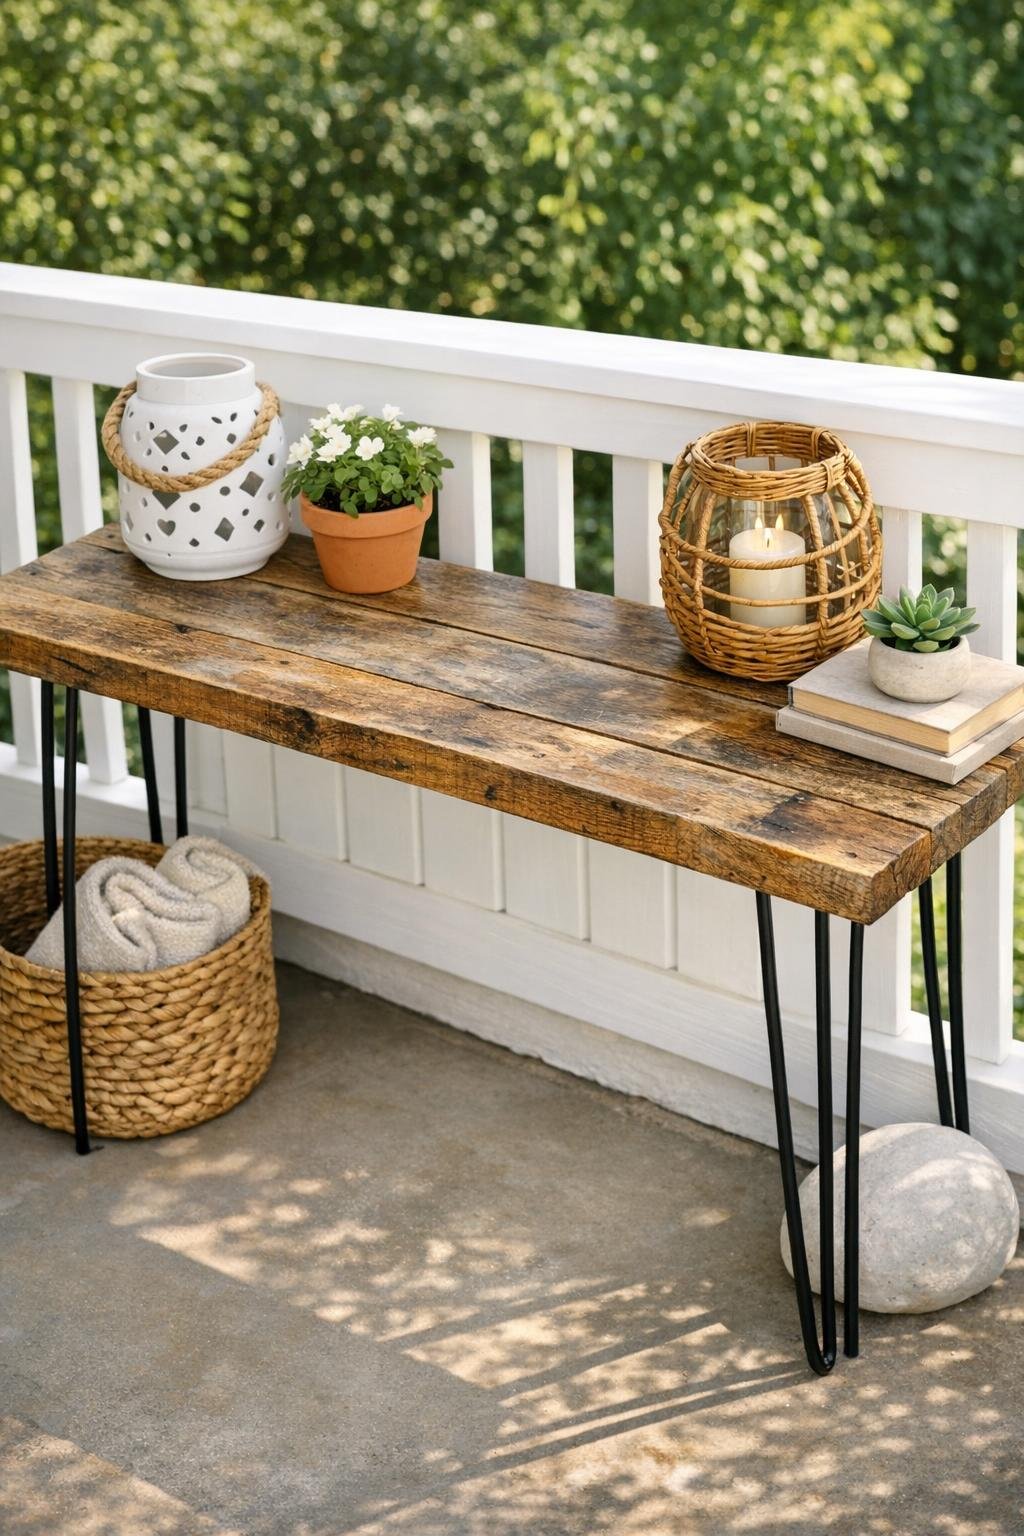
There is something about a simple porch table that makes a whole outdoor space feel settled. This one is a rustic outdoor console table made by laying reclaimed barn wood planks over a black hairpin leg frame, and it has that lovely mix of weathered character and clean lines that always catches folks’ eyes. I have a soft spot for projects like this because they look special without asking for fancy joinery or a whole workshop full of tools.
Out here in the Midwest, old wood has a way of carrying stories with it, and reclaimed barn boards bring a warmth you just cannot buy new. If you want a practical table for potted plants, a pitcher of lemonade, or lanterns on the porch rail side, this is a very manageable build for a beginner with a little patience and careful measuring.
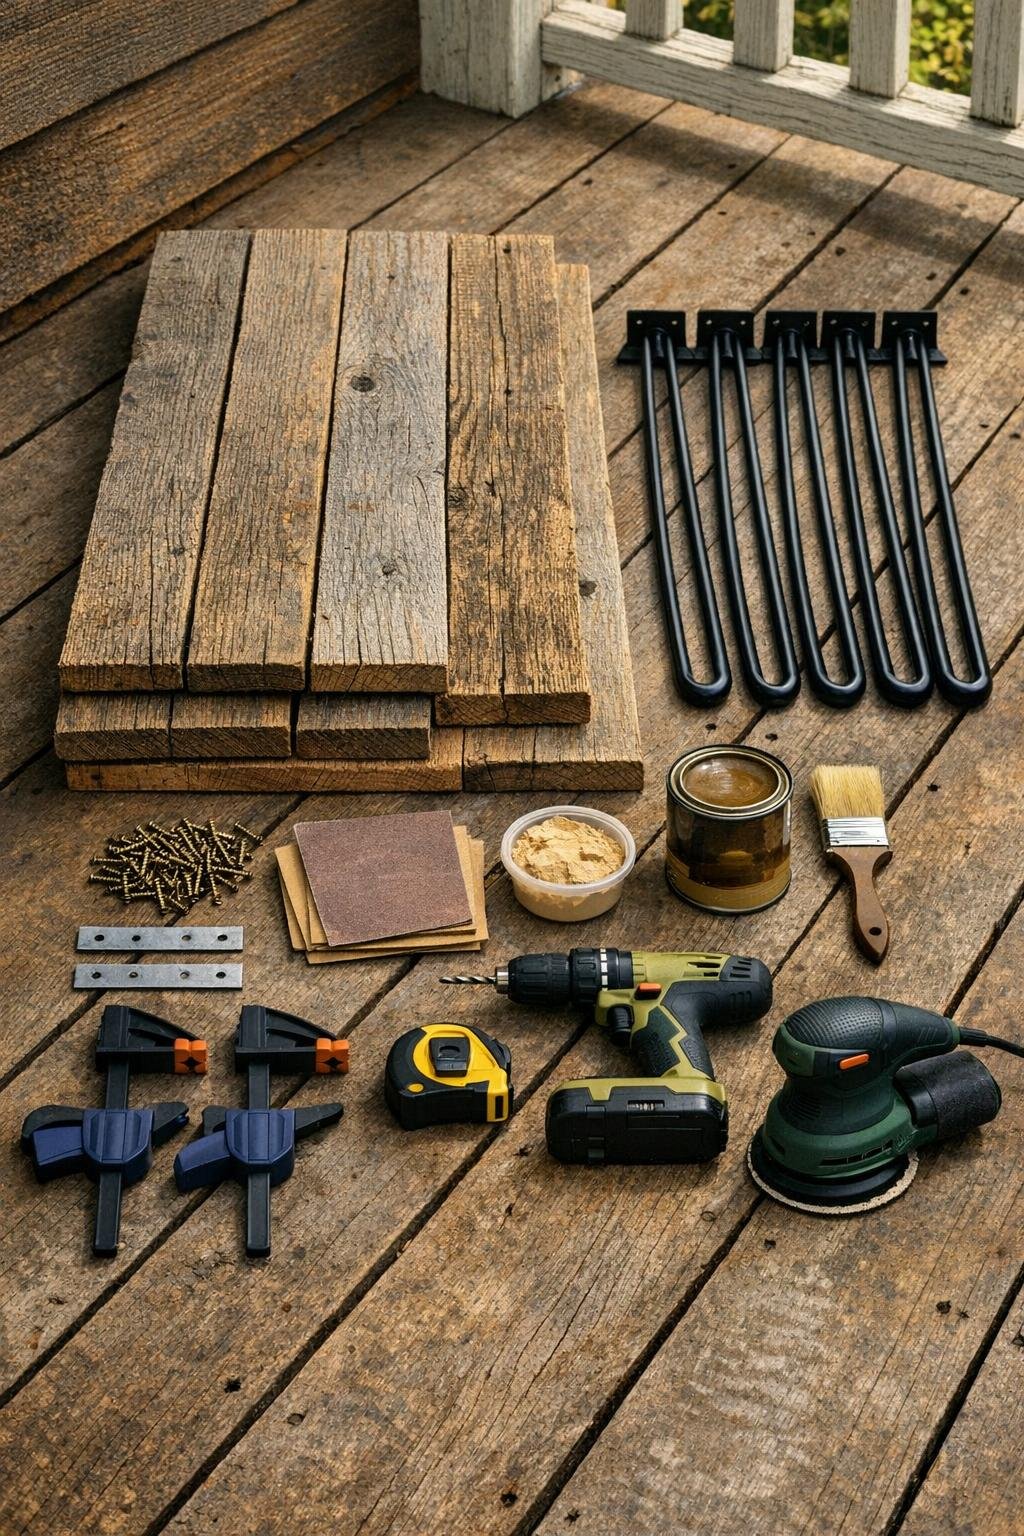
Materials
Instructions
1. Lay the reclaimed planks side by side and choose the best face for the tabletop, arranging the boards until the color and wear marks look balanced from end to end.
2. Check all boards for loose nails, staples, or splinters, and remove anything unsafe before you begin sanding or fastening.
3. Cut the planks to a finished length of 48 inches if needed, keeping both ends as square and even as possible.
4. Sand the top and edges first with 120-grit sandpaper, then lightly with 220-grit, smoothing rough spots while keeping the aged character of the wood.
5. Fill any deep cracks or old nail holes you do not want open on the tabletop surface, then let the filler dry fully and sand those spots flush.
6. Turn the boards upside down, pull them tightly together, and clamp them in place so the long edges stay aligned.
7. Center the four mending plates across the seams on the underside, spacing them evenly along the length, then fasten them with the 1/2-inch screws to join the planks into one top.
8. Position one hairpin leg at each corner on the underside, setting each leg in about 1 1/2 inches from the ends and 1 inch from the sides so the screws do not split the wood.
9. Pre-drill each mounting hole, then attach the hairpin legs with the 1 1/4-inch exterior screws, tightening until snug without overdriving.
10. Turn the table upright carefully and set it on a flat surface, then check for wobble and adjust the leg position slightly if one corner sits unevenly.
11. Brush or wipe on optional exterior stain if you want a richer tone, then let it dry according to the product directions.
12. Apply 2 to 3 thin coats of exterior clear sealer, sanding very lightly between coats with 220-grit sandpaper for a smoother finish.
13. Add felt or rubber caps to the leg bottoms, then place the table against the porch railing and let the final coat cure fully before decorating or setting anything heavy on top.
Variations & Tips
For a longer porch wall: Use 60-inch planks instead of 48-inch planks, and consider adding a fifth mending plate at the center underside for extra support.
For rougher reclaimed wood: Clean the boards with a stiff brush before sanding, and always inspect old lumber twice for hidden fasteners. Old barn wood can be full of surprises, and I say that from experience.
For extra stability: Add two narrow wood cleats across the underside, running perpendicular to the planks, if your boards are a bit cupped or uneven.
For a softer aged finish: Skip stain and use only clear sealer so the gray-brown weathering stays front and center. That is my favorite look when the wood already has a good history written on it.
For outdoor durability: Recoat the tabletop once a year if it sits in full sun or blowing rain. A little upkeep goes a long way, much like oiling an old porch swing or seasoning a cast-iron pan.
For styling: This table works beautifully with potted herbs, a galvanized tray, lanterns, or a watering can. Keep the decor simple so the old wood remains the star of the show.