
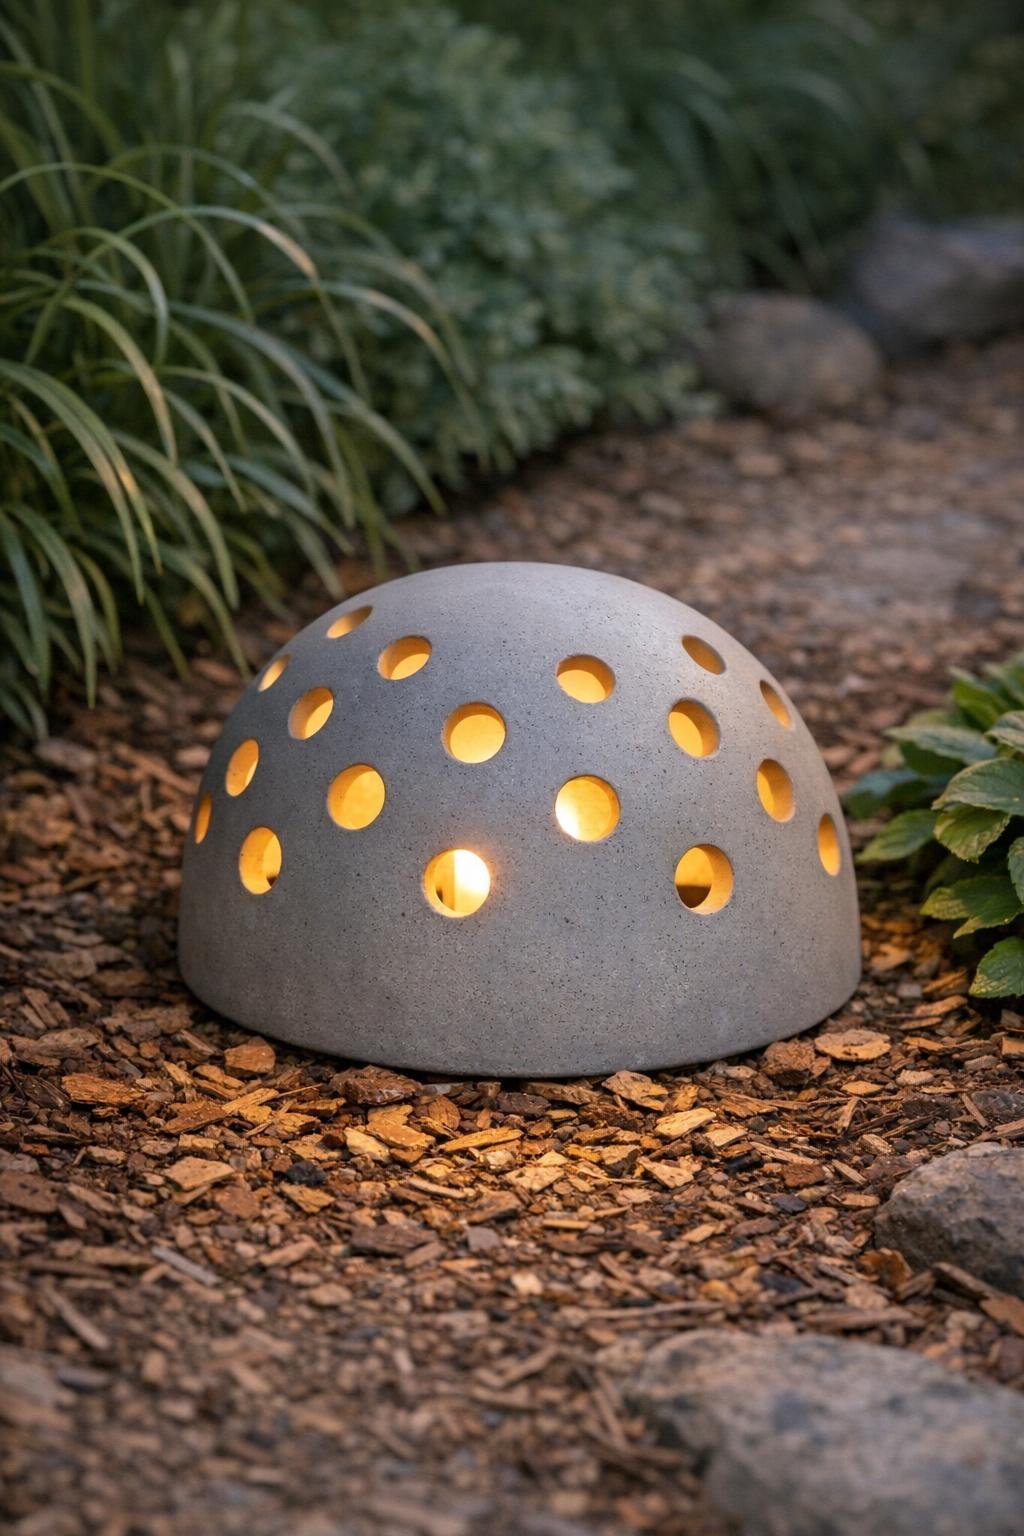
These dotted garden luminaries are one of my favorite weekend projects because they look surprisingly polished for something made from a humble plastic colander and a bag of cement. By packing a thick cement mix over an upside-down colander and leaving the drainage holes open, you end up with a sturdy dome that glows beautifully when you set a flameless candle or solar light inside.
I love projects like this because they give that “where did you buy that?” look without needing fancy tools or a huge block of time. If you’re like me and want something that feels a little elevated in the garden but still fits into a busy schedule, this is a very doable afternoon project with mostly hands-off drying time.
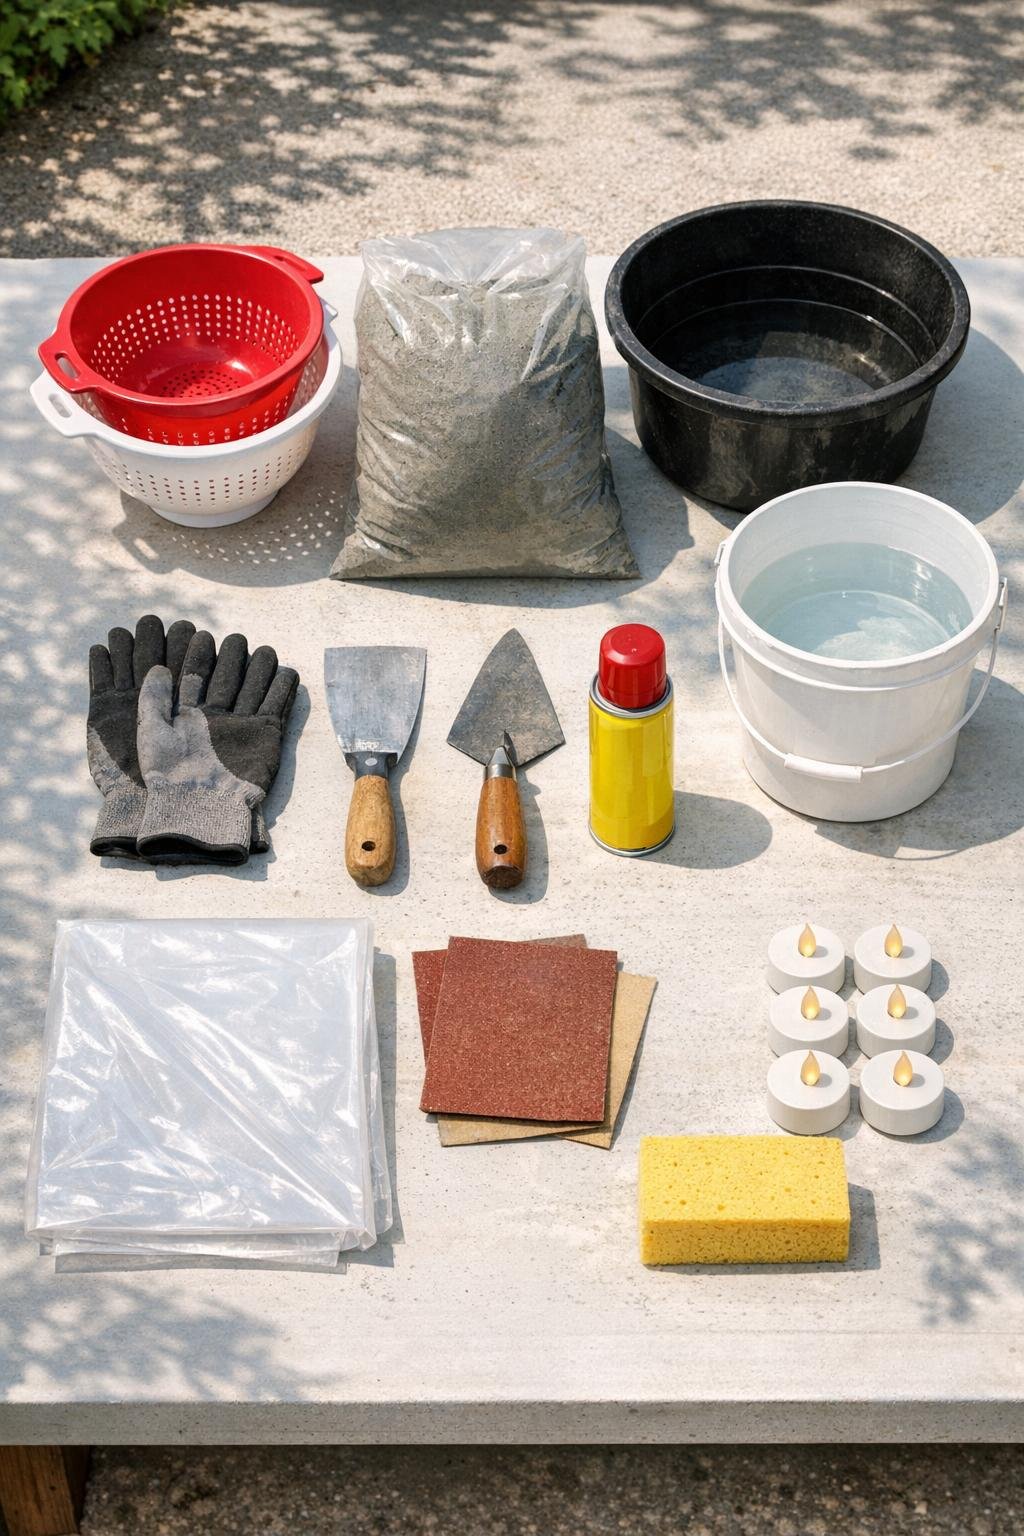
Materials
Instructions
1. Cover your work surface with the plastic drop cloth and set each colander upside down on a piece of cardboard. Lightly coat the outside of each colander with cooking oil or nonstick spray so the cement will release more easily later.
2. In the mixing tub, combine the cement mix with water a little at a time until it reaches the texture of thick peanut butter. The mix should hold its shape on the trowel and not slide off easily.
3. Start at the top center of the inverted colander and press on a 1/2-inch layer of cement with your gloved hands or a putty knife. Work outward and downward, packing the cement firmly so it grips the plastic while keeping the drainage holes open.
4. Continue covering the colander until the whole dome is coated, leaving about 1/2 inch uncoated around the very bottom edge so the finished luminary can sit flat. Check from all angles and fill any thin spots.
5. Smooth the surface lightly with a damp sponge or wet fingers without closing the holes. Don’t overwork it; a slightly organic texture is what makes these look so good in the garden.
6. Let the cement firm up until it is no longer shiny and can hold its shape, usually 1 to 2 hours depending on weather. If any holes have partially filled in, clean them out gently with the tip of the putty knife.
7. Leave the piece to cure on the mold for 24 hours in a shaded spot. If the weather is hot or windy, drape it loosely with plastic so it doesn’t dry too fast and crack.
8. Carefully turn the piece upright and ease the plastic colander out from underneath. If it sticks, flex the colander gently instead of pulling hard on the cement shell.
9. Sand the bottom edge and any rough spots once the cement is firm but not fully hardened. Wipe away dust with a damp sponge.
10. Let the luminary cure for another 48 to 72 hours before placing it outdoors or adding a light inside. Set a flameless tea light or small solar puck light underneath and enjoy the dotted glow at dusk.
Variations & Tips
Size choice: Use different colander sizes for a grouped display. I like pairing one larger dome with two smaller ones near a flower bed for that layered, designer look.
Color option: Mix in a small amount of cement colorant if you want a warmer stone tone or charcoal finish. Neutral shades tend to blend best with outdoor spaces.
Hole cleanup: If the openings start closing as you work, wait a few minutes for the cement to stiffen slightly, then reopen them. Trying to fix them while the mix is too wet usually makes a mess.
Weather tip: This is a better project for mild days than very hot afternoons. I learned the hard way that cement can dry too quickly in direct summer sun and become harder to shape neatly.
Lighting tip: Stick with flameless candles or solar lights instead of real flames. It’s safer, easier, and you can leave them in the garden without worrying about wind.
Finish idea: For a smoother store-bought look, lightly sand the whole outer surface after curing and seal it with a clear outdoor masonry sealer. For a more rustic look, leave the natural texture as-is.