
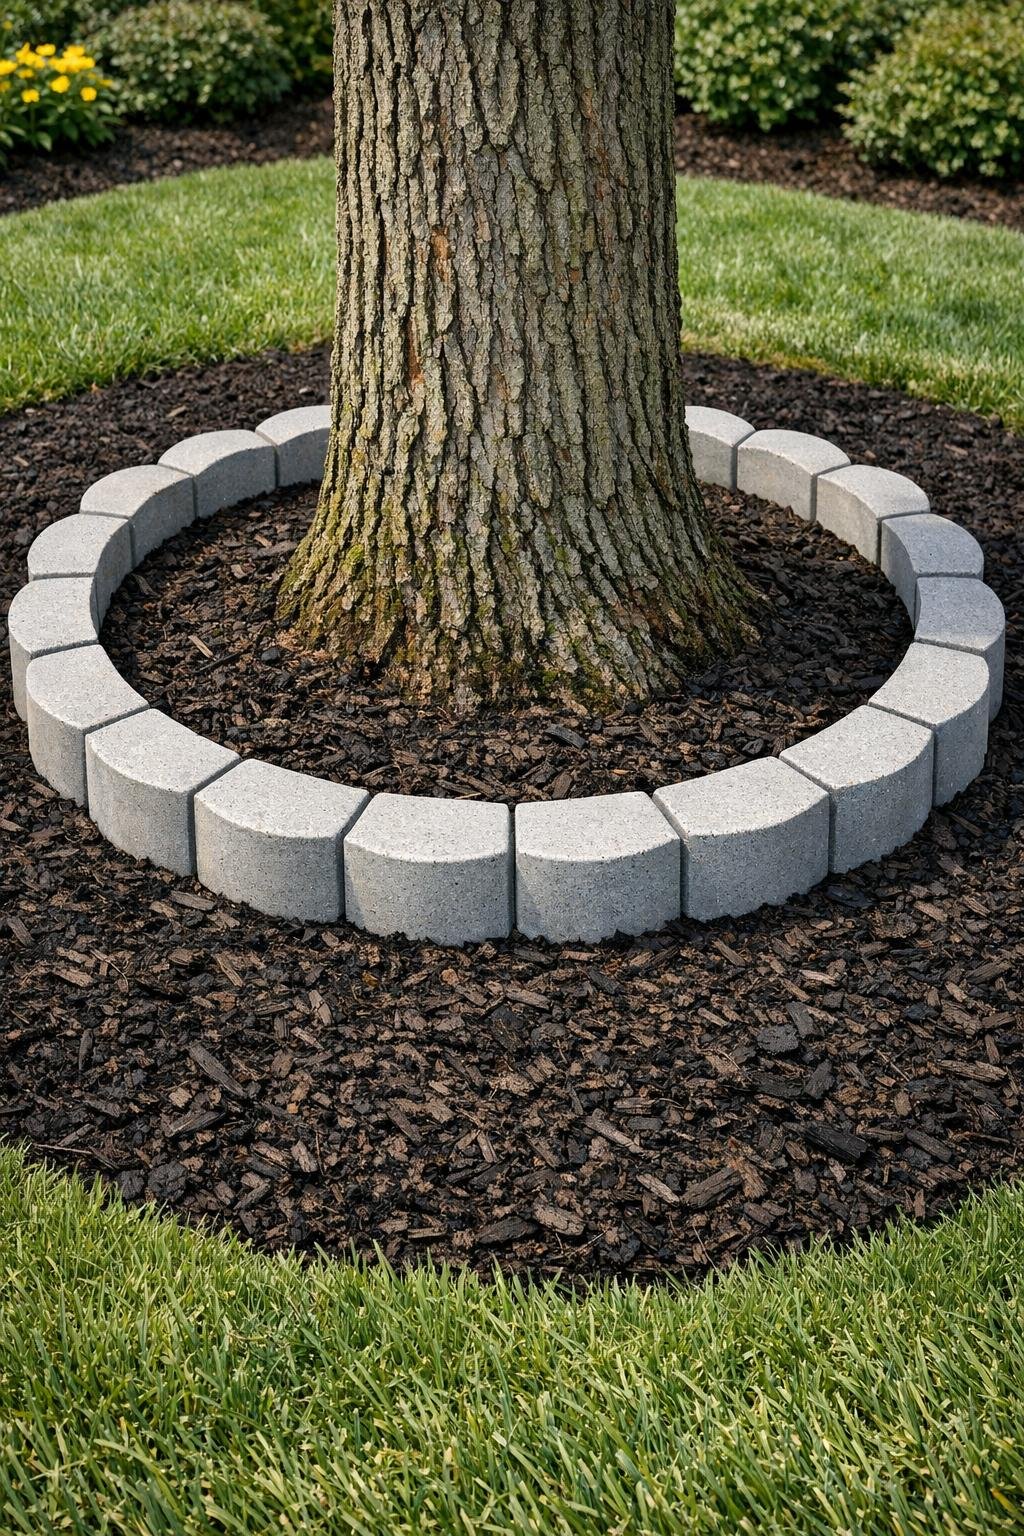
I love a yard project that makes a big visual difference without turning into a whole weekend of heavy construction, and these scalloped tree rings are exactly that. By pouring cement into curved plastic chip-and-dip trays, you can cast sturdy, interlocking border pieces that wrap around a tree and give the bed a clean, finished edge that honestly looks a lot more expensive than it is.
This is a great project if you want a neater mulch ring, a more polished landscape bed, or just a simple way to dress up the base of a tree. I’m always looking for practical outdoor upgrades I can squeeze in between work and dinner prep, and this one fits that sweet spot: easy materials, repeatable steps, and a result that looks surprisingly professional.
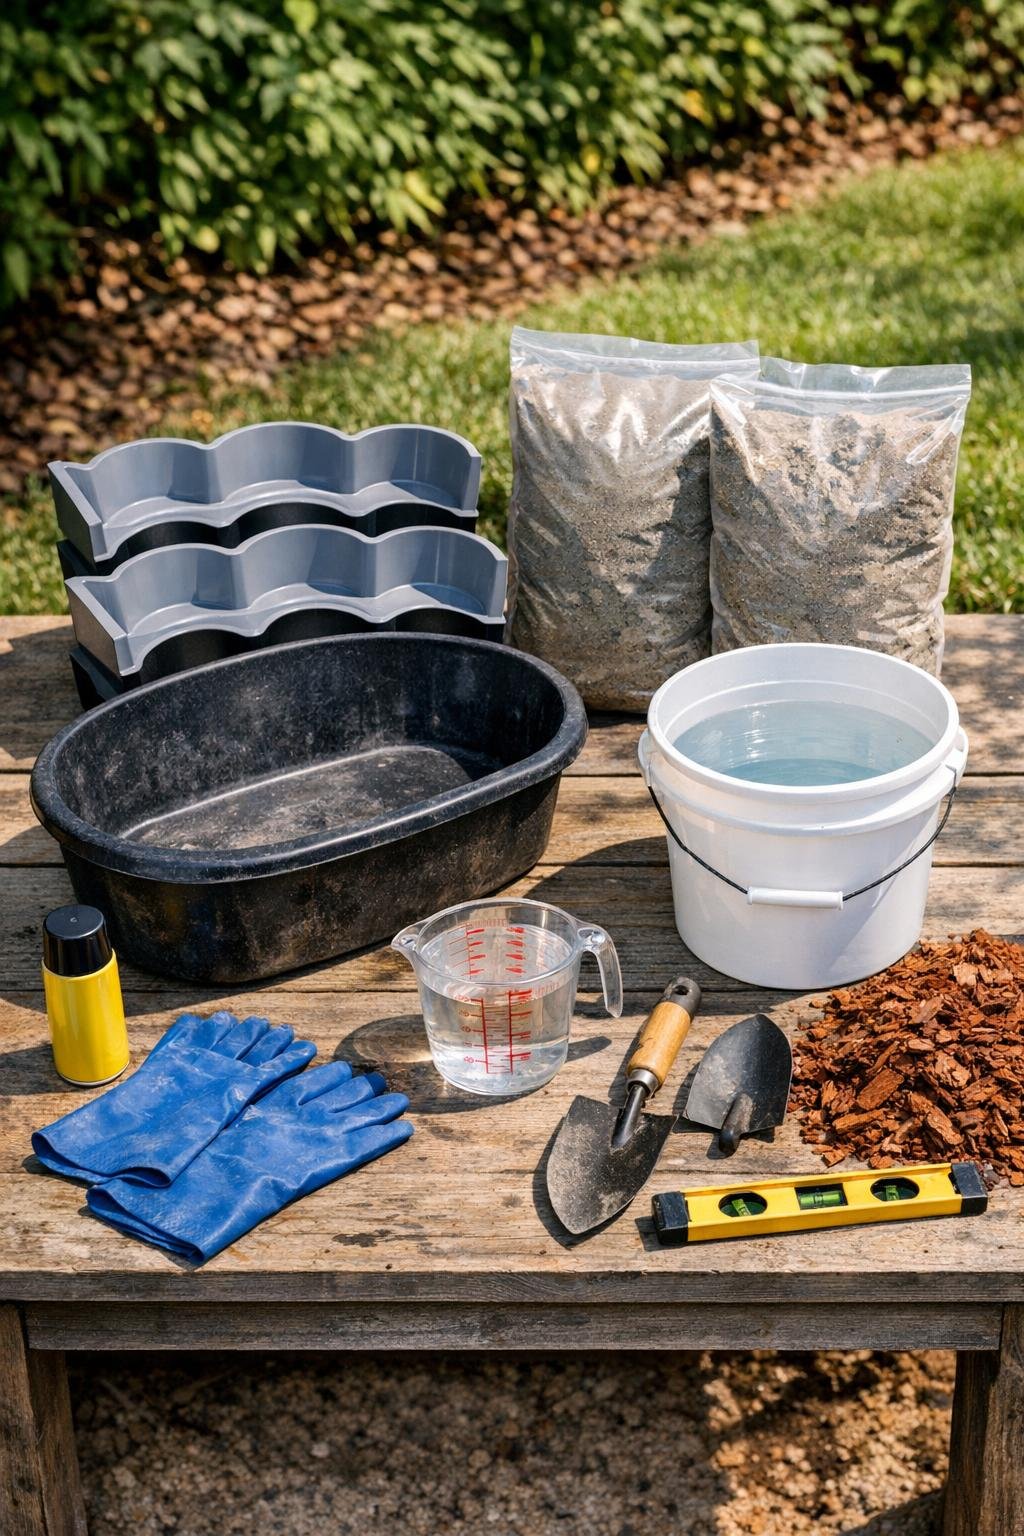
Materials
6 curved plastic chip-and-dip trays, all the same size, to use as molds
Instructions
1. Measure around your tree and decide how wide you want the ring, then estimate how many scalloped sections you need. Six sections make a nice small-to-medium tree ring, but you can cast more if your tree bed is larger.
2. Set your plastic trays on a flat, level surface outdoors or in a garage, and lightly coat the inside of each one with nonstick spray. This makes unmolding much easier once the concrete cures.
3. Pour the concrete mix into your mixing tub, add water a little at a time, and stir until it reaches a thick brownie-batter consistency. The mix should hold its shape but still settle when tapped.
4. Fill each tray about halfway with wet concrete, then press in a piece of wire mesh if you want extra strength. Add more concrete until each mold is filled evenly to about 1 1/2 to 2 inches thick.
5. Tap the sides of the trays gently and smooth the tops with a trowel so the back of each piece is flat. This helps remove air pockets and makes the finished sections sit more evenly on the ground.
6. Let the concrete cure in the trays for at least 24 hours, or longer if the weather is cool or humid. I usually leave mine alone for a full day and night because rushing this part never pays off.
7. Flex the plastic trays gently to release the cured pieces, then lift each section out with both hands. Set them on a flat surface and let them continue curing for another 24 to 48 hours for better strength.
8. Prepare the area around the tree by pulling weeds, removing grass, and cutting a shallow outline where the ring will sit. Level the soil so the border pieces have a stable base.
9. Arrange the concrete sections around the tree in a circle, slightly overlapping or butting the ends so they interlock neatly. Adjust the soil underneath each piece until the tops line up evenly.
10. Backfill around the outside and inside edges with soil to lock the pieces in place, then add mulch or decorative stone inside the ring. Water the area lightly to settle everything, and your finished tree border is ready to show off.
Variations & Tips
For a larger ring: Cast extra sections and make a wider circle, or leave small consistent gaps between pieces for a more open scalloped look.
For added durability: Use wire mesh or even short lengths of galvanized hardware cloth in each piece if your soil shifts a lot through freeze-thaw cycles.
For a smoother finish: Tap the molds a bit longer right after filling them, and run a damp trowel across the backs before the concrete starts to set.
For easy batch work: I like to mix and pour in two smaller batches instead of one giant one, especially after work when I’m tired and more likely to rush the consistency.
For color variation: You can add concrete pigment to the mix or brush the cured pieces with a masonry stain after they have fully cured.
Tree care tip: Keep the mulch a few inches away from the trunk so moisture does not sit directly against the bark.