
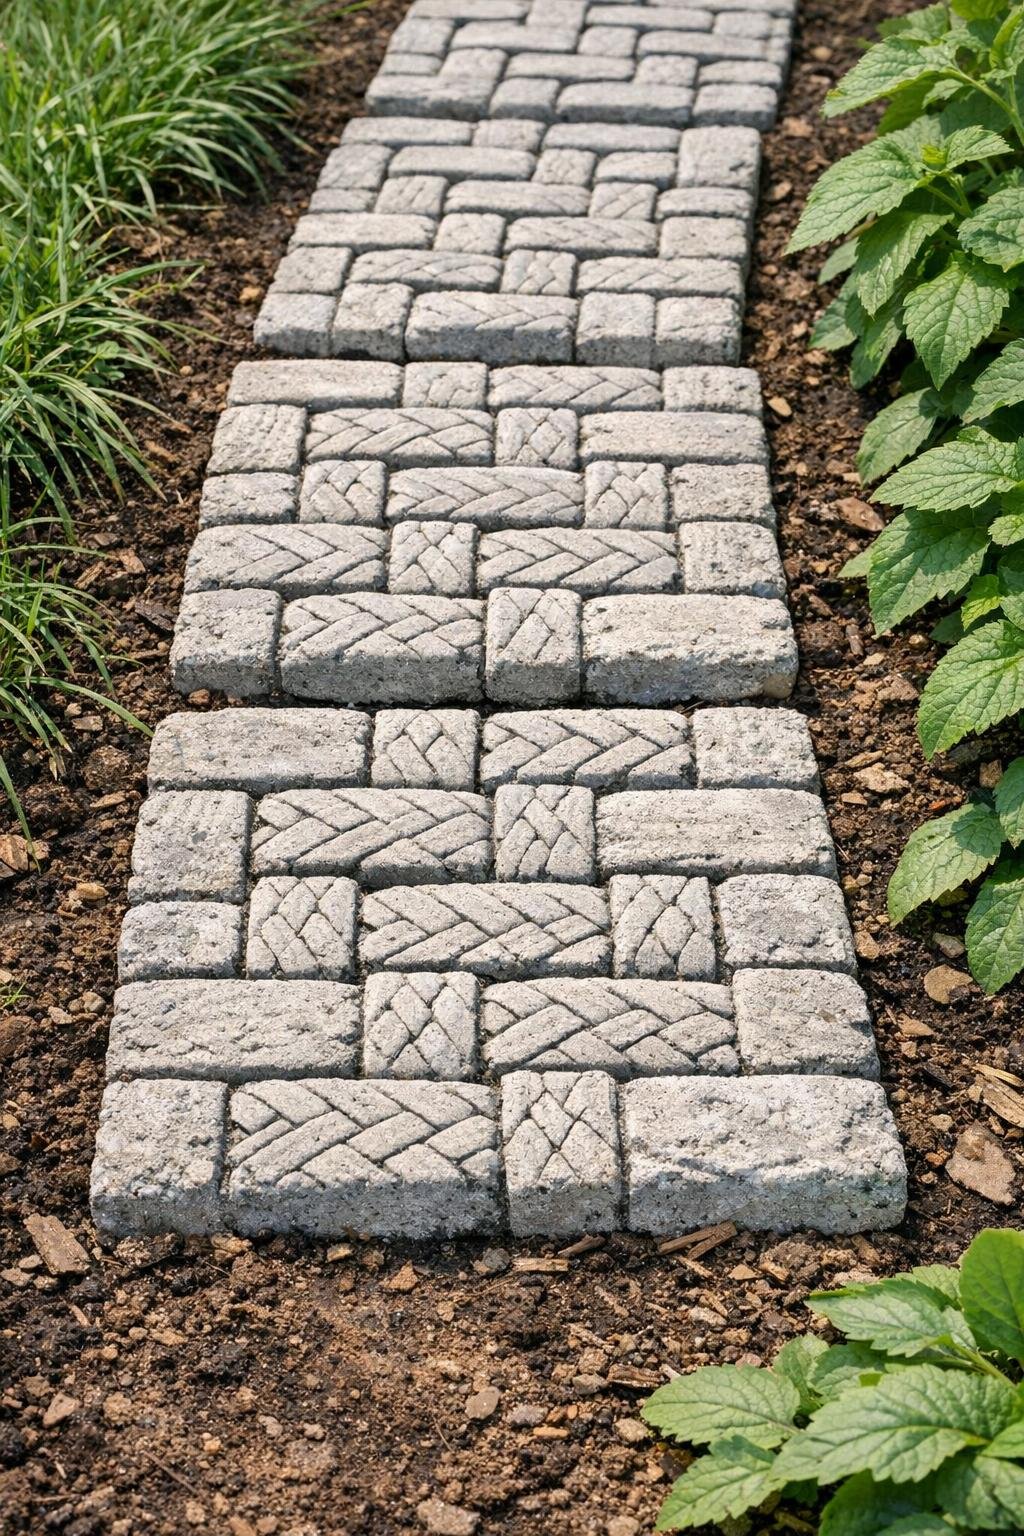
I’ve always had a soft spot for garden paths that look like they’ve been there for years, the kind that seem to belong to the land. Out here in the Midwest, I grew up seeing weathered stone walks leading to kitchen gardens, clotheslines, and back porches, and that look still feels like home to me. These woven-texture garden pavers are a clever way to capture some of that old-world charm with simple materials, and the plastic placemats leave a pattern in wet cement that looks surprisingly like hand-carved stone.
This is a good project for anyone who wants a sturdy, budget-friendly path, stepping stones for a flower bed, or just a few decorative pavers tucked into the garden. I especially like that you don’t need fancy molds to make them. A shallow cardboard box, a bag of cement mix, and a woven placemat can turn into something that looks far more expensive than it is.
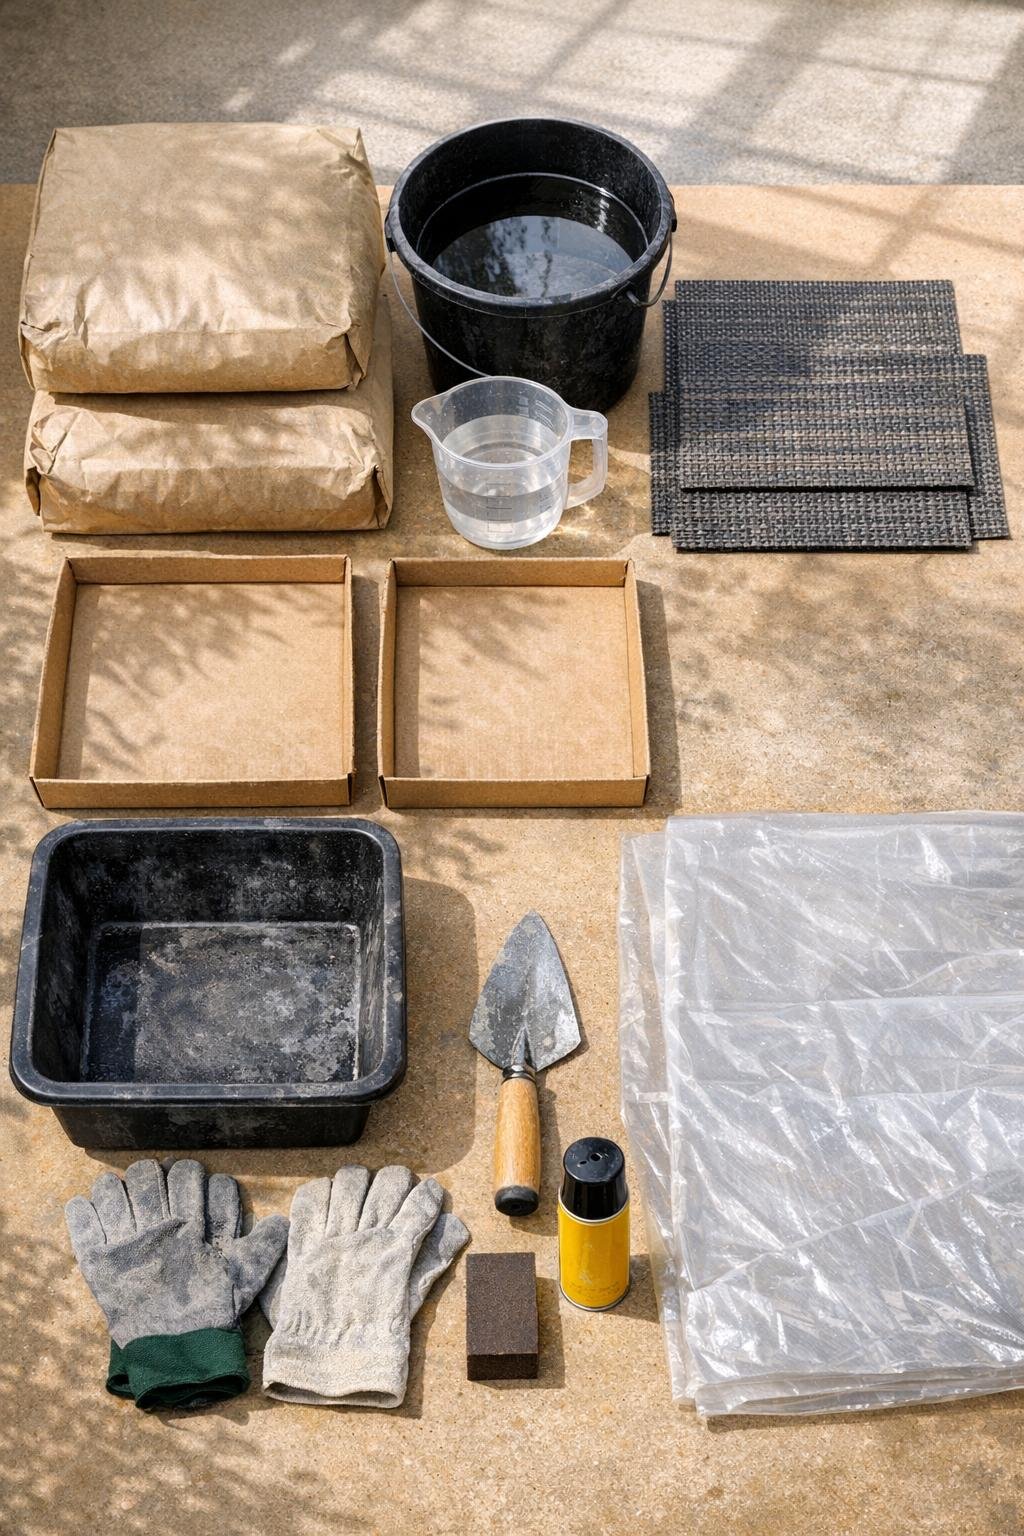
Materials
Instructions
1. Choose a flat outdoor work surface and cover it with a plastic drop cloth. Set your cardboard boxes on top and make sure they sit level so the pavers cure evenly.
2. Trim the boxes if needed so each one is shallow and tray-like, about 1 1/2 to 2 inches deep. Press the corners into shape and tape weak seams from the outside if the cardboard feels flimsy.
3. Lightly coat the inside bottom of each box with cooking spray or vegetable oil. This helps the cardboard release more easily after the cement has hardened.
4. Cut the woven placemats to fit inside the boxes with about 1/2 inch clearance on all sides. Set them aside with the textured side facing down so they are ready to press into the wet surface.
5. Pour the concrete mix into your mixing tub and add water a little at a time. Stir until the mixture is thick like stiff oatmeal, wet enough to spread but not soupy.
6. If you want a more natural stone finish, stir in up to 1 cup of dry play sand. This softens the finished look and gives the surface a slightly less uniform texture.
7. Fill each cardboard box with 1 1/2 to 2 inches of wet cement and tap the boxes gently on the table or ground to settle the mix and release air bubbles. Smooth the top with a trowel, knowing this top will become the back of the paver.
8. If you are using reinforcement, press a piece of hardware cloth into the center of the wet cement and cover it with a little more mix. Smooth again so no mesh is exposed.
9. Lay a placemat onto the wet cement in each box, textured side down, and press it evenly with your hands. Push gently but firmly so the pattern sinks into the surface without forcing the mat all the way through.
10. Check that the placemat is making full contact, especially at the corners and edges. If one spot looks shallow, press that area again with flat palms or the back of a clean trowel.
11. Leave the placemats in place and let the pavers cure undisturbed for 24 to 48 hours, depending on temperature and humidity. In hot, dry weather, lay a loose sheet of plastic over the tops so the cement does not dry too quickly and crack.
12. Peel away the placemats carefully, then tear off the cardboard molds. If the pavers still feel cool and soft at the edges, give them another day before moving them.
13. Sand or rub down any sharp edges with medium-grit sandpaper or a sanding block. I like to soften the corners just a bit so the pavers look worn in, like they’ve seen a few seasons already.
14. Let the pavers finish curing for about 5 to 7 days before placing them in the garden. Set them on level soil or a thin bed of sand so they sit flat and don’t rock underfoot.
Variations & Tips
For a darker stone look: Blend a small amount of charcoal or gray cement colorant into the mix before adding water. It gives the pavers a deeper tone that looks especially handsome among hostas and evergreens.
For irregular edges: Don’t worry about making every side perfectly straight. Slightly uneven edges actually help these read more like old stone than factory-made stepping blocks.
For smaller stepping stones: Cut the boxes and placemats into squares, narrow rectangles, or even long border pieces. This is a nice way to use up leftover mix without wasting a spoonful.
For easier release: If a placemat sticks, dampen it lightly and peel slowly from one corner rather than tugging straight up. Most plastic woven mats come away cleanly once the cement has firmed.
For safer lifting: These pavers can get heavy fast, so make them smaller if you need easier handling. I’ve learned over the years that a project is a lot more enjoyable when you can move it without calling in half the family.
For best placement: Set the pavers where water drains well and the ground stays fairly level. A little preparation underneath goes a long way toward keeping them steady through rain, frost, and muddy spring thaws.