
I love a project that looks far more considered than it costs, and these upgraded pool noodle luminaries are exactly that. At heart, they’re still the wonderfully simple idea of slicing pool noodles into short cylinders and tucking in battery-powered LED lights, but with softer, moodier colors and a few easy finishing touches, they shift from playful summer craft to something that feels right at home in a late-summer or early-fall backyard.
Because I spend so much of my life thinking about atmosphere around a table, I’m especially fond of outdoor projects that help a space feel inviting without a lot of fuss. These little glowing lantern forms are ideal for lining a path, warming up a seating area, or building clustered light moments around planters and steps. If you can cut a noodle and press in a light, you can make these.
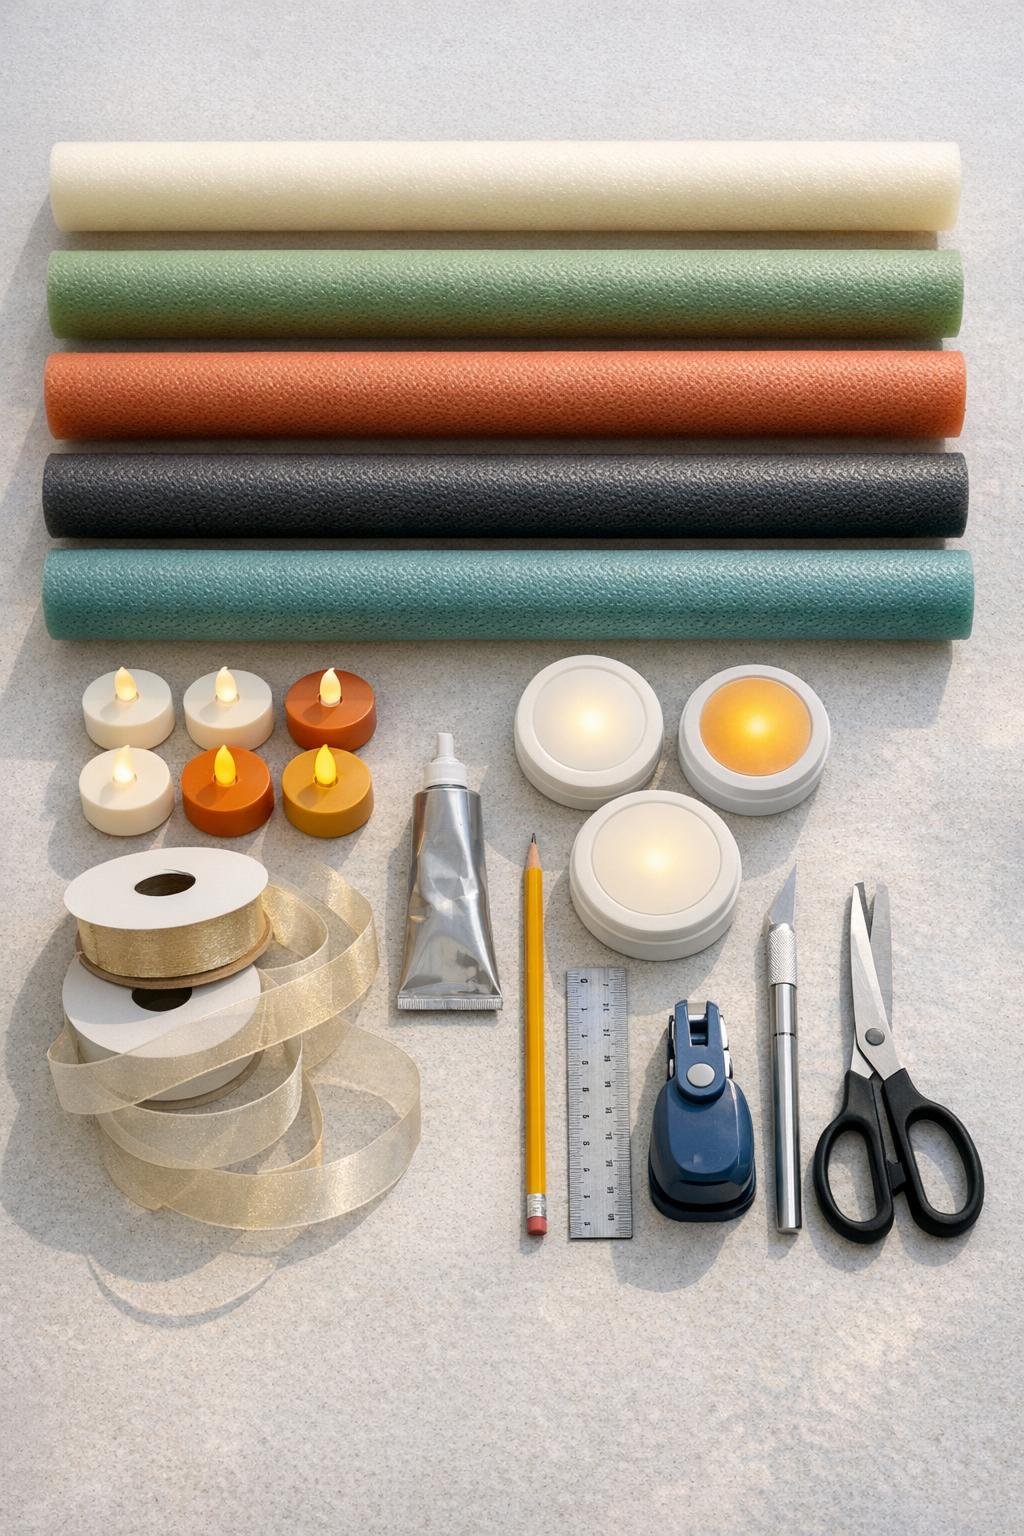
Materials
Instructions
1. Sort your pool noodles by color and decide on a palette before cutting; I like mixing cream, sage, terracotta, charcoal, and muted teal so the finished group feels soft and autumnal rather than bright and toy-like.
2. Measure and mark the noodles into mixed heights of 4 inches, 6 inches, and 8 inches; this variation is what gives the final arrangement that boutique garden-party look.
3. Cut the noodles straight across at each mark using a sharp craft knife or serrated utility knife, keeping the cylinders as even as possible so they stand neatly.
4. Test-fit an LED light inside one piece; the light should sit snugly in the center opening without disappearing too deeply or falling out when the piece is moved.
5. Trim the top edge of a few cylinders into shallow scallops if you want a dressier silhouette; keep the curves gentle and even so the shape still feels clean.
6. Add narrow vertical slits to some of the taller pieces with a hole punch or small blade, spacing them about 1/2 inch apart near the top third to create a prettier glow pattern at dusk.
7. Wrap a few cylinders with a single band or loose crisscross of weather-safe sheer ribbon, securing the ends with a small dot of outdoor-safe adhesive on the back.
8. Insert one LED light into each cylinder, pressing it down just enough to sit securely while leaving the glow visible from the top and through any slits.
9. If you are styling pieces inside lanterns or empty planters, add a layer of gravel first, then nestle the luminaries into it so the group stays upright outdoors.
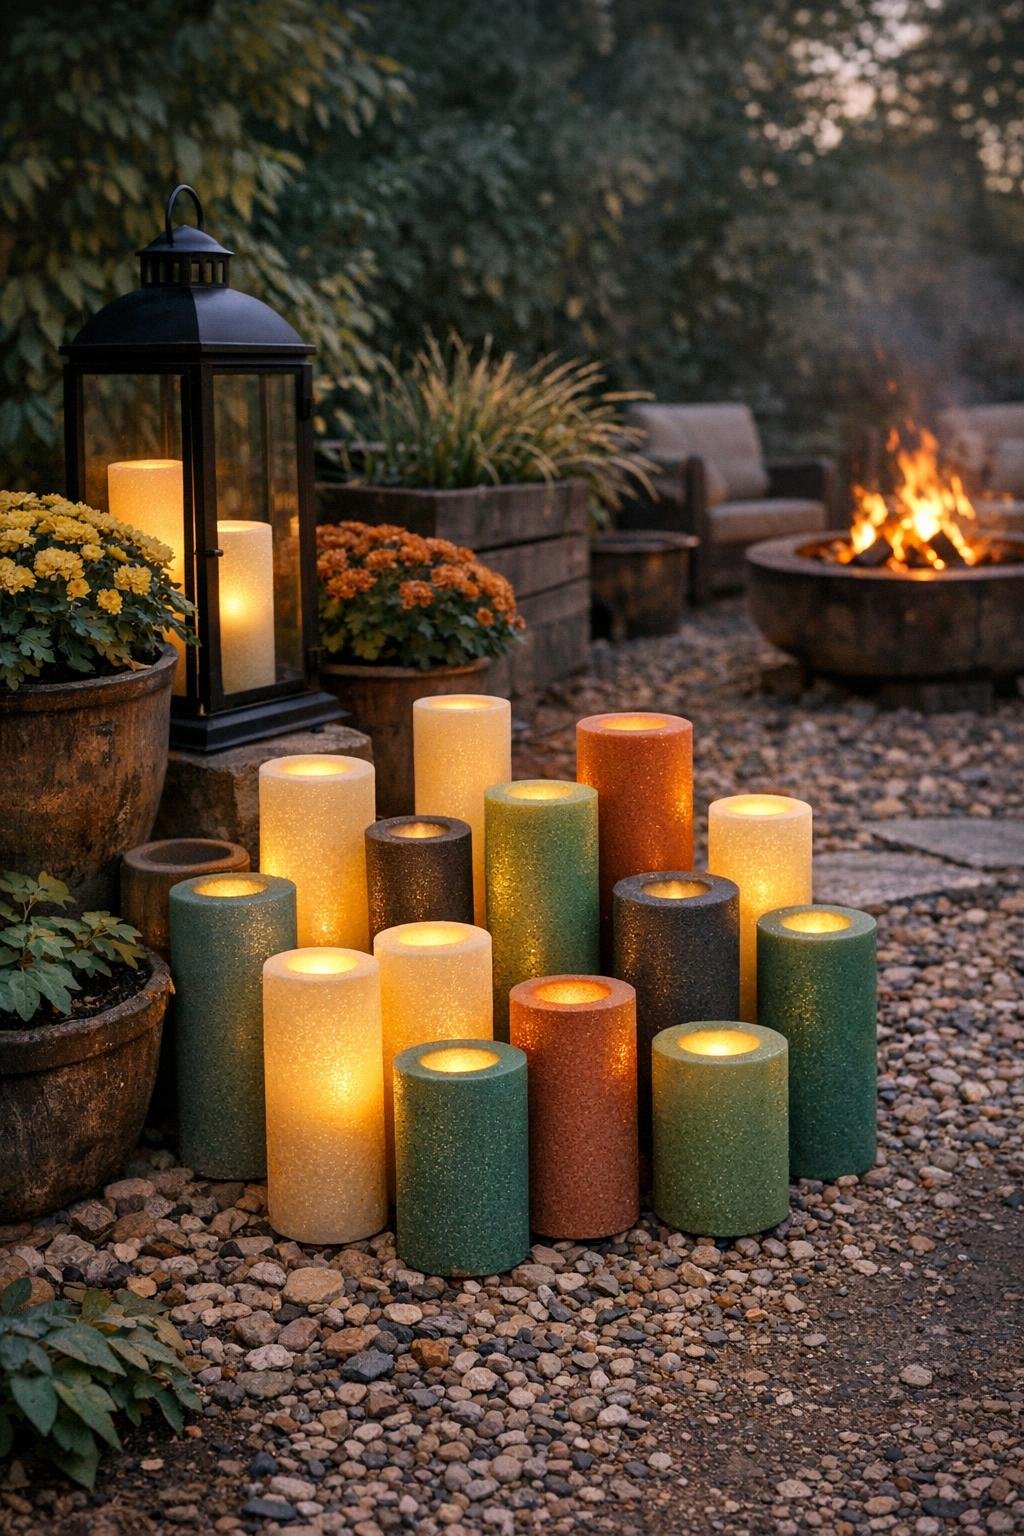
10. Arrange the finished luminaries in odd-numbered clusters of 3, 5, or 7, mixing heights and colors in each group for a more natural, polished effect.
11. Line a pathway with evenly spaced pieces, or tuck grouped clusters around seating areas where you want a gentle pool of light rather than a bright spotlight.
12. For water use, float only a couple in a stock tank or small water feature if your lights are fully sealed and rated for that purpose; otherwise keep all luminaries on dry ground.
Variations & Tips
Best light choice: I strongly recommend solar or rechargeable LED tea lights or puck lights, because replacing dozens of button batteries is nobody’s idea of a relaxing evening.
Color strategy: Stick with muted tones and a limited palette so the display reads as intentional; too many bright colors can push the look back toward pool-party décor.
Lantern styling: A few of these tucked inside oversized outdoor lanterns look especially charming near the front porch or beside a bench, and a couple of pots of fall mums nearby complete the scene without much effort.
Planter centerpiece idea: If you have an empty planter by the door, fill the bottom with gravel and group tall and short glowing pieces inside for a simple centerpiece effect that reads beautifully after sunset.
Path and seating placement: Keep 12 to 18 inches between single pathway pieces, or cluster them more tightly around a seating area so the light feels gathered and cozy.
Water-safe version: If you want to float a couple in a stock tank or small water feature, use only sealed lights rated for wet conditions and test one first before making the full batch.
Wind tip: In breezy yards, use heavier gravel inside lanterns or planters and place freestanding luminaries in protected corners, along step edges, or close to larger pots for stability.
Easy entertaining upgrade: I like making a few extra in cream and charcoal just for the table zone, because repeating those quieter shades near food and drinks makes the whole backyard feel more pulled together.