
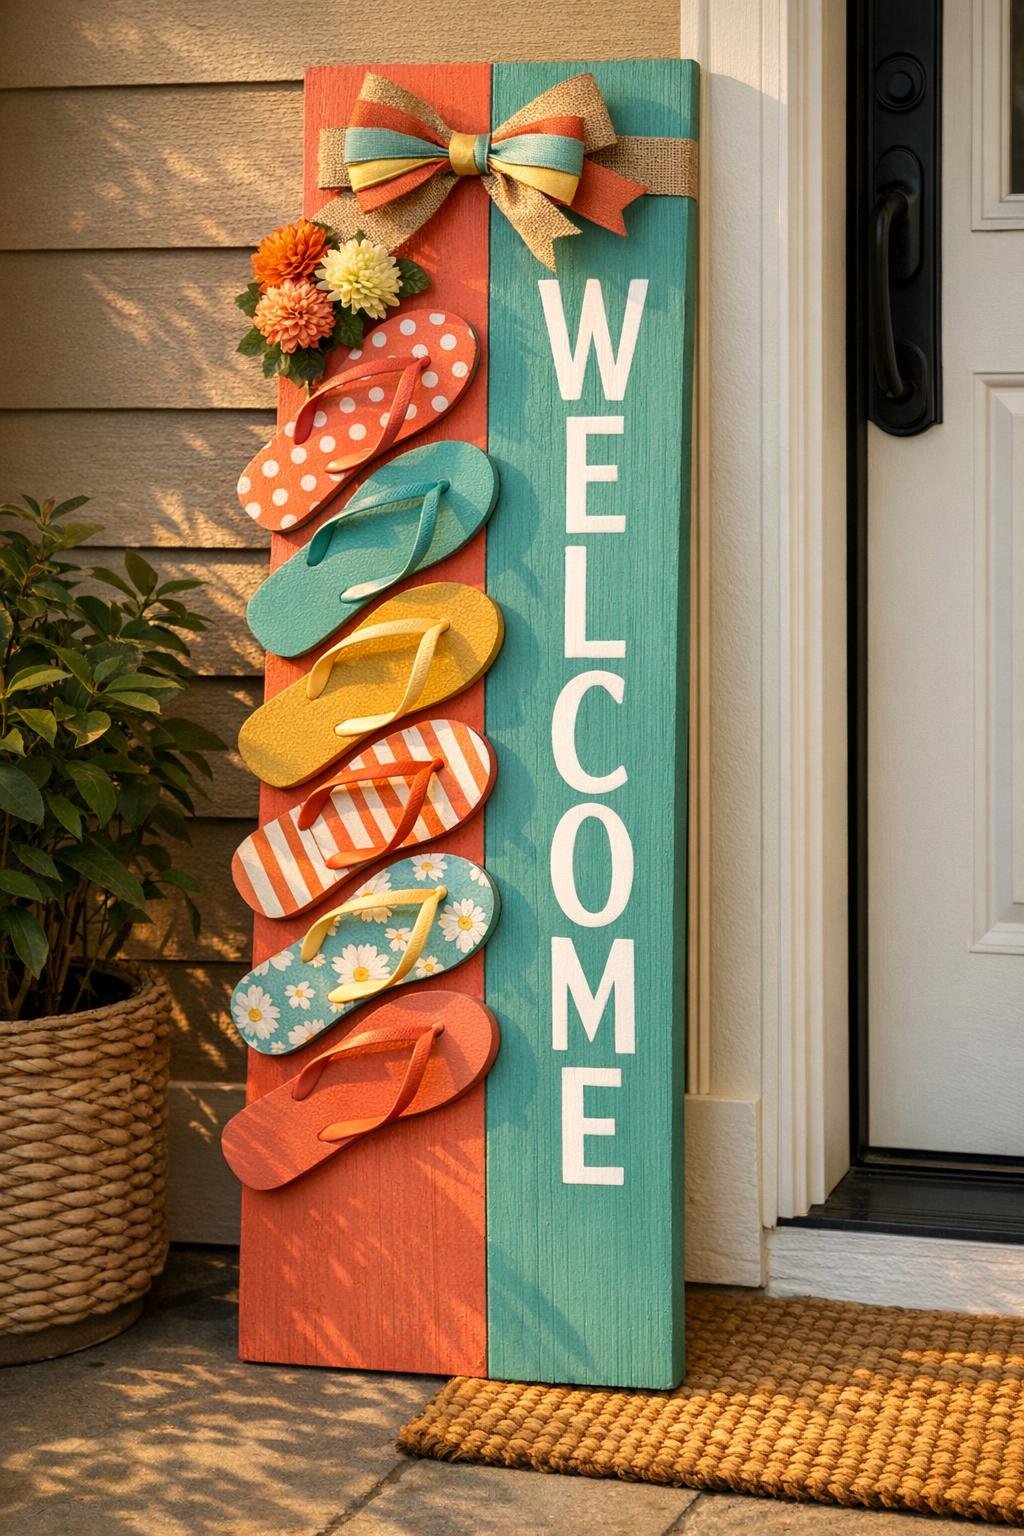
There is something about a front porch project that can lift the whole mood of a home, and this flip flop welcome sign does exactly that. I’ve seen plenty of versions over the years, but this refreshed take feels a little tidier and more polished while still keeping the easy, no-fuss charm that makes the idea so appealing. We’re simply gluing colorful flip flops onto a vertical board, adding a cheerful greeting, and finishing it with ribbon and a touch of faux florals or greenery for a porch piece that feels bright, handmade, and ready for guests.
I especially love this project for folks who want big color and personality without dragging out a workshop full of tools. If you can arrange, glue, and paint simple letters, you can make this. It’s also a fine way to use thrifted flip flops, and around here I always appreciate a craft that can bridge late summer into early fall with just a small change in color and trim.
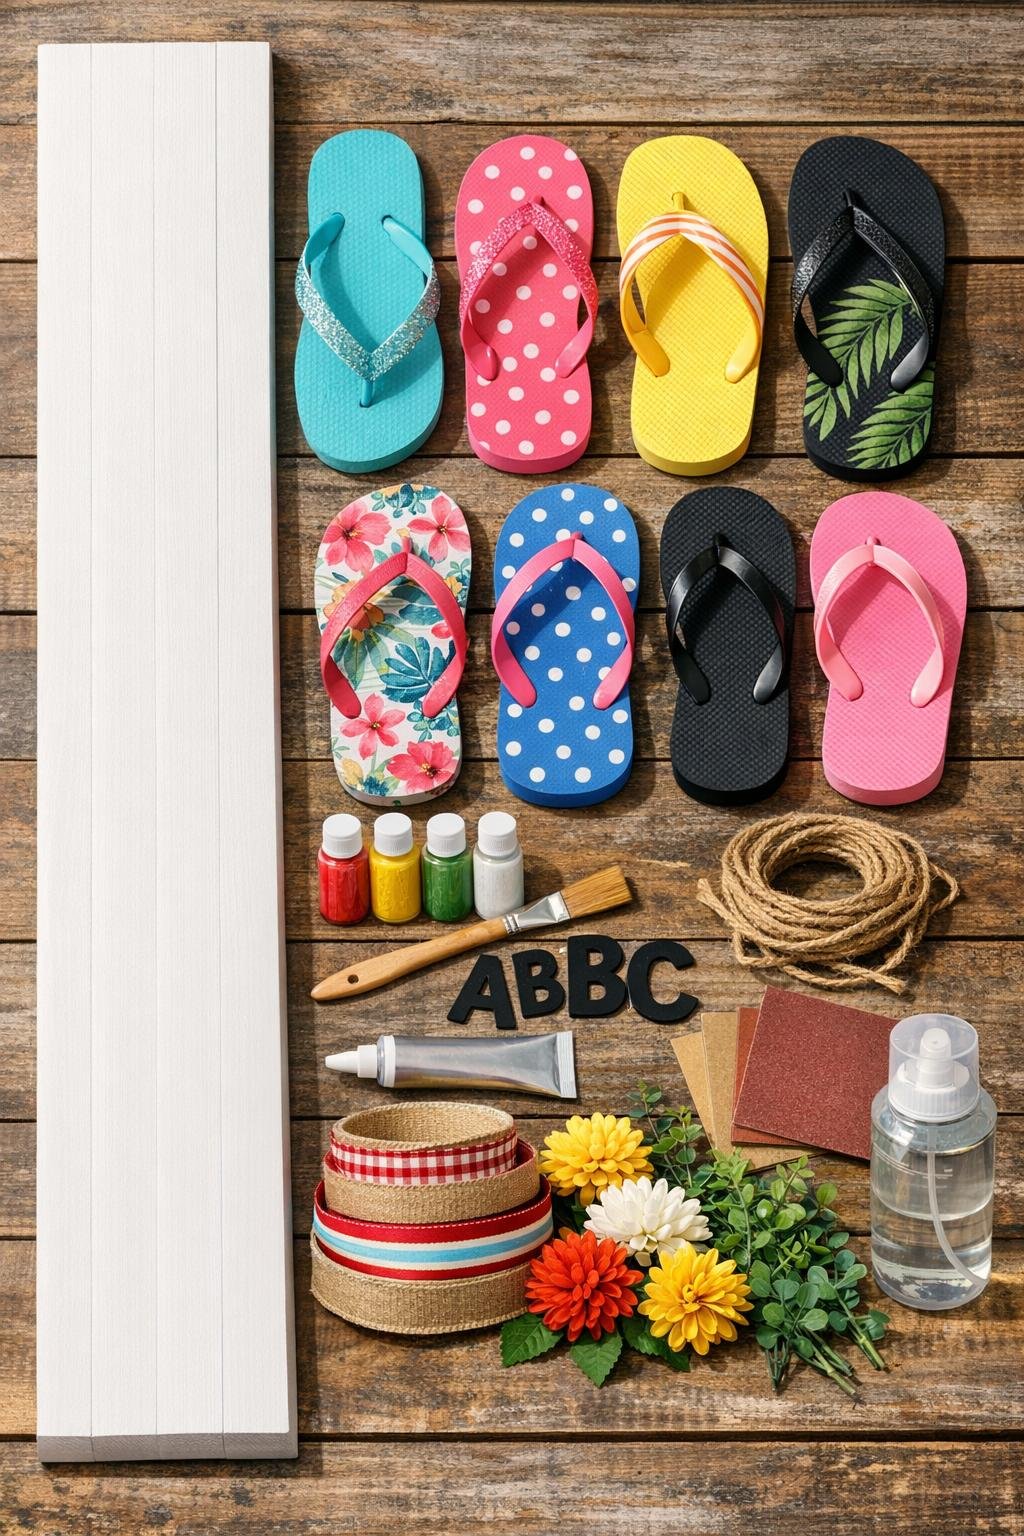
Materials
1 vertical wood porch board, 1 x 8 inch board cut to 36 inches long, or 1 slim pallet-style board about 30 to 36 inches tall
Instructions
1. Clean the board and flip flops well so glue and paint will stick, then let everything dry completely. If the board feels rough, sand it lightly and wipe away the dust.
2. Paint the board in a simple color-blocked design using two coordinating colors, such as a solid lower section with a contrasting top band, and let it dry. Add a second coat if the wood shows through.
3. Lay the flip flops on the board before gluing and test a cleaner arrangement, either a gentle cascading line from upper left to lower right or a loose wreath-like oval through the center. Aim for 5 to 7 sandals with a little overlap so the layout looks full but not crowded.
4. Once you like the layout, take a quick photo for reference and mark light placement points with a pencil. This little step saves a lot of fuss later, and I’ve learned that the hard way more than once.
5. Glue the flip flops onto the board one at a time, pressing each firmly into place according to your marks. Let the adhesive cure as directed so the sign will hold up outdoors.
6. Add your greeting in the open space on the board with painted letters or decals, centering HELLO or WELCOME where it reads clearly without covering the sandals. If you are painting by hand, use light pencil guidelines first.
7. Tie the two ribbons together into a layered bow or looped hanger and attach it securely at the top of the board with glue and the twine or wire. Keep the ribbon full but neat so it frames the sign instead of overpowering it.
8. Glue a small cluster of faux mums and greenery near the top or side of the arrangement, keeping it off to one side for a fresher, more balanced look. A small cluster is enough to soften the sign and give it that early-fall porch transition.
9. Finish the whole project with a light coat of outdoor sealer on the painted board and any painted lettering, avoiding heavy spraying on fabric ribbon or faux flowers. Let everything dry fully before hanging it on a covered porch or protected entry.
Variations & Tips
Coastal brights: Try turquoise, coral, sunny yellow, and white with striped or floral flip flops for a lively summer porch look that still feels clean and pulled together.
Pastel cottage: Use soft pink, mint, pale aqua, and creamy white with tiny printed sandals for a gentler version that looks sweet on a cottage porch or garden entry.
Black-and-white pop: Paint the board in black and white, then use one bold sandal color such as red, teal, or lime. This is one of the easiest ways to make the project look modern without changing the simple method.
Late-summer to fall shades: Coral, teal, mustard, and soft orange make a lovely bridge into autumn, especially with faux mums tucked near the top. Around my place, those colors feel cheerful clear into harvest season.
Thrifted flip flops: Secondhand sandals are perfect here, just be sure they are clean and dry before using. Mixed prints often look more interesting than a perfectly matched set, which is a nice little reminder that handmade things do not need to be fussy to be beautiful.
Weatherproofing: Use outdoor-safe glue and sealer, and display the sign on a covered porch for the longest life. If your entry catches hard rain or afternoon sun, choose vinyl letters instead of hand-painted ones for extra durability.
Keep it balanced: When arranging the flip flops, leave a little breathing room around the greeting and the floral cluster. A cleaner layout is what gives this updated version its more polished feel.
Make it year-round: Swap ribbon and florals with the seasons while keeping the same board and flip flop base. That way you get a happy handmade porch sign that can change right along with the calendar.