
There is something so satisfying about taking a plain gray concrete patio and giving it the feeling of a well-dressed outdoor room. This painted “rug” is one of those projects that looks far more expensive than it is, and it has the added little surprise of a glow-in-the-dark border that makes the whole space feel magical after sunset. It reminds me of the practical sort of beautifying my mother and aunts always did—making simple things feel special with a little paint, patience, and good sense.
If you have a sealed concrete patio and want a weekend project that adds color, pattern, and charm without hauling around a heavy outdoor rug, this is a wonderful one to try. It is especially good for beginners, because the design is built from repeat stenciled shapes, and you can make it as bold or as simple as you please.
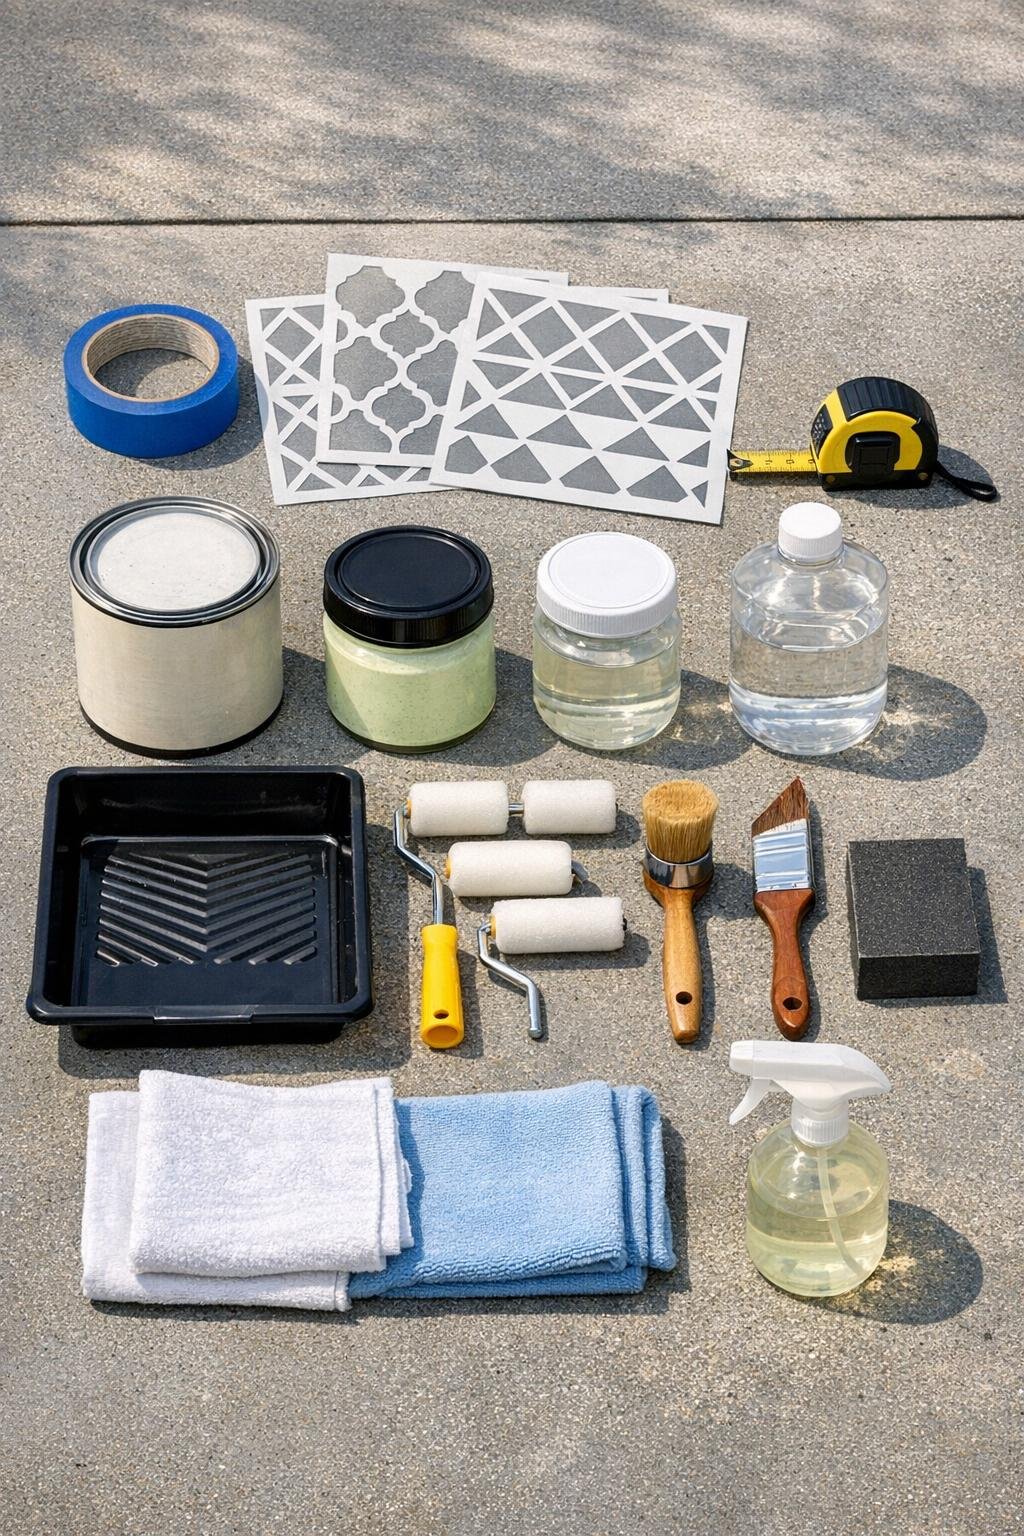
Materials
1 sealed concrete patio area, approximately 5 ft x 7 ft for the painted rug
Instructions
1. Sweep the patio well, then wash the sealed concrete area with degreaser and a damp cloth to remove dust, pollen, and any oily residue. Let the surface dry completely before you begin marking anything.
2. Lightly scuff only the area to be painted with a fine 220-grit sanding block, then wipe away all dust with a clean damp cloth. This gentle step helps the paint grip better on an already sealed surface.
3. Measure and mark a rectangle for your rug, about 5 ft x 7 ft or sized to fit your seating area, keeping it centered on the patio. Snap chalk lines or draw light chalk guidelines so the edges stay straight.
4. Tape along the outer edges of the rectangle with painter’s tape, pressing the tape down firmly so the border comes out crisp. Cover nearby areas with a drop cloth if you are working close to furniture, siding, or steps.
5. Roll on a thin, even coat of your base color inside the taped rectangle with a small foam roller. Let it dry according to the paint directions, then add a second thin coat if the concrete still shows through unevenly.
6. Find the center of the painted rectangle and position your stencil there first so the pattern looks balanced from side to side. Secure the stencil with small pieces of painter’s tape to keep it from shifting.
7. Load the stencil brush or foam roller with a small amount of pattern paint, then offload the excess onto the tray or a paper towel before painting through the stencil. Use a light dabbing motion instead of heavy brushing to prevent bleeding under the edges.
8. Repeat the stencil across the rug, working from the center outward and lining up each repeat carefully. Lift the stencil straight up after each section and allow painted areas to set for a minute or two before overlapping the stencil nearby.
9. Fill in partial stencil areas at the edges as needed, and use a small artist brush to sharpen any spots where the paint bled or a corner looks thin. Let the full design dry thoroughly before adding the glowing border.
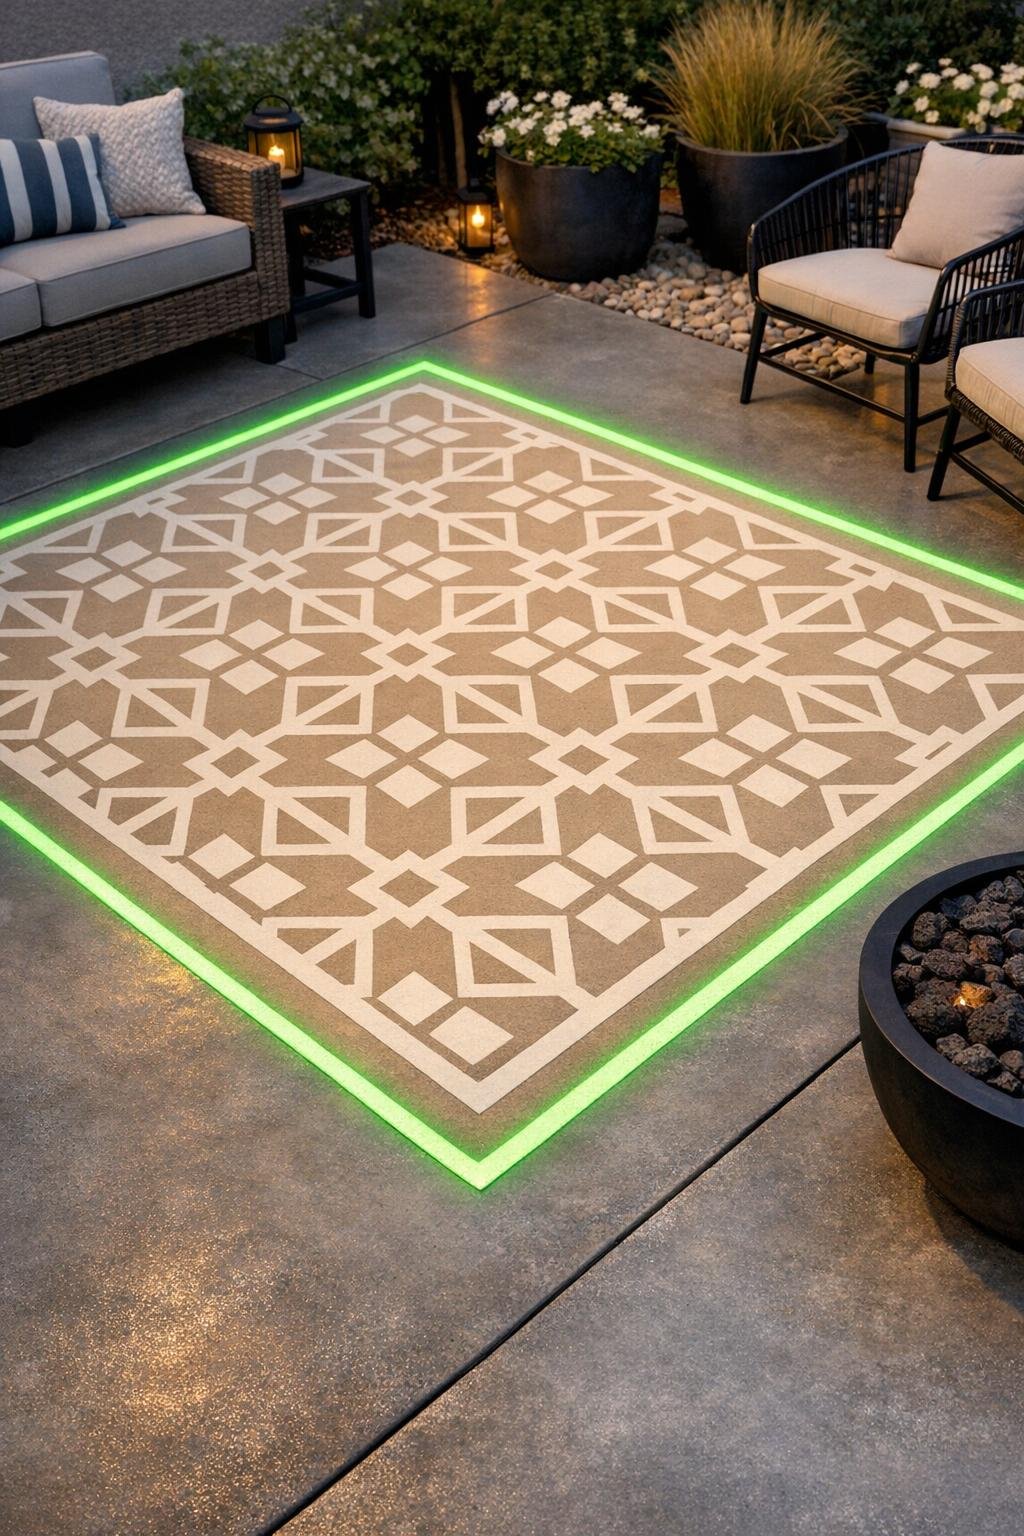
10. Tape off a border around the rug, about 2 to 3 inches wide, either just inside the edge or just outside the patterned field depending on the look you want. Paint the border with glow-in-the-dark paint using an angled brush or small roller, applying 2 to 3 thin coats for the best nighttime effect.
11. Peel the tape away slowly while the final border coat is still slightly tacky so the edges stay clean. Allow all paint layers to cure fully based on the manufacturer’s instructions before sealing.
12. Apply a thin, even coat of clear exterior concrete sealer over the entire painted rug once the paint has fully cured. Let the sealer dry completely, then keep foot traffic off the area for the recommended cure time so your new outdoor rug lasts nicely.
Variations & Tips
Color choice: For a softer farmhouse look, use warm white and taupe; for something bolder, try black and white with a pale green glowing edge. I find darker stencil colors hide outdoor dust a little better between cleanings.
Stencil sizing: Large geometric shapes are easier to line up and quicker to paint on a patio-size surface. If you choose a small stencil, be prepared for more repetition and a longer afternoon.
Glow effect tip: Glow paint charges best in strong sunlight, so place the rug where it gets a good amount of daytime light. Two or three thin coats usually glow better than one thick one.
Durability: On high-traffic patios, a second coat of sealer can be worthwhile after the first has dried fully. In our part of the world, where weather likes to test everything, that little extra protection often pays off.
Cleaning and upkeep: Clean the painted rug with a soft broom and a damp mop or cloth rather than a harsh pressure wash. A fresh coat of sealer every year or two will help keep the pattern looking crisp.
Layout tip: Always dry-fit the stencil pattern before painting so you do not end up with awkward slivers at one end. I learned long ago, whether with pie crust or paint, that a little planning saves a lot of patching later.