
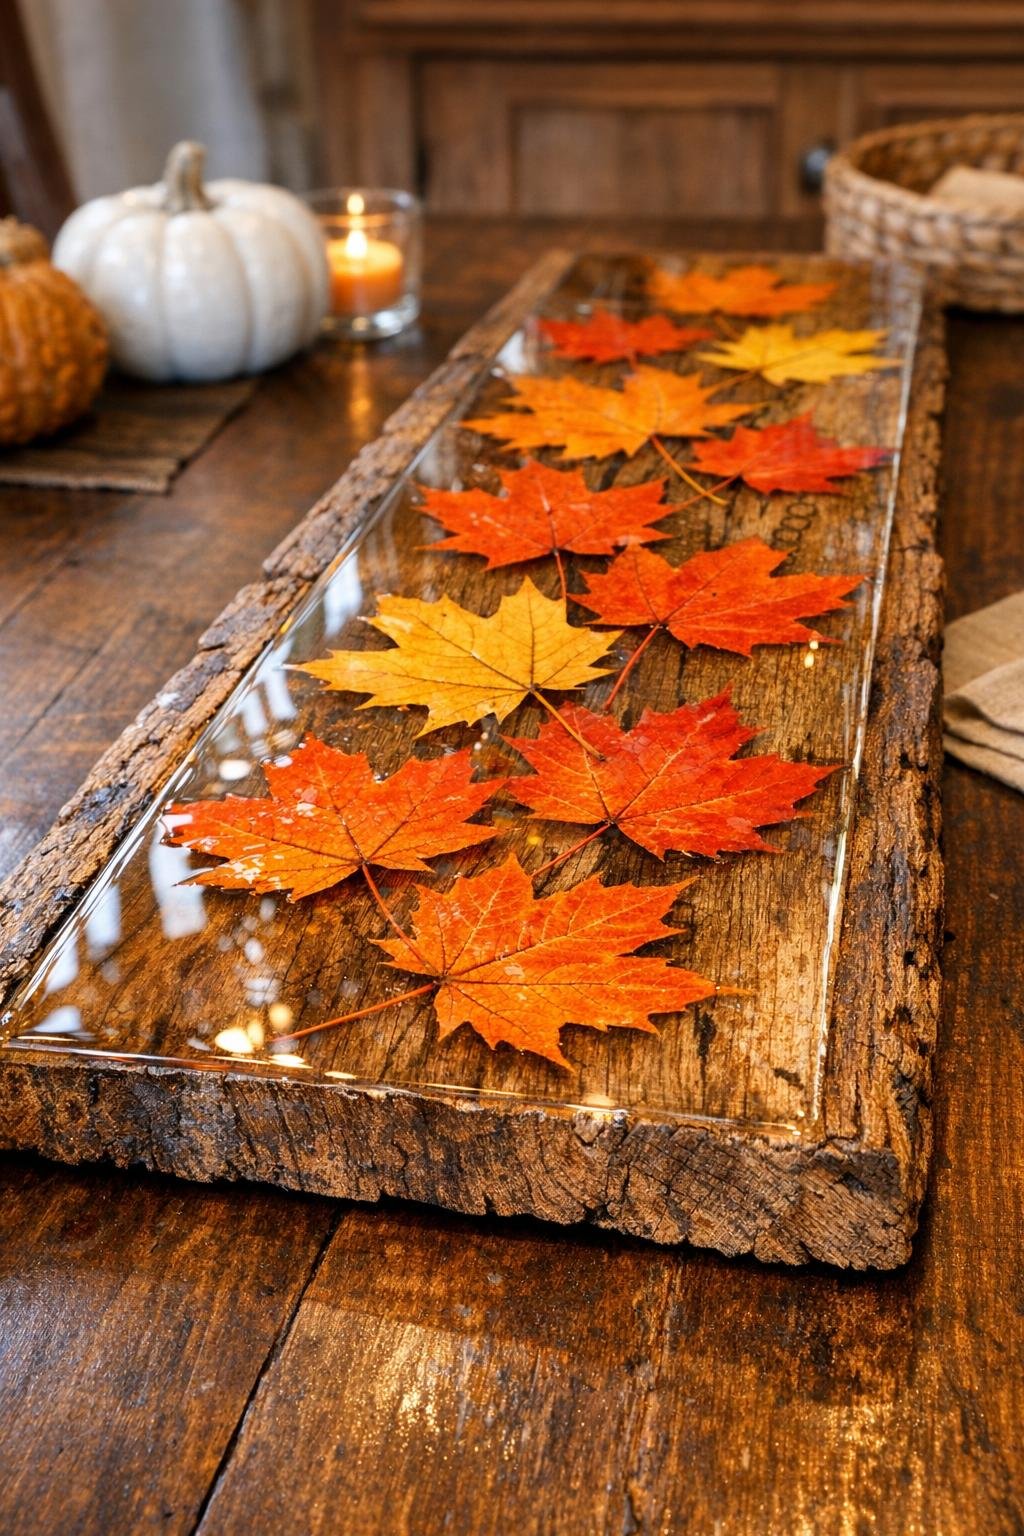
This fall harvest table runner looks like something you’d spot in a little boutique and hesitate over because it’s just too pretty to pass up. The good news is that it’s very doable at home: preserved maple leaves are arranged over a reclaimed wood plank, then sealed under a glossy layer of clear resin for a smooth, durable finish that really lets those autumn colors glow.
I love projects like this because they make a table feel special without a lot of fuss, and as a mom who’s always looking for simple ways to make family dinners feel a little more memorable, this one checks every box. If you like cozy seasonal décor, natural materials, and a project with a big visual payoff, this is a lovely one to try.
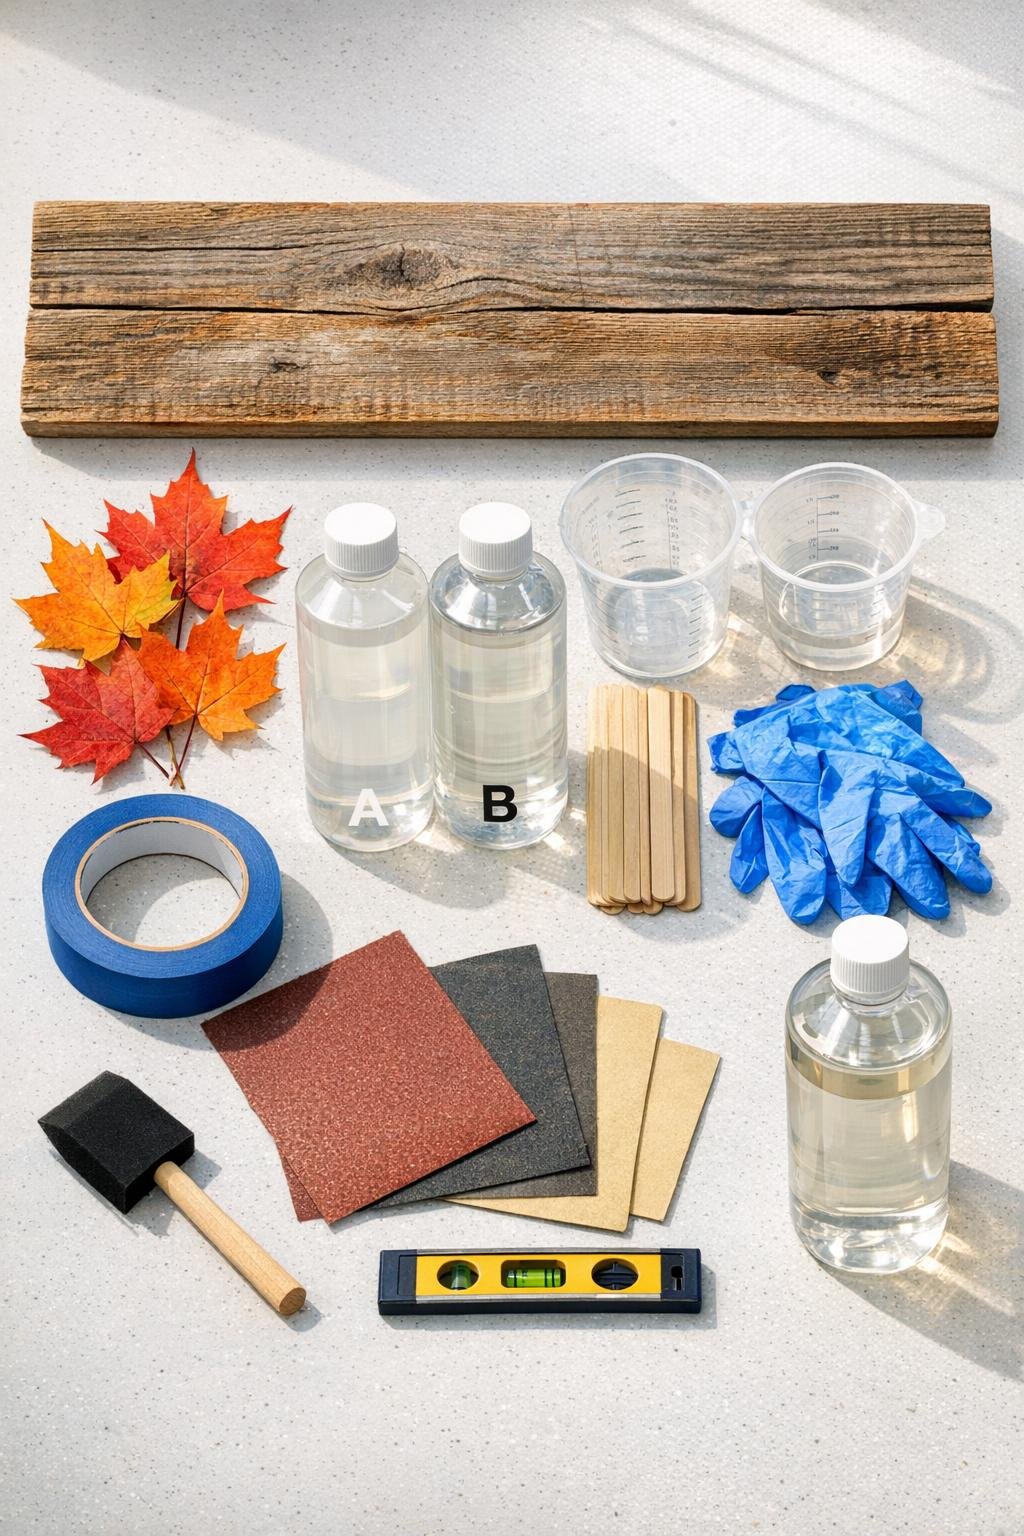
Materials
1 reclaimed wood plank, 1 inch thick, 8 inches wide, 36 inches long
Instructions
1. Set up your workspace on a flat surface in a dust-free, well-ventilated room, then cover the table and prop the wood plank up on painter’s pyramids or scrap blocks.
2. Sand the top and edges of the reclaimed plank with 120-grit sandpaper first, then smooth it with 220-grit until the surface feels even but still keeps its rustic character.
3. Wipe away all dust with a lint-free cloth, then brush on a thin coat of clear wood sealer over the top and edges so air won’t escape from the wood into the resin later.
4. Let the sealer dry fully according to the product directions, then lightly sand with 220-grit and wipe clean again.
5. Tape the underside edges of the plank with painter’s tape to catch drips, and use the small level to make sure the board is perfectly flat before pouring resin.
6. Arrange the preserved maple leaves on the plank without adhesive, overlapping them slightly until you like the look and leaving about 1 inch of wood visible around the outer edge.
7. Mix a small batch of resin according to the manufacturer’s ratio, stirring slowly for the full recommended time so you don’t whip in extra bubbles.
8. Brush a very thin layer of mixed resin onto the plank where the leaves will sit, then gently press each leaf into place to help hold it steady.
9. Mix the remaining resin, pour it slowly over the center of the board, and spread it toward the edges with a stir stick or gloved hand until the leaves are fully covered.
10. Pass a heat gun or small torch quickly over the surface to pop bubbles, keeping it moving and staying several inches away so the resin stays clear and the leaves do not scorch.
11. Check the surface again after 10 minutes and pop any new bubbles that rise, then leave the plank covered loosely with a clean box or bin to cure without dust settling into it.
12. Let the resin cure fully for the time listed on the package, then peel off the tape and trim or sand away any hardened drips on the underside edges.
Variations & Tips
For a longer table: Use a 48-inch plank instead of a 36-inch one and increase the resin and leaf count by about one-third so the design still looks balanced.
For picky decorators: If your family likes a simpler look, stick to just one leaf color such as all orange or all deep red for a cleaner, less busy finish.
Leaf choice: Fully dried, flat preserved leaves work best because fresh leaves can trap moisture and cause cloudiness or discoloration under the resin.
Wood tone: If your reclaimed plank is very rough or patchy, you can apply a light walnut or golden oak stain before sealing to warm it up and make the fall colors stand out even more.
Bubble control: Warming the resin bottles in lukewarm water for 10 to 15 minutes before mixing can help reduce bubbles, but dry the bottles completely before opening them.
Food table note: I use this as a decorative runner, not a direct food-prep surface, and I usually set serving dishes, candles, or a bowl of little pumpkins on top for an easy fall centerpiece.
Storage: Wrap the cured runner in a soft cotton sheet or towel and store it flat between seasons so the glossy surface stays scratch-free.