
I love a porch project that makes a big visual difference without turning into a full weekend renovation, and this floating plant shelf is exactly that. It’s a set of weathered cedar boards suspended with thick nautical rope from ceiling hooks, hanging right over a porch railing so you get that layered, airy look without giving up floor space. If you’re trying to fit more plants onto a small porch or just want your outdoor space to feel more finished, this is one of those projects that looks custom but is very doable.
As someone who is always juggling work, dinner plans, and the “I’ll get to it this weekend” list, I really appreciate projects like this one. You can build it with a few basic materials, and once it’s up, it instantly makes the porch feel warmer and more intentional. I especially like it for anyone who wants a practical plant display that still has a relaxed, coastal vibe.
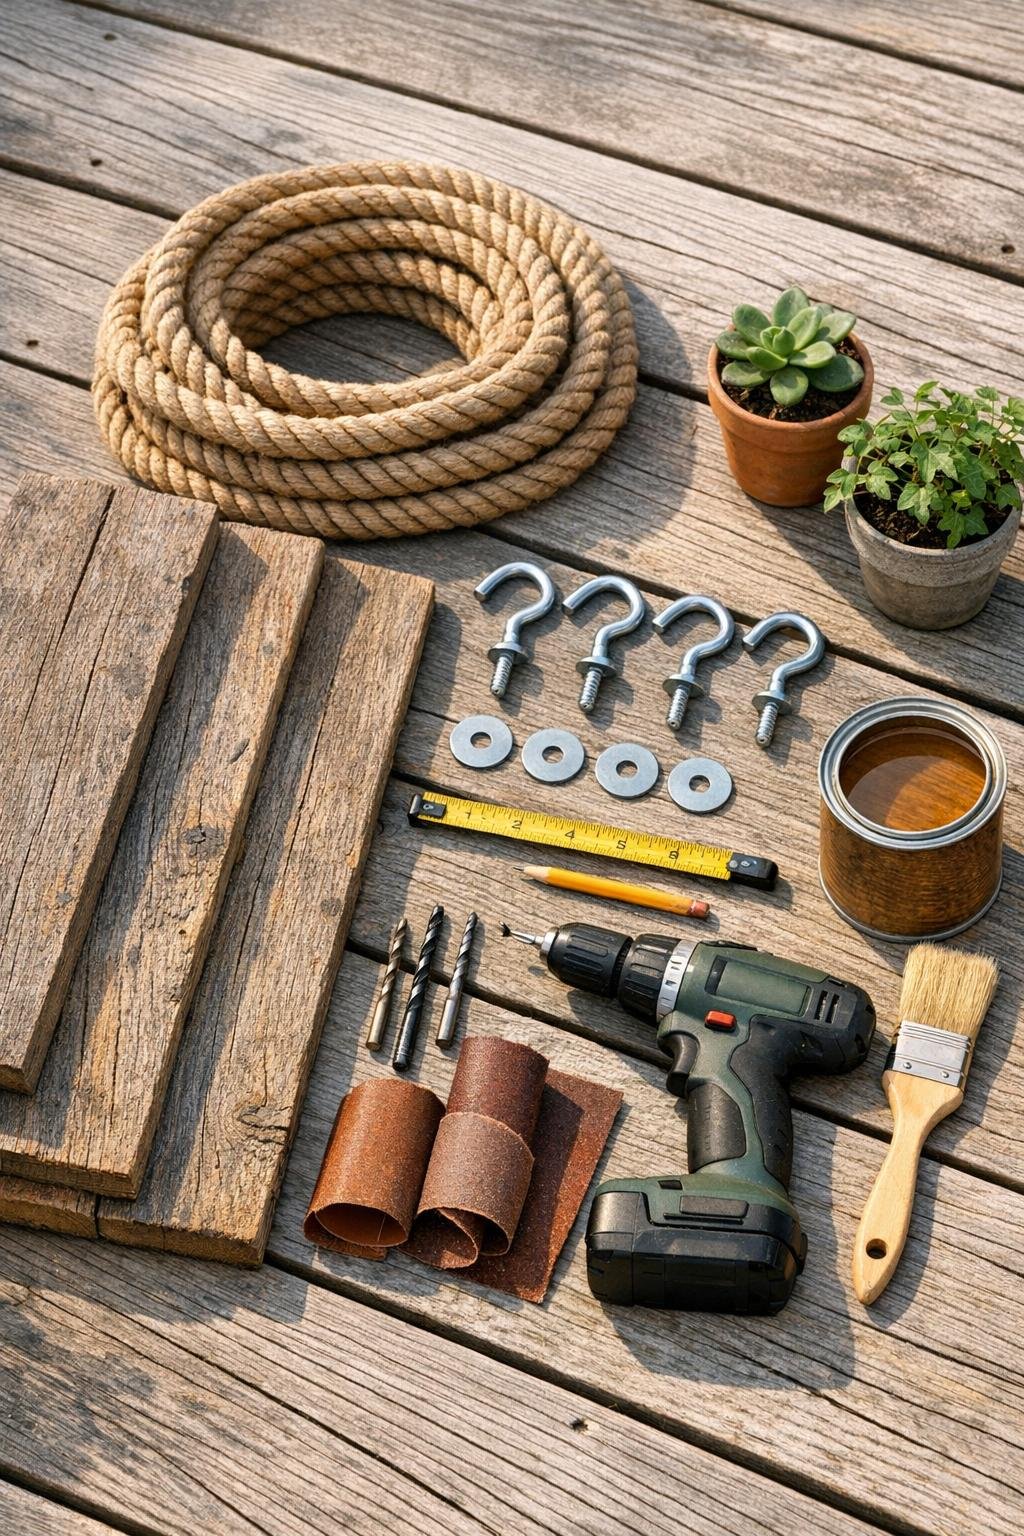
Materials
Instructions
1. Measure the width of your porch area and choose the exact hanging location so the shelf will float over the railing without blocking the walkway. I like to leave at least 12 inches of clearance from any wall or post so the boards can hang straight.
2. Sand the cedar boards lightly on all sides, focusing on rough edges and splintered corners while keeping the weathered character. Wipe away the dust with a dry cloth.
3. Brush on a thin coat of exterior clear wood sealer and let the boards dry fully according to the product directions. This step helps the cedar hold up better through humidity and rain.
4. On each board, mark four rope holes: one 1 1/2 inches in from each side and 1 inch down from the short ends. Stack the boards to double-check that all hole placements match so the shelves will hang level.
5. Drill the four holes in each board using a bit slightly larger than your rope diameter so the rope feeds through easily. Sand the inside edges of each hole to keep the rope from snagging.
6. Locate two secure ceiling joist positions above the railing and screw in the ceiling hooks, spacing them to match the rope holes on the boards. Test each hook by hand to make sure it is firmly seated and aligned.
7. Thread one rope up through the left-side holes of all three boards and the second rope through the right-side holes of all three boards. Keep the boards roughly spaced 12 to 14 inches apart so there is room for trailing plants and watering.
8. Tie a large overhand knot under each corner of the bottom shelf, then add knots beneath the middle and top shelves to support each board at the same height on both sides. Slide the boards up or down as needed before tightening the knots fully.
9. Lift the rope ends onto the ceiling hooks and check the entire unit for level from front to back and side to side. Adjust the knots one shelf at a time until the boards sit flat and even.
10. Add a washer above the top board on each rope if needed to help distribute pressure and reduce rubbing near the upper holes. Trim excess rope, leaving about 6 inches at the ends for a finished, relaxed look.
11. Place felt or rubber bumpers under the pots if you want to protect the wood from trapped moisture. Arrange the plants with the heaviest pots on the bottom shelf and lighter trailing plants on the top two shelves.
12. Step back and make one final level check, then rotate the plants until the fullest sides face outward. Once everything is balanced, your floating shelf is ready to enjoy.
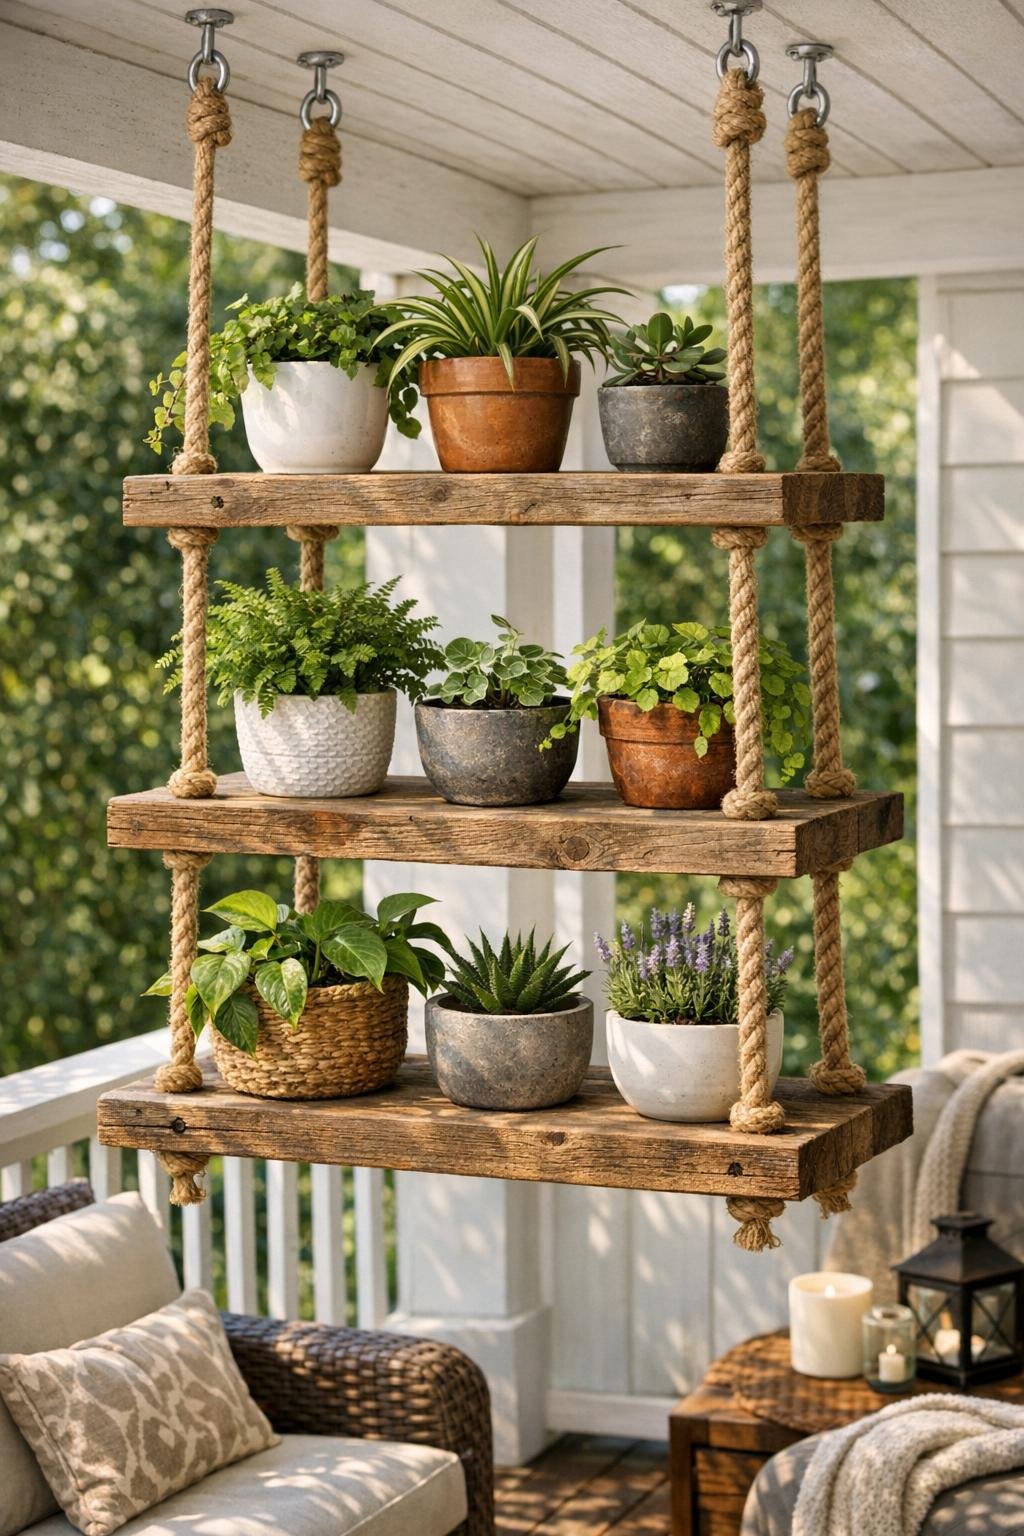
Variations & Tips
For a smaller porch: Use 24-inch-long boards instead of 36-inch boards and reduce the shelf spacing to about 10 inches so the project fits a tighter footprint.
For heavier plants: Upgrade to 5/8-inch rope and larger hooks rated for more weight, and always confirm you are anchored into solid ceiling framing rather than just trim or beadboard.
For easier watering: Keep nursery pots inside decorative cachepots, or use saucers under each pot so you can quickly take plants down and return them without dripping everywhere.
For a more polished look: Stain the cedar a deeper tone or paint it to match your porch furniture, but still finish it with an exterior-rated sealer for durability.
My favorite styling trick: Mix one trailing plant, one upright plant, and one fuller leafy plant across the shelves. It gives that collected look without needing a dozen different pots.
Safety tip: Before loading the shelf, hang it empty for a few minutes and tug gently on each side to make sure the hooks, knots, and boards are all secure and level.