
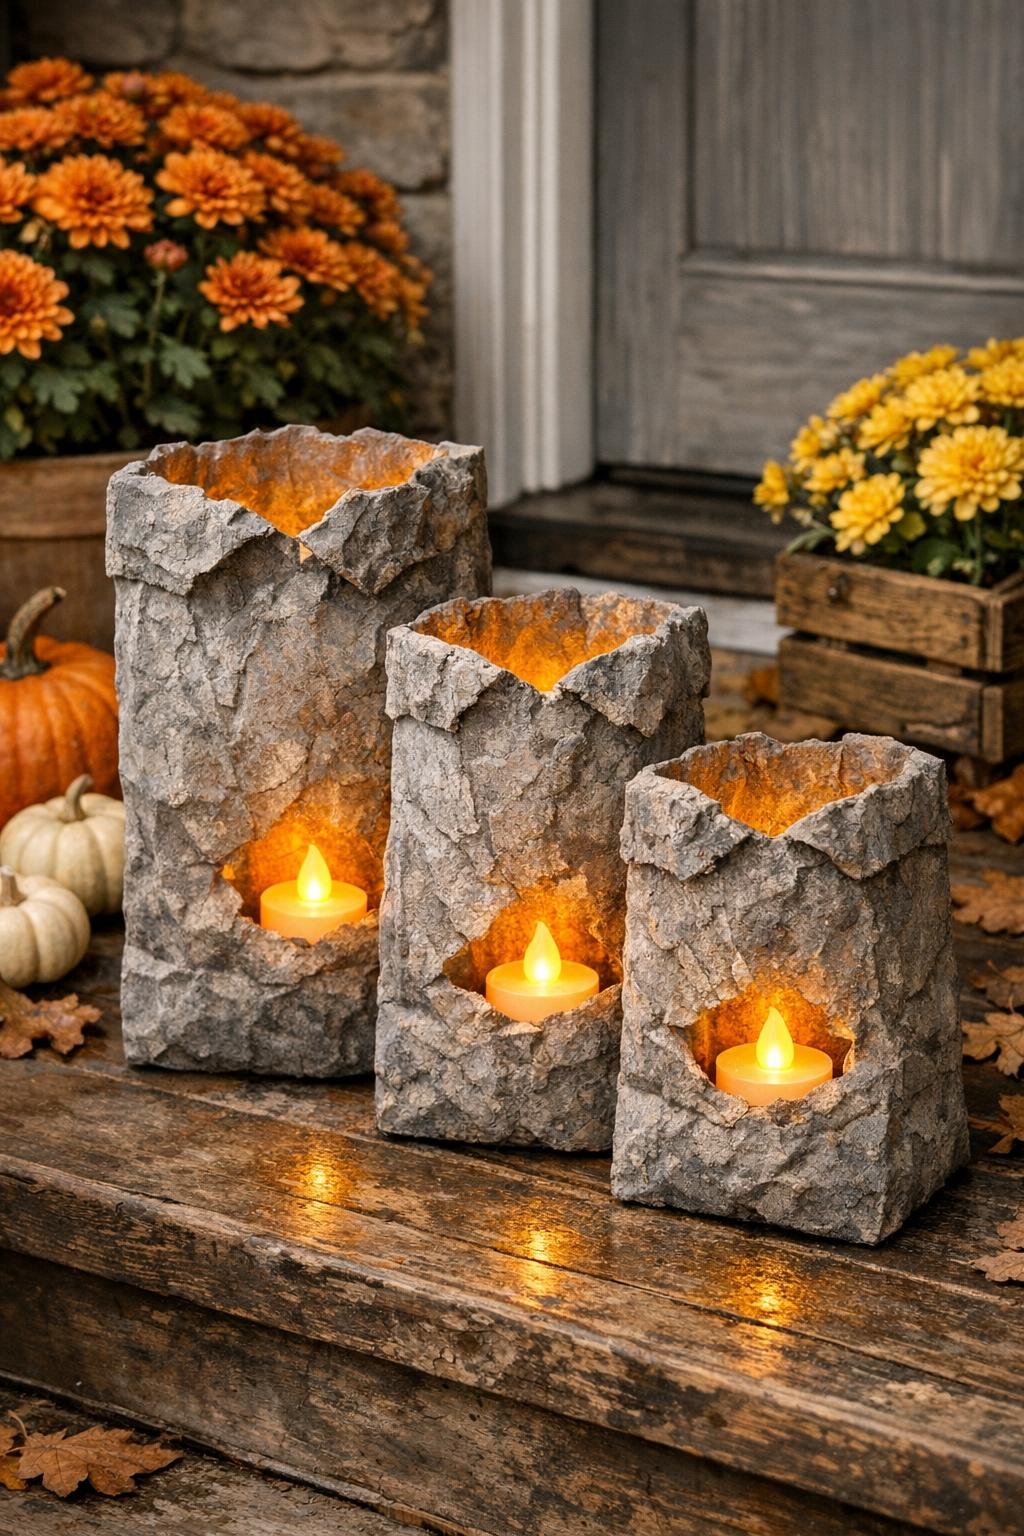
I love a porch project that looks boutique-store expensive but is secretly made from the kind of things I already have tucked in a pantry drawer. These rustic fall lanterns are exactly that kind of project: crumpled brown paper lunch bags dipped in a thick cement mixture, then shaped into wonderfully imperfect little vessels that look like aged stone once they dry.
If you want autumn porch decor with lots of texture and almost no fuss, this is a very doable weekend craft. I’m always looking for projects I can squeeze in between work, dinner, and the usual evening chaos, and this one fits beautifully because the hands-on time is short even though the finished lanterns look genuinely special.
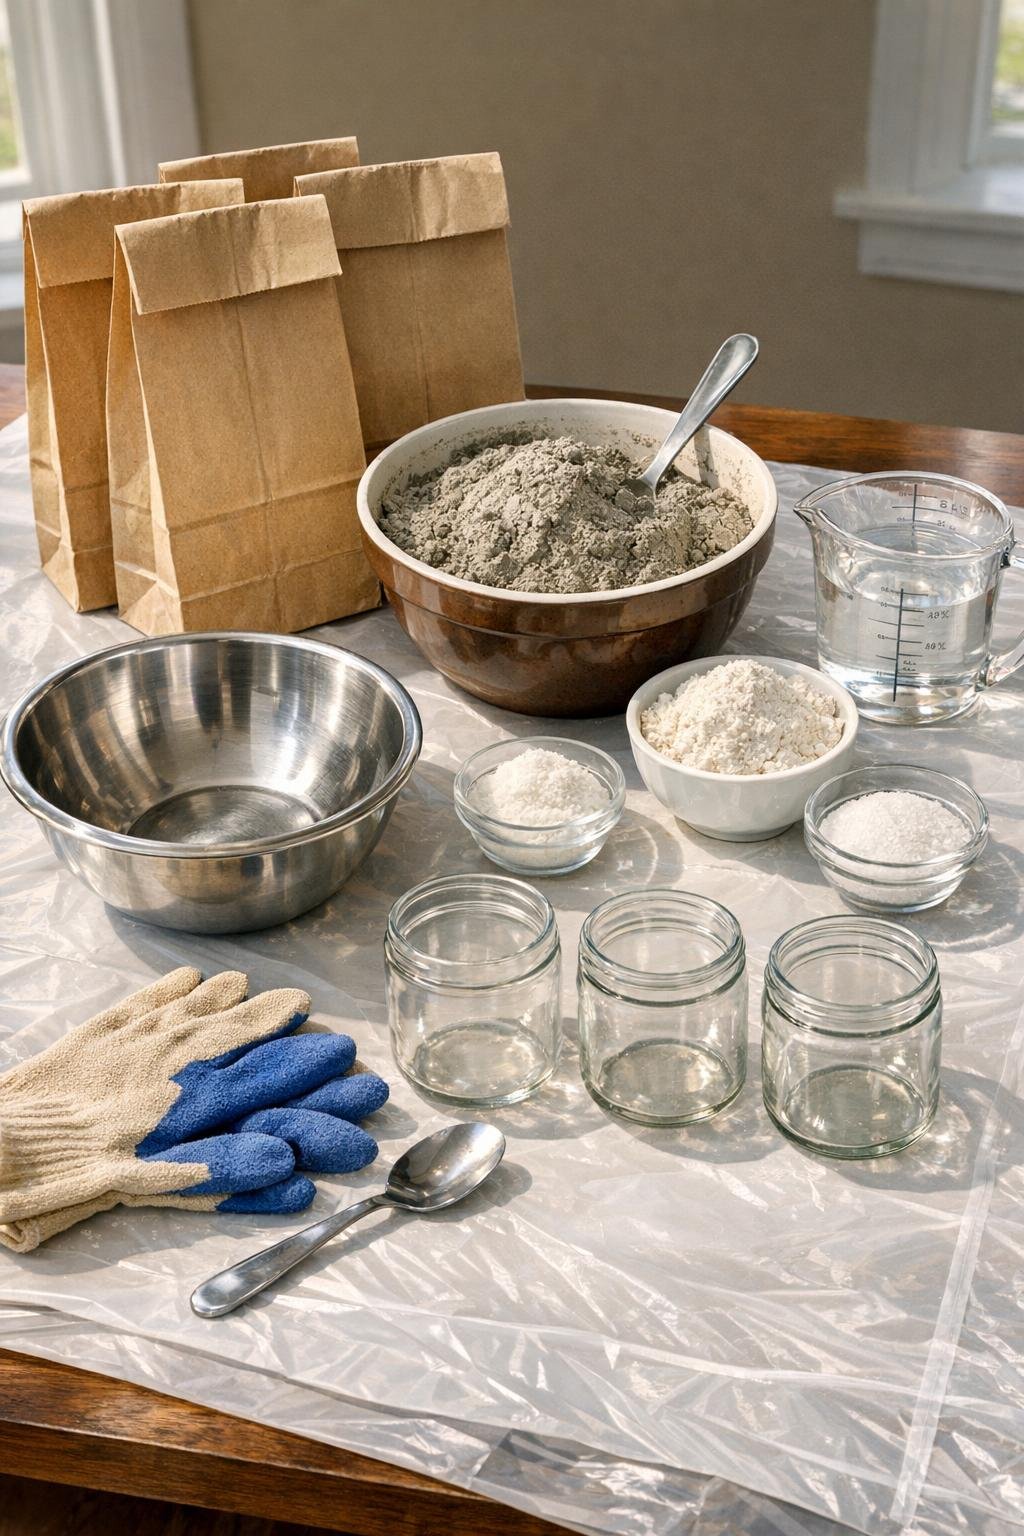
Materials
Instructions
1. Cover your work surface with a plastic drop cloth and set out the parchment paper for drying. Put the glass jars nearby so you can shape the bags before the cement starts to firm up.
2. Crumple each brown paper lunch bag firmly in your hands, then gently open it back up enough to form a loose bag shape. Keep the wrinkles because that texture is what gives the lanterns their rustic stone-like finish.
3. In a mixing bowl, stir together the cement mix, flour, and salt until evenly combined. Add 1 cup of water and mix until you have a thick, smooth slurry that coats a spoon like pancake batter; add the remaining water a tablespoon at a time only if needed.
4. Put on gloves and dip one crumpled bag into the wet cement mixture, pressing it down so the paper gets fully saturated. Lift it out and let the excess drip back into the bowl for a few seconds.
5. Open the coated bag carefully and slide it over an upside-down glass jar to create the lantern shape. Tug and pinch the top edges into soft, uneven points so it looks organic rather than perfectly symmetrical.
6. Repeat with the other two bags, varying the folds and rim height slightly so the set looks collected instead of identical. If any area looks too thin, spoon a little extra cement mixture onto that spot and smooth it lightly with gloved fingers.
7. Let the bags sit on the jars for 12 to 24 hours, or until fully hard. Once they feel dry and rigid, slide them off the jars and stand them upright on parchment paper.
8. If needed, level the bottom edge by gently sanding or chipping away tiny bits of cement so each lantern sits flat. Place a small glass holder or LED tealight inside each one and check that the opening stays clear and stable.
9. Arrange the three lanterns on your porch with mini pumpkins, mums, or a coir doormat for a simple fall display. Use only battery-operated LED tealights inside these lanterns, never real flames.
Variations & Tips
For a more weathered look: After the lanterns cure, dry-brush a tiny amount of white or tan craft paint over the raised wrinkles to make the texture stand out even more.
For taller lanterns: Use slightly larger paper lunch bags and taller jars, but keep the cement mixture thick so the paper holds its shape instead of slumping.
For easier batch making: Mix the dry ingredients first, then add water in two smaller batches if you’re making more than three lanterns. I do this when I’m trying to decorate the whole porch in one go after work.
For safer lighting: Stick with battery-operated LED tealights or petite outdoor puck lights. The lanterns look cozy at dusk, and you don’t have to worry about heat near the paper-and-cement shell.
If the bag tears: Don’t toss it right away. Press the torn section back together and add a little extra cement slurry over the seam; once dry, the patch usually blends right into the crinkled texture.
For a fuller porch display: Group these in odd numbers with stacked heirloom pumpkins, a plaid throw on a bench, or a basket of gourds. Rustic texture always looks best to me when it has a few softer elements around it.