
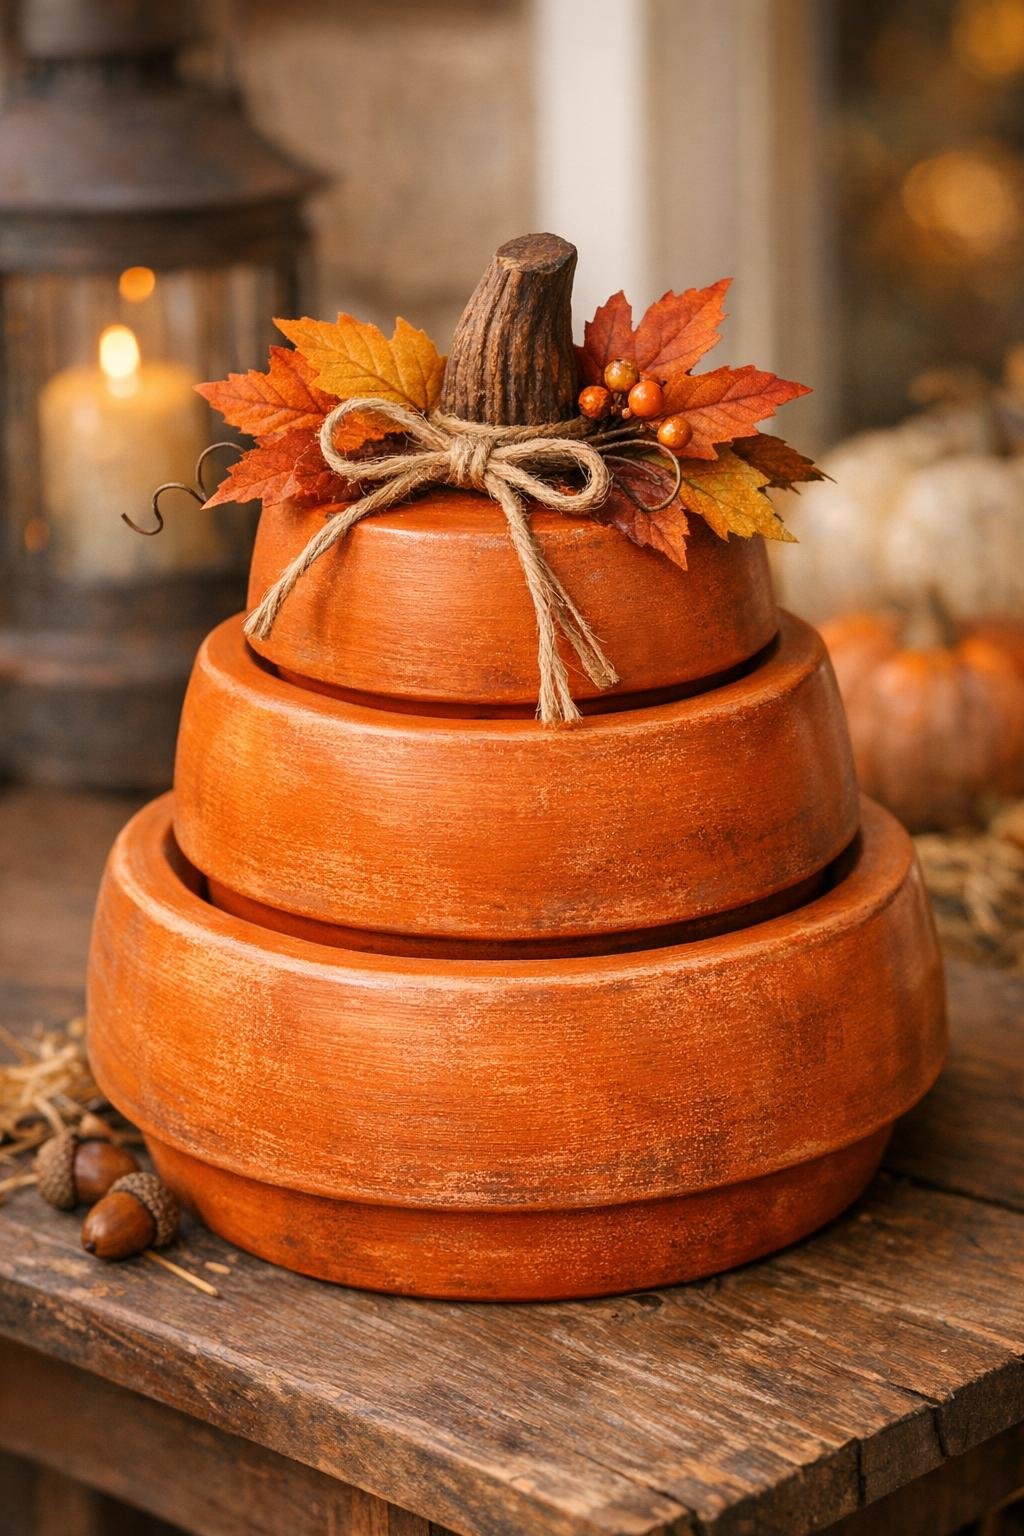
I love a project that takes something plain and inexpensive and turns it into decor that looks charming on a porch or entry table, and this stacked pumpkin decor does exactly that. Using just three clay plant saucers, a little paint, and a few simple finishing touches, you can make a tall pumpkin stack that feels cozy and handmade without spending much at all.
This is a great weekend craft for anyone who likes fall decorating but doesn’t want a complicated build. I especially like projects like this because they come together quickly, and they’re easy to customize if your family prefers soft farmhouse colors, bright autumn shades, or even a more playful look for kids.
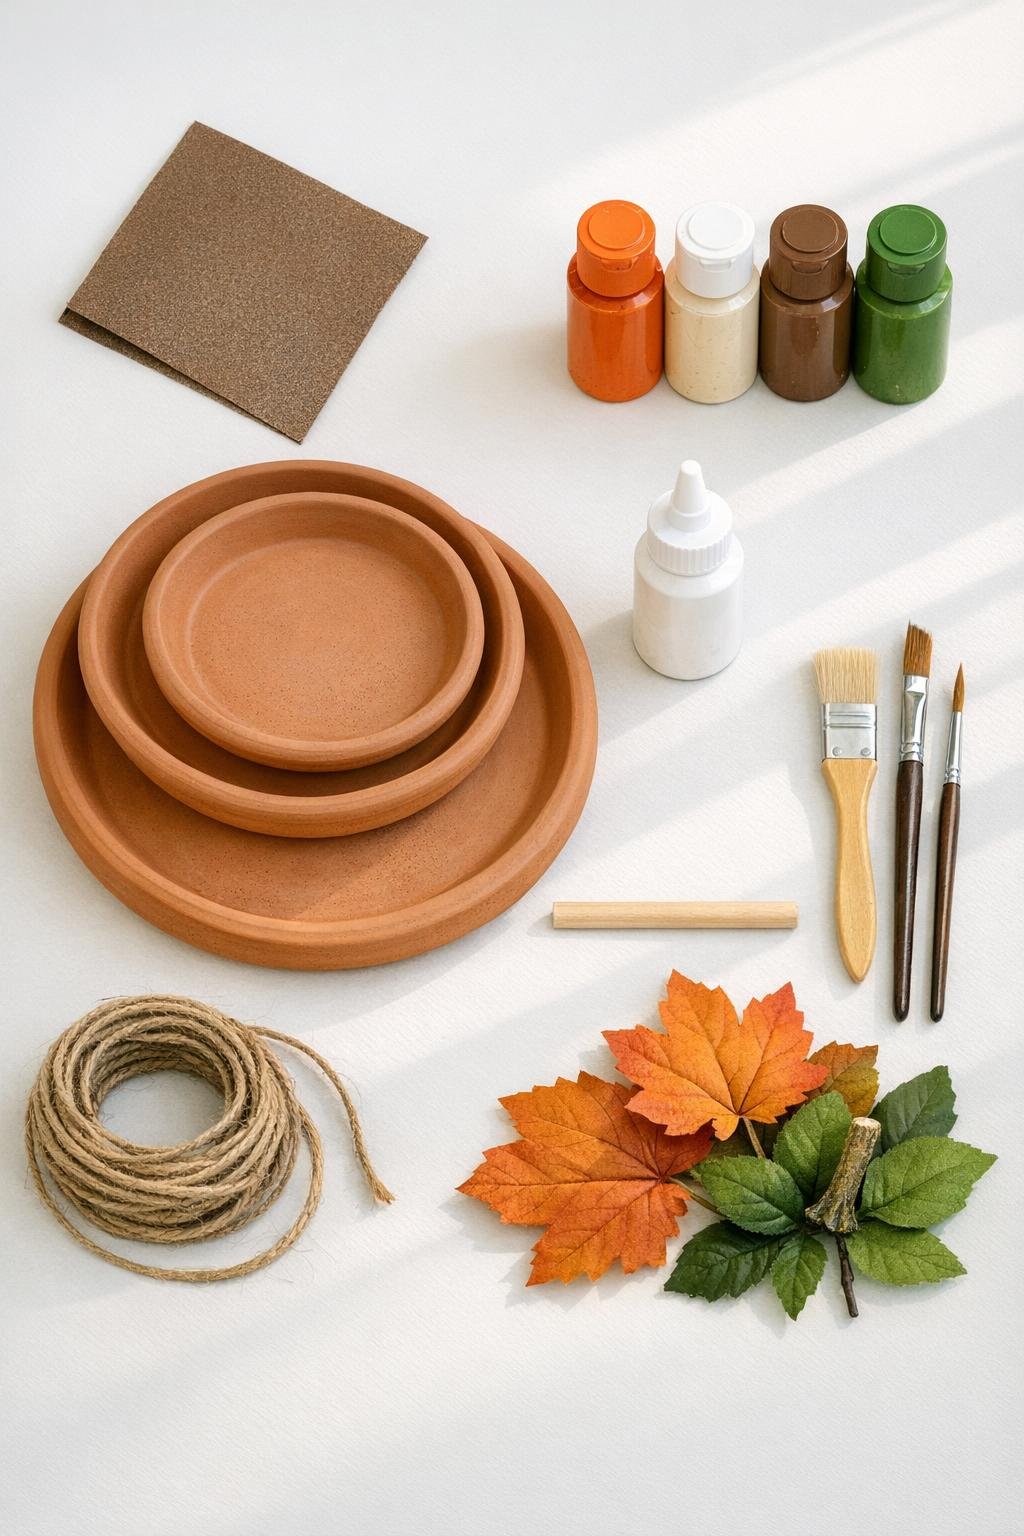
Materials
1 large clay plant saucer, 12 inches wide
Instructions
1. Wipe all three clay saucers clean with a dry paper towel, then lightly sand any rough spots or sticker residue so the paint will go on smoothly.
2. Paint the front and rim of each saucer with orange acrylic paint, then let the first coat dry completely before adding a second coat for even coverage.
3. Dry brush a little cream or white paint over the orange once it is dry if you want a softer, more rustic look; keep the strokes light so some orange still shows through.
4. Paint the wood dowel brown to create the stem, and set it aside to dry fully while you work on the rest of the stack.
5. Arrange the saucers from largest on the bottom to smallest on the top, all facing the same direction, and check the balance before gluing anything down.
6. Apply heavy-duty glue to the center contact point of the largest and medium saucers, then press them together and hold for a few moments so they stay aligned.
7. Glue the smallest saucer on top of the medium one, keeping the stack centered as much as possible, then let the whole piece rest undisturbed until the adhesive sets.
8. Glue the painted dowel to the top center of the smallest saucer to form the stem, angling it slightly if you want a more natural pumpkin look.
9. Add faux fall leaves around the base of the stem with small dots of glue, then wrap jute twine once or twice near the stem for a simple finishing touch.
10. Seal the finished piece with matte clear sealer and let it dry completely before displaying it indoors or on a covered porch.
Variations & Tips
Farmhouse finish: Use muted white, sage, or pale pumpkin paint instead of bright orange if you want something softer and more neutral. I love this look when I’m decorating around dishes, baskets, and natural wood tones.
For picky decorators: If not everyone in your house loves traditional fall colors, make each saucer a different shade like cream, green, and orange. It keeps the pumpkin festive but a little more playful.
Outdoor use: If you plan to keep it on a covered porch, be generous with the sealer and allow extra drying time. I still recommend bringing it inside during heavy rain or freezing weather since clay can crack.
Extra stability: If your saucers have a smaller contact area, add glue slowly and let each layer cure before stacking the next one. Taking that extra time really helps avoid sliding.
More rustic character: Lightly sand the edges after painting to let a bit of the clay show through. That worn finish gives it the kind of handmade charm I always notice first on a fall table.
Easy embellishments: Try raffia, mini pinecones, berries, or a scrap of plaid ribbon near the stem. Little details like that can tie the piece into the rest of your autumn decor without much extra work.