
I love a project that turns something worn and forgotten into something you’ll actually use, and this decorative serving tray made from old wooden cutting boards does exactly that. If you’ve got a few scratched-up boards tucked in the back of a cabinet or picked up from a thrift store, you can give them a beautiful second life with a little cleaning, some simple finishing, and a pair of drawer pulls for handles.
This is the kind of weekend DIY I’m especially fond of because it doesn’t require fancy woodworking skills, and the finished tray looks lovely on a coffee table, kitchen island, or buffet table when company comes over. I also like that it’s practical for family life—perfect for carrying drinks, corralling condiments, or setting out muffins for a slow Saturday breakfast.
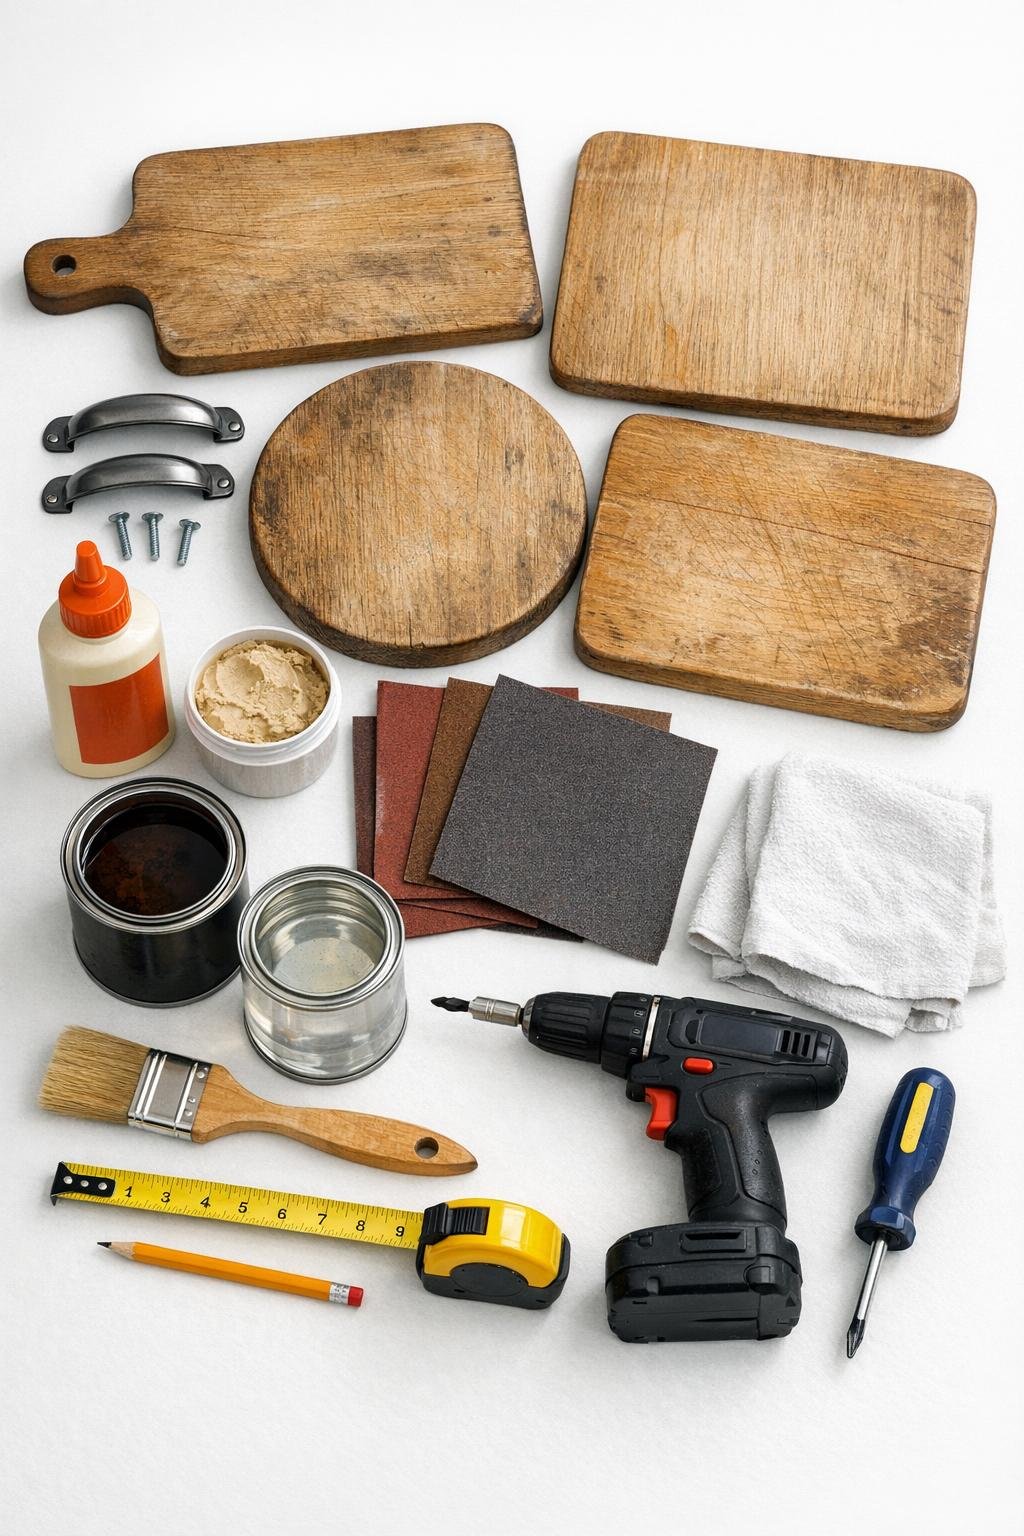
Materials
4 old wooden cutting boards, 8 to 12 inches wide and 12 to 18 inches long, in similar thickness
Instructions
1. Lay out the four cutting boards and choose the best arrangement for your tray base, placing the prettiest sides facing up and aligning the edges as evenly as possible.
2. Wash the boards with warm soapy water if needed, let them dry completely, and remove any loose crumbs, grease, or old residue before you start.
3. Sand each board with 120-grit sandpaper to smooth rough spots and remove old finish, then follow with 220-grit for a cleaner surface that will take stain or paint evenly.
4. Fill deep knife marks, cracks, or old hanging holes with wood filler, let it dry fully, and sand those spots flush with the surface.
5. Arrange the boards side by side into one rectangle or a pleasing patchwork shape, then measure and mark where the supports or mending plates will go underneath to hold everything together.
6. Apply wood glue along the touching edges, press the boards together, and attach the mending plates or wood support strips across the underside with screws to secure the tray base.
7. Turn the tray over and check the top surface; if any edges sit unevenly, sand them lightly until the tray feels level and comfortable to touch.
8. Measure equal distances from each short end and mark the handle placement, keeping the drawer pulls centered and aligned so the tray looks balanced.
9. Drill pilot holes for the drawer pulls, then attach the handles firmly with their mounting screws, tightening just enough so they sit snug without cracking the wood.
10. Brush or wipe on your stain, or paint the tray if you prefer a cottage-style finish, then let it dry and add a second coat only if the color needs deepening.
11. Apply a clear protective topcoat over the entire tray, especially the top surface and handles area, and let it cure according to the product directions before using it.
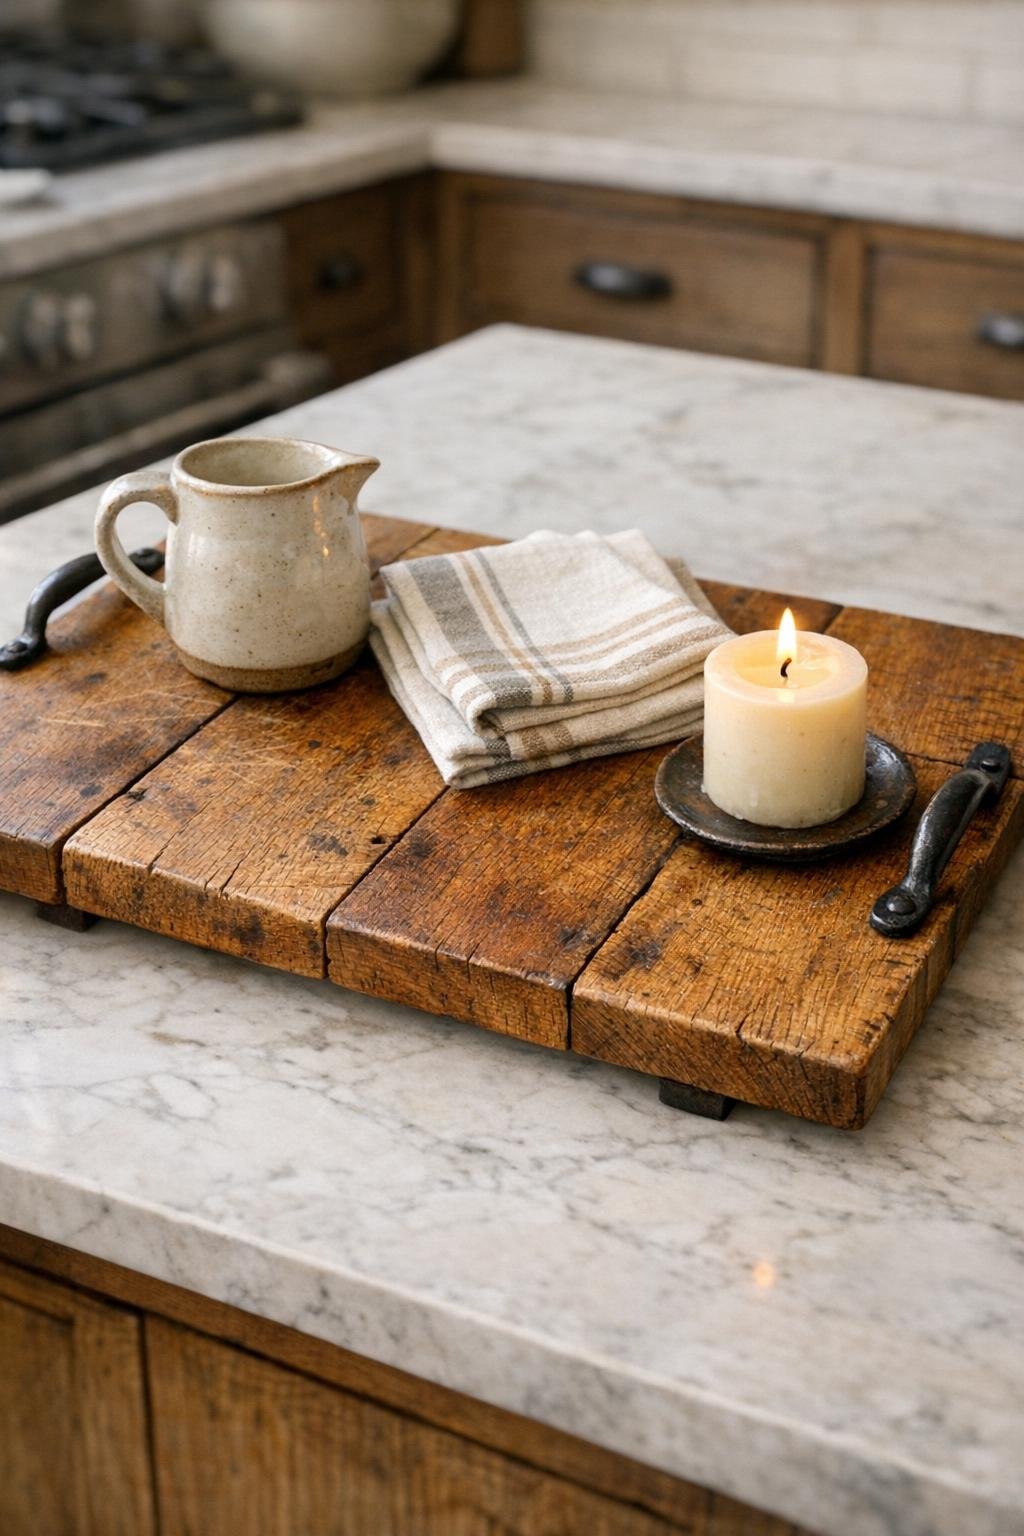
12. Once fully dry, style the tray with a small pitcher, napkins, candles, or snacks, and enjoy your one-of-a-kind piece made from boards that almost got tossed out.
Variations & Tips
For a more polished look: Use cutting boards that are close in thickness and trim the outer edges straight if you have the tools. That little bit of extra prep makes the finished tray look much more intentional.
For a farmhouse finish: Paint the tray in a soft white, sage, or black, then lightly distress the edges with sandpaper after it dries. I think this looks especially nice in a kitchen with open shelving.
For picky eaters and family nights: I like using trays like this to make snack dinner feel special. Set out fruit, crackers, cheese, and little dipping bowls, and somehow everyone gets more excited about simple food when it’s presented nicely.
Handle tip: If your drawer pulls come with screws that are too long, swap them for the correct length instead of forcing them in. A snug, proper fit keeps the wood from splitting.
If the boards do not line up perfectly: Attach thin felt pads underneath the low corners after assembly. It’s an easy fix that keeps the tray from wobbling on the table.
Wood safety tip: If the cutting boards are very old, avoid using the tray for direct unwrapped food unless you finish it with a food-safe product and know the board history. I usually use mine with plates, bowls, napkins, or a lined basket, which keeps things simple and worry-free.
Decorating option: Add small adhesive bumper feet to the bottom to protect your table and give the tray a more finished feel. It’s one of those tiny details that makes a handmade piece feel extra nice.