
There is something especially satisfying about turning a pile of tired old t-shirts into something you will actually use every day. This braided doormat is one of those projects that looks charmingly handmade, costs almost nothing, and gives soft cotton fabric a second life instead of sending it to the rag bin. I love projects like this because they sit right at the intersection of thrift, usefulness, and creativity.
This version uses 4 old t-shirts and a simple cut-and-braid method, so it is a great beginner upcycling project. If you can cut fabric into strips and make a basic braid, you can make this mat. I also like that it is forgiving; the colors do not have to match perfectly, and the shape can be adjusted as you go.
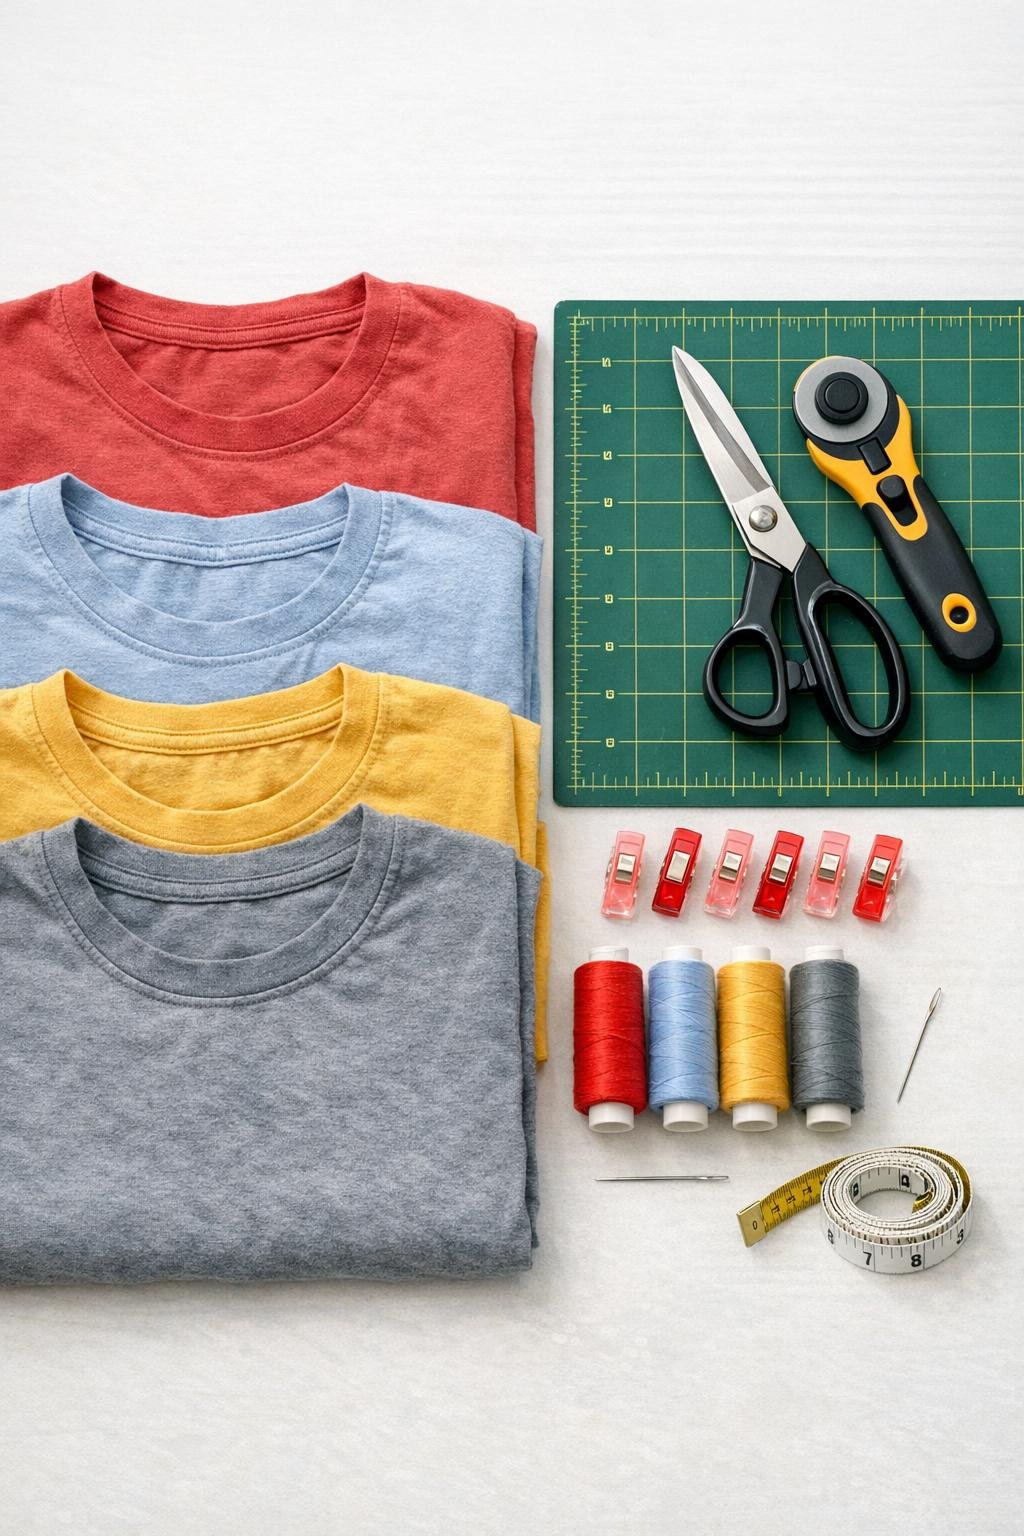
Materials
4 adult-size cotton t-shirts, size L or larger, preferably 100% cotton or high-cotton blend
Instructions
1. Wash and dry all 4 t-shirts so the fabric is clean, preshrunk, and easier to work with. Smooth them flat and remove any bulky seams if the shirts are especially thick.
2. Cut off the bottom hem, sleeves, and neckline from each shirt so you are left with the main body fabric. Set aside the smoothest sections, because those make the neatest braiding strips.
3. Cut the shirt bodies into continuous strips about 1 to 1 1/2 inches wide. If you prefer a chunkier mat, stay closer to 1 1/2 inches; for a flatter, tighter braid, cut closer to 1 inch.
4. Gently stretch each strip with your hands so the jersey fabric curls into soft yarn-like cords. This little step makes the braid look more even and helps hide rough cut edges.
5. Sort the strips into three working bundles, mixing colors as you like for the braid. Overlap the ends of shorter strips by 1 inch and stitch them together securely so each bundle becomes one long strand.
6. Tie or stitch the three long strands together at one end. Clip that end to the table or pin it to a firm ironing board so the braid stays steady while you work.
7. Braid the three strands tightly but not stiffly, smoothing and adjusting the fabric as you go. Add more stitched strips onto a strand whenever needed so the braid remains continuous.
8. Continue braiding until you have a long fabric rope, usually about 12 to 18 feet depending on shirt size and desired mat dimensions. Stitch the braid end closed so it does not unravel.
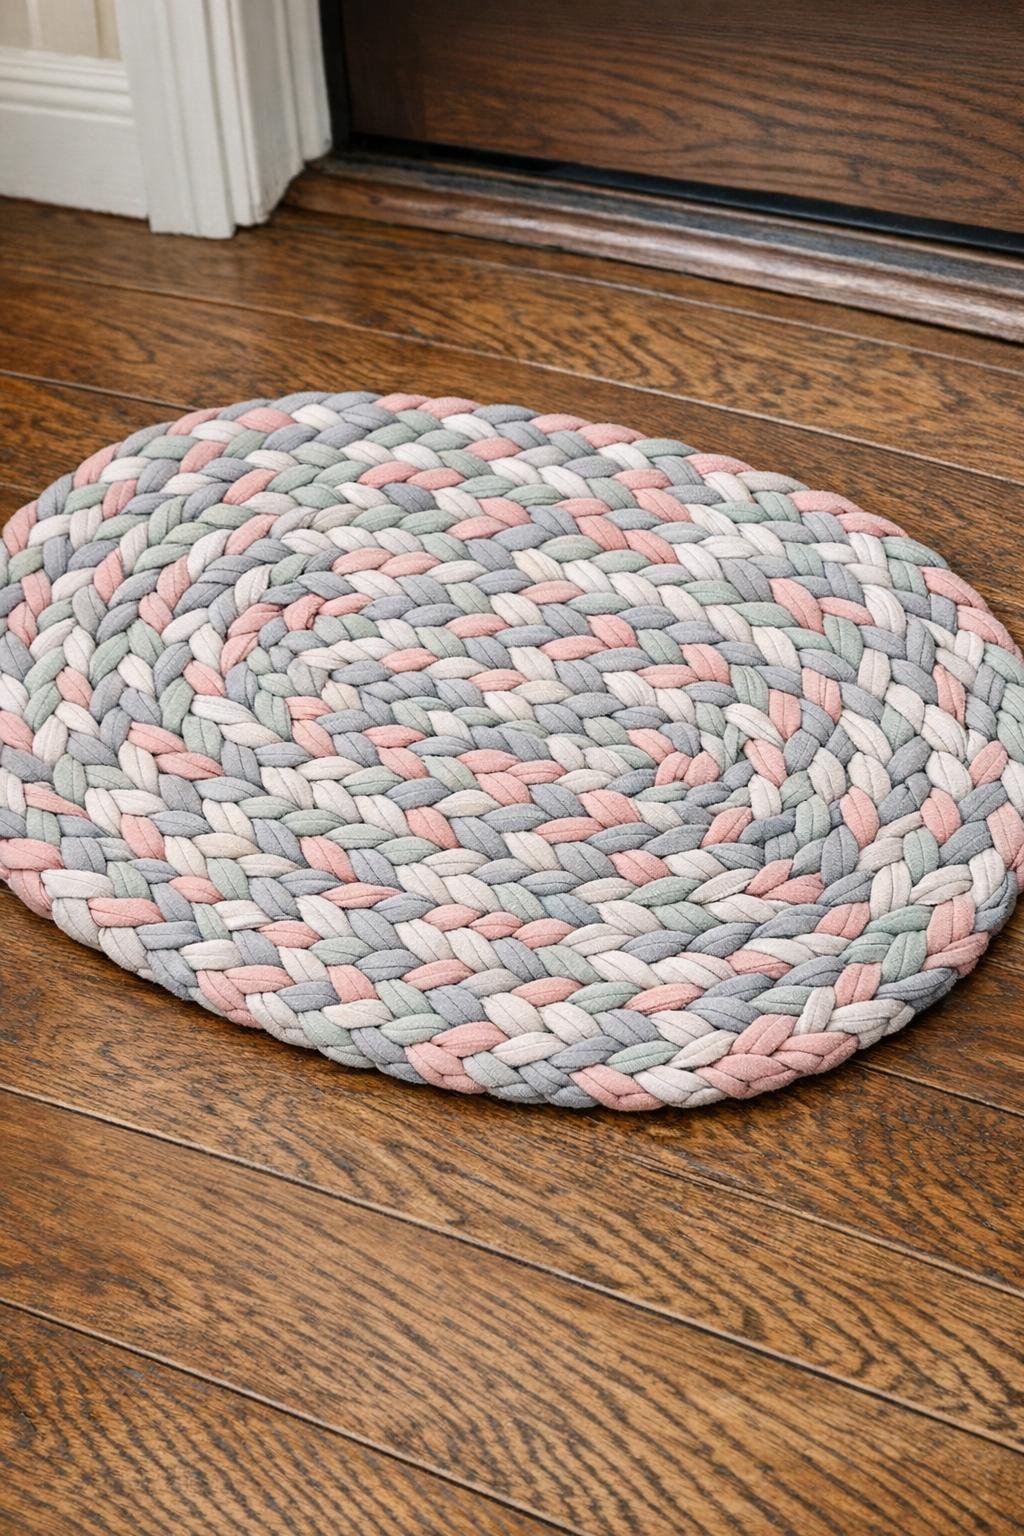
9. Coil the braid into an oval or circle, starting from the stitched end. For a classic doormat shape, begin with a short straight center section folded back on itself, then wrap the braid around it to build an oval.
10. Sew the coiled braid together from the underside using heavy thread and small strong stitches, catching the side of one braid into the next. Work a few inches at a time and keep the mat flat as you sew so it does not cup or ripple.
11. Keep coiling and sewing until the mat reaches your preferred size, roughly 18 x 28 inches for a small doorway mat. Adjust the curve gently with your hands as you go to keep the edges smooth and even.
12. Tuck the final tail under or trim it to fit neatly, then stitch it down securely on the underside. Give the mat a final shaping by pressing it flat with your hands and trimming any loose threads.
Variations & Tips
Color planning: If you want a more deliberate look, braid one dark, one light, and one bright strand together throughout the mat. Random mixing works beautifully too, especially if your shirts already have a soft worn-in palette.
Best fabric choice: Cotton jersey t-shirts are easiest to cut, stretch, and braid. Very slippery performance shirts or thick polos can make the braid uneven, so I usually save those for other uses.
No-sew option: If you do not want to hand stitch every join, you can knot strip ends together with tiny tight knots, but the finished mat will be a bit bumpier. I find stitched joins make a sturdier and flatter doormat.
Shape adjustment: For a round mat, simply coil from the center in an even spiral. For a longer runner-style mat, make a longer folded center before wrapping the braid around it.
Washing tip: Because this is made from t-shirt fabric, it is usually machine washable on a gentle cycle if the mat fits your washer. I would air-dry it flat to help it keep its shape.
Durability tip: Use doubled thread and take frequent stitches, especially around the outer edge where the mat gets the most wear. In my kitchen and entry projects, the pieces that last longest are always the ones I stitched a little more generously than I thought necessary.