
I have a soft spot for old wooden picture frames. Around here, they tend to collect in the back of closets, in barn boxes, or at the bottom of a rummage-sale pile, looking like they’ve outlived their usefulness. But this little project turns three neglected frames into a charming tiered plant stand that looks right at home on a porch, beside a sunny kitchen window, or tucked into a garden corner with a few potted herbs.
What I love most about this build is that it’s simple, thrifty, and genuinely useful. If you’re comfortable using basic hand tools and don’t mind a little sanding and screwing, you can make this in an afternoon. It reminds me of the sort of practical makeover my neighbors always appreciated—nothing fancy, just good old wood put back to work in a pretty way.
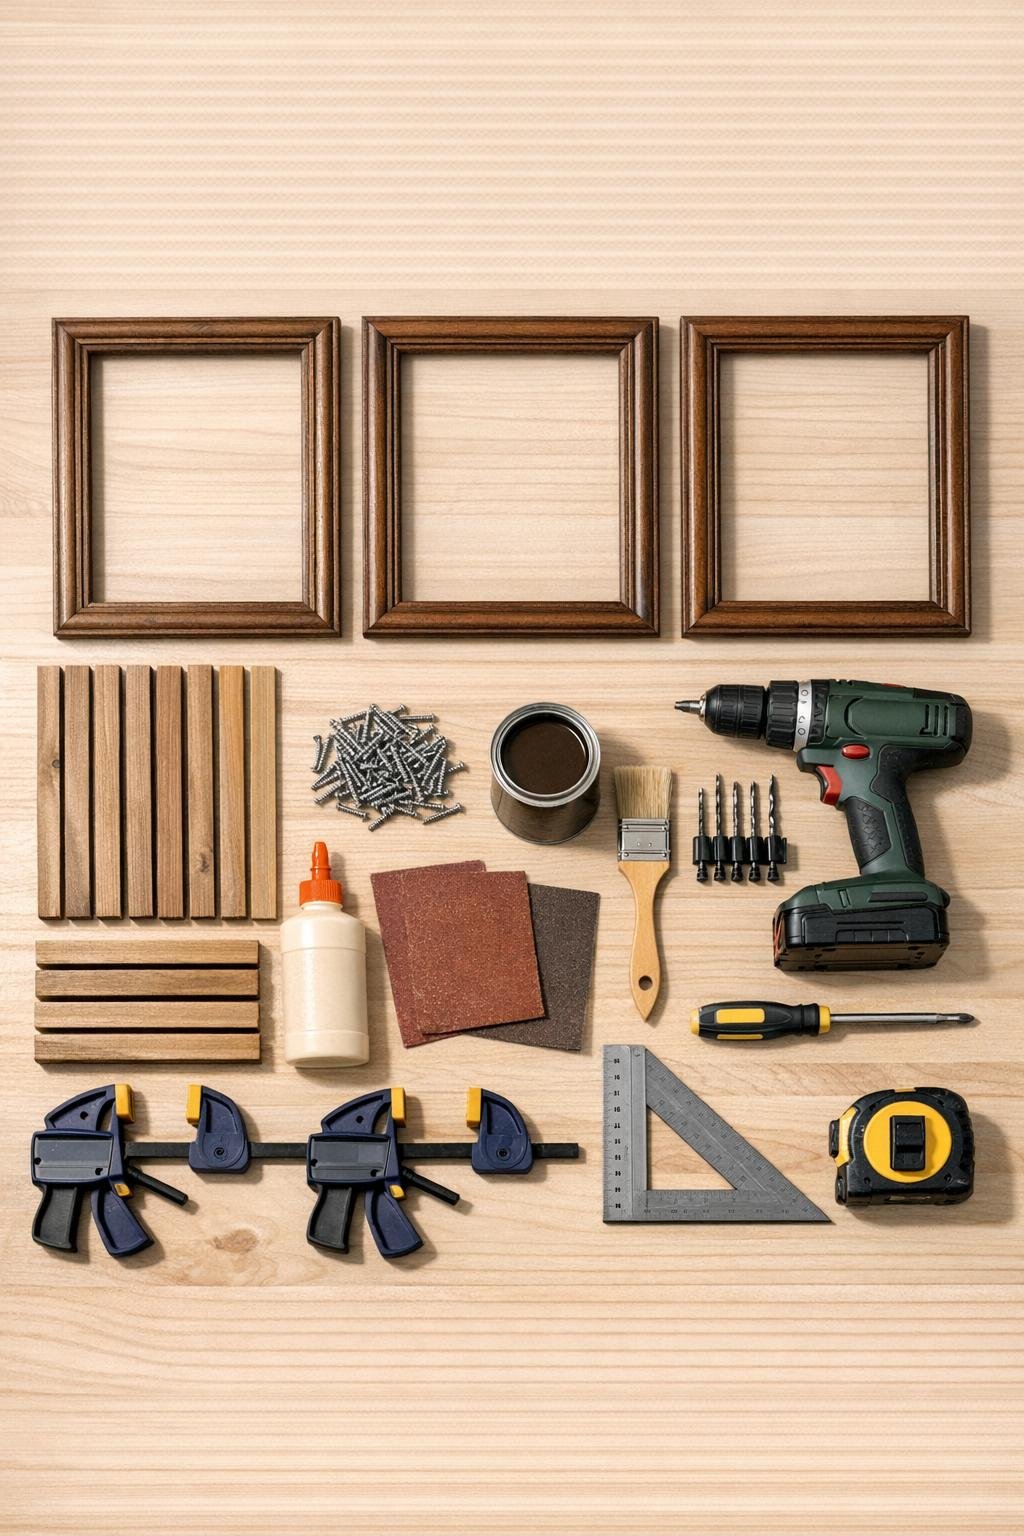
Materials
3 old wooden picture frames, 1 matching set or close in size, about 11 x 14 inches each
Instructions
1. Remove any glass, backing, tabs, and hanging hardware from the picture frames so you’re left with bare wooden frames only. Check that each frame is sturdy and reglue any loose corner joints before you begin.
2. Sand all three frames with 120-grit sandpaper, then smooth them with 220-grit. Sand the wood slats and brace pieces as well, especially any rough-cut ends.
3. Lay one frame flat and position three 10-inch slats across the inside opening, spacing them evenly to form the first shelf. Set a 10-inch brace piece underneath each outer slat and one under the center slat so the shelf will have solid support.
4. Glue the slats and brace pieces in place, then predrill pilot holes to prevent splitting. Drive the 5/8-inch screws through the frame and into the slat ends, then secure the braces from underneath with the 1 1/4-inch screws.
5. Repeat the same shelf-building process for the other two frames so you have three matching framed shelves. Let the glue set according to the manufacturer’s drying time before assembling the stand.
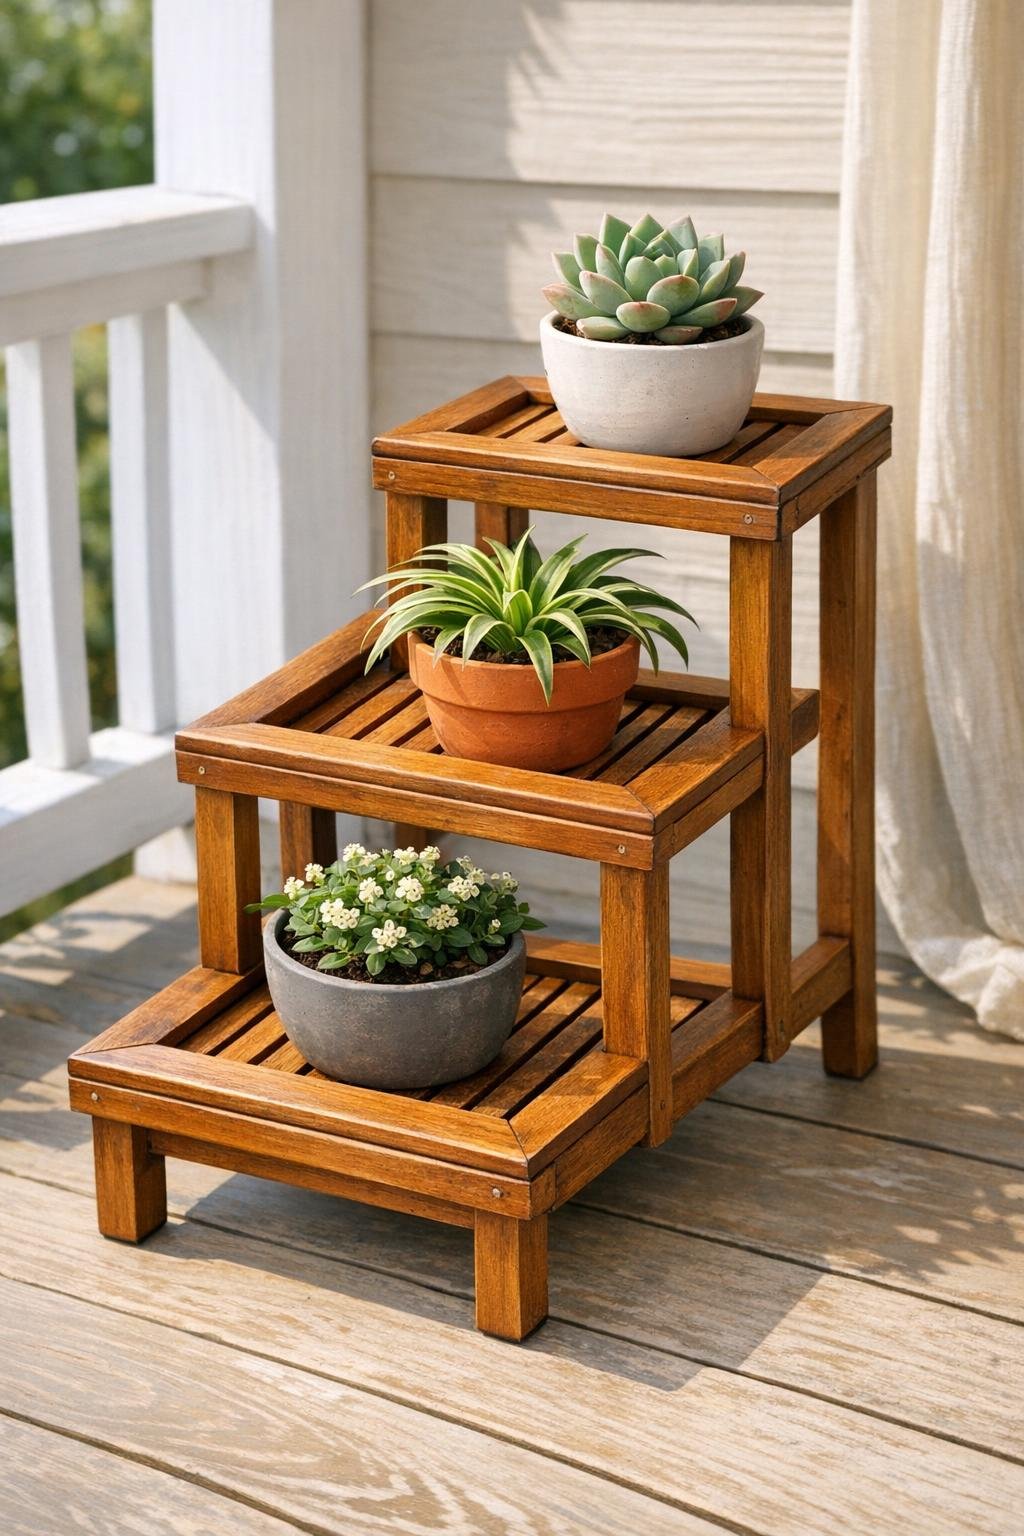
6. Stand the first shelf frame upright on its long side, then position the second shelf above it at a slight upward step, overlapping one end so the two frames form a tiered zigzag shape. Clamp them together and check with a square so the shelves sit level from front to back.
7. Predrill through the touching frame sides and fasten the two frames together with four 1 1/4-inch screws. Add a little wood glue between the contact points before tightening for a stronger hold.
8. Attach the third shelf frame above the second in the same stepped direction, creating a three-tier stand. Keep the spacing even so each level has enough room for a potted plant.
9. Set the stand on a flat surface and test for wobble. If needed, sand the bottom contact points lightly or adjust the frame alignment before the glue fully cures.
10. Prime and paint or stain the entire stand, working into the frame corners and along the shelf slats. Let it dry completely, then add a clear topcoat if the stand will live on a porch or near regular watering.
11. Stick felt pads or rubber feet on the bottom contact points to protect floors and help level the stand. Once the finish is cured, place one small potted plant on each shelf, keeping the heaviest pot on the bottom tier.
Variations & Tips
Rustic finish: If your frames have nice age and character, use clear sealer instead of paint so the old dings and wood grain still show. I think that weathered look is especially pretty with terra-cotta pots.
For outdoor use: Choose exterior paint or stain and a weather-resistant topcoat if the stand will sit on a porch or patio. I’d also recommend keeping pots on saucers so standing water doesn’t shorten the life of the wood.
Frame size matching: The frames do not have to be identical, but they should be close in width so the stand stacks neatly. If one is slightly smaller, use it for the top tier where it will look intentional.
Extra shelf strength: For heavier ceramic pots, use thicker slats or add one more brace under each shelf. It’s a simple adjustment that gives good peace of mind.
Color idea: Soft white, sage green, black, or barn red all suit this project nicely. Around my house, I lean toward muted colors that let the plants do the talking.
Safety tip: Always predrill old wood before driving screws, because vintage frames can split faster than fresh lumber. Clamp first whenever you can; it makes the whole job easier and tidier.