
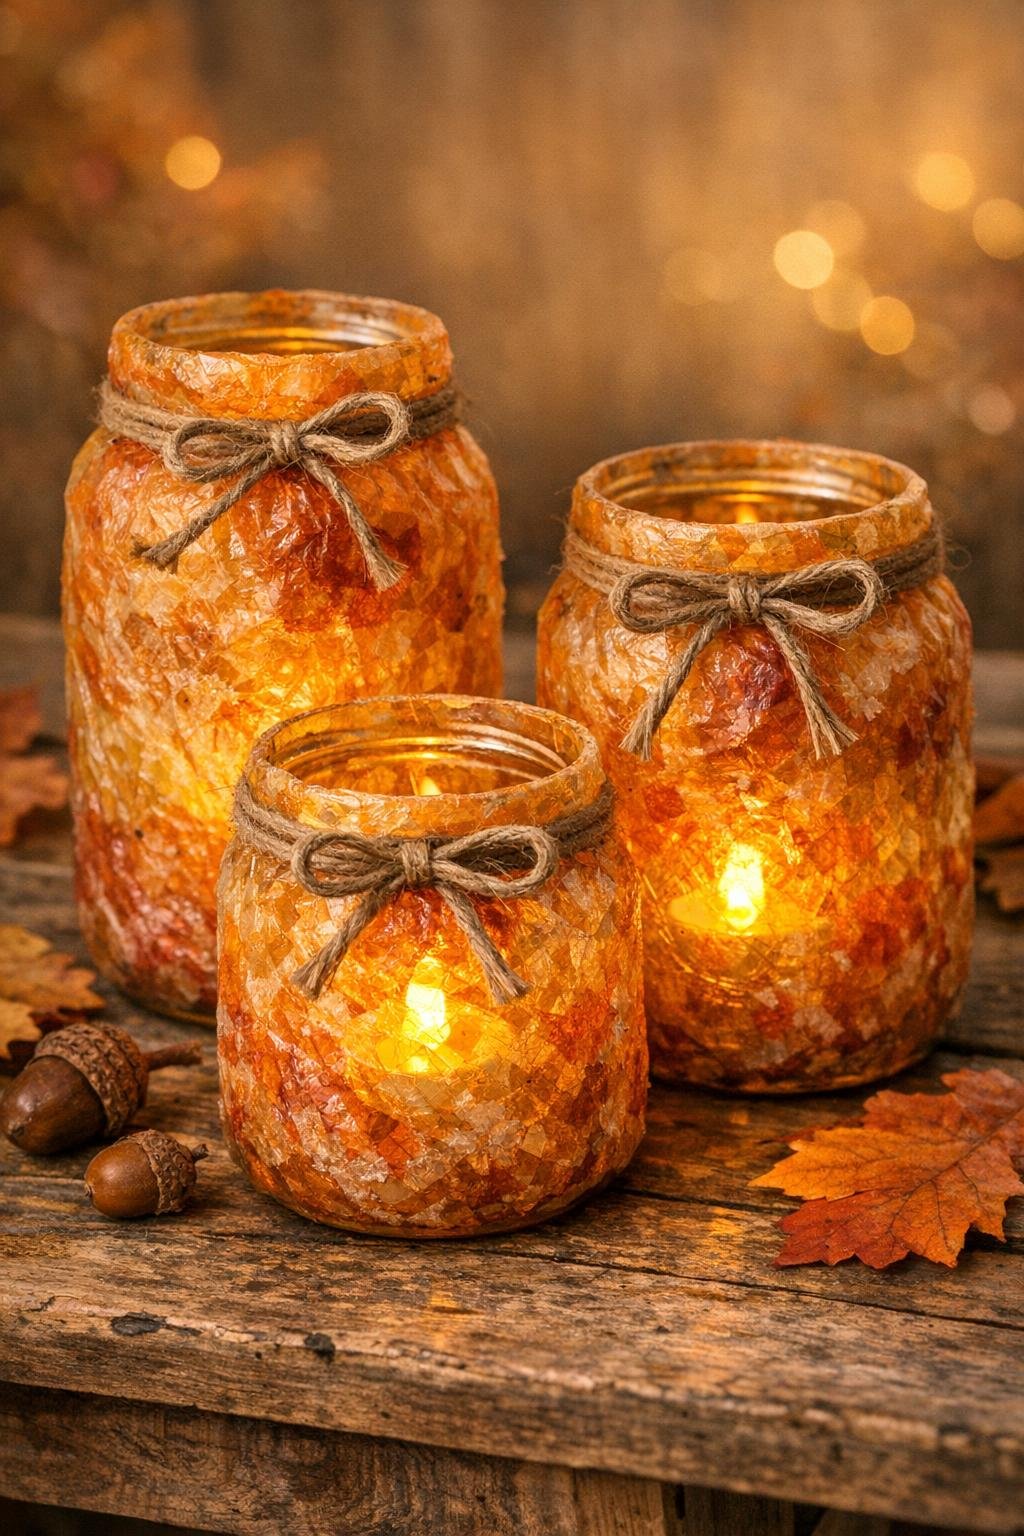
There’s something mighty satisfying about turning a humble grocery bag into a little bit of autumn glow. In this project, I make a set of three textured fall lanterns by ironing wrinkled plastic grocery bags between parchment paper, then pairing that crinkly, almost leather-like material with two simple supplies to create warm, flickering decorations that look far fancier than they ought to for the cost. It reminds me of the kind of practical making I grew up around—using what you had, wasting as little as possible, and still ending up with something pretty enough to set on the table.
These lanterns are a lovely project for beginners, for folks decorating on a budget, or for anyone who enjoys easy seasonal crafts with a cozy finish. Since we’re working with battery tea lights instead of real flame, they’re simple to display on a mantel, sideboard, or Thanksgiving table, and the three different sizes make the set feel gathered over time rather than bought all at once.
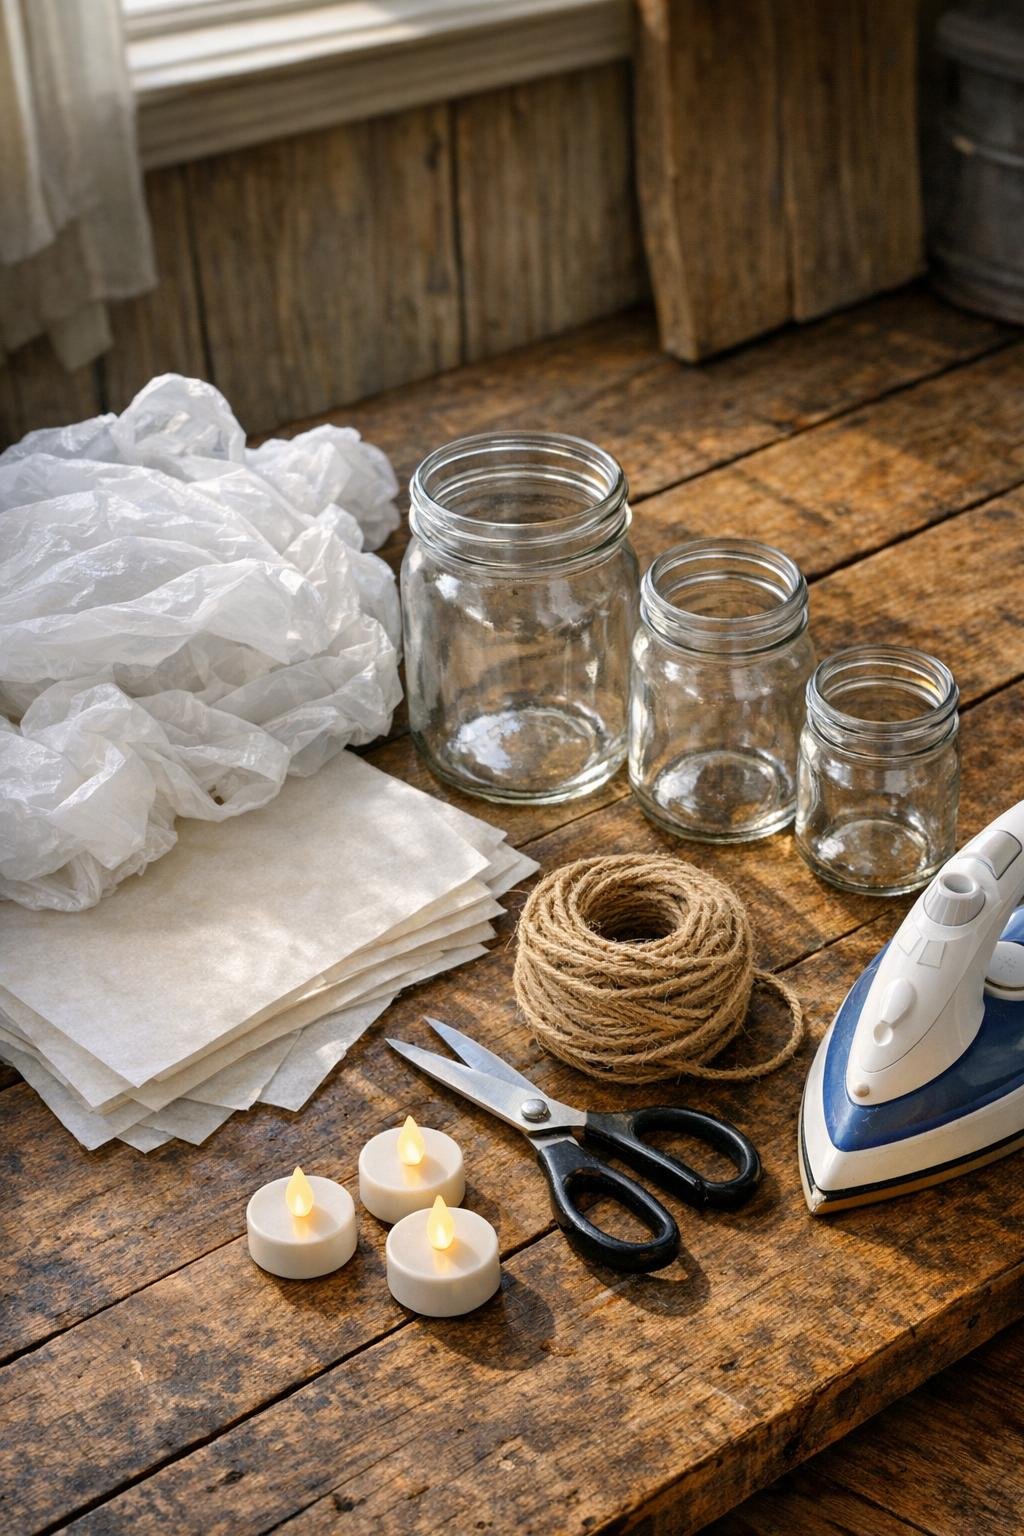
Materials
Instructions
1. Wash and dry the glass jars well, then remove any labels or sticky residue so the plastic covering will sit smoothly against the glass.
2. Cut the handles and bottom seams off the grocery bags, then slit each bag up one side to open it into a flat sheet.
3. Crumple each plastic sheet loosely in your hands, then flatten it back out; this extra wrinkling is what gives the finished lanterns that rich, textured look.
4. Sandwich 2 to 3 layers of wrinkled plastic between two sheets of parchment paper, keeping the plastic fully covered so it never touches the iron.
5. Press the parchment-covered plastic with the warm iron for 5 to 10 seconds at a time, moving slowly across the surface until the layers fuse into one flexible sheet.
6. Let the fused sheet cool for 30 seconds, peel back the parchment, and make enough sheets to wrap around all three jars, adding an extra sheet if you want more texture or opacity.
7. Wrap one fused sheet around the smallest jar and trim it so it overlaps by about 1/2 inch at the seam and sits 1/2 inch below the rim and above the base.
8. Tie jute twine tightly around the top and bottom of the wrapped sheet to hold it in place, then knot the seam area with a short extra length of twine if it needs a bit more security.
9. Repeat the wrapping and trimming process for the medium and large jars, varying the height of the plastic slightly so the set looks natural and handmade.
10. Trim any uneven edges with scissors, especially around the seam, so each lantern looks tidy while still keeping that soft, rustic texture.
11. Place one battery tea light inside each jar and switch them on to check the glow; if a lantern looks too bright, add another narrow band of fused plastic around the outside and retie the twine.
12. Arrange the three lanterns together as a set, with the tallest in back and the smallest in front, so the different heights show off the texture when the lights are glowing.
Variations & Tips
Use softer bag colors: White, cream, tan, or light gray grocery bags give the prettiest candlelit glow. Dark prints and heavy store logos can make the lanterns look muddier once lit.
Keep the iron gentle: I always start with a low heat setting and no steam. If the plastic puckers too fast or sticks to the parchment, the iron is too hot.
Try patchwork texture: Smaller overlapping pieces of fused plastic can be layered around the jars for a more weathered, almost birch-bark look. That’s especially nice if your bags are different shades.
Add a fall accent: A sprig of dried wheat, a cinnamon stick, or a little loop of raffia tucked under the top twine gives these lanterns a harvest feel without much extra fuss.
Use only battery lights: I wouldn’t use real candles in these, since the outer covering is plastic. LED tea lights give all the glow and none of the worry, which suits me just fine.
Make them in a group: Three lanterns look lovely together, but five down the center of a long table is downright charming. Around here, I’ve found that little pools of warm light can make an ordinary supper feel like a special occasion.