
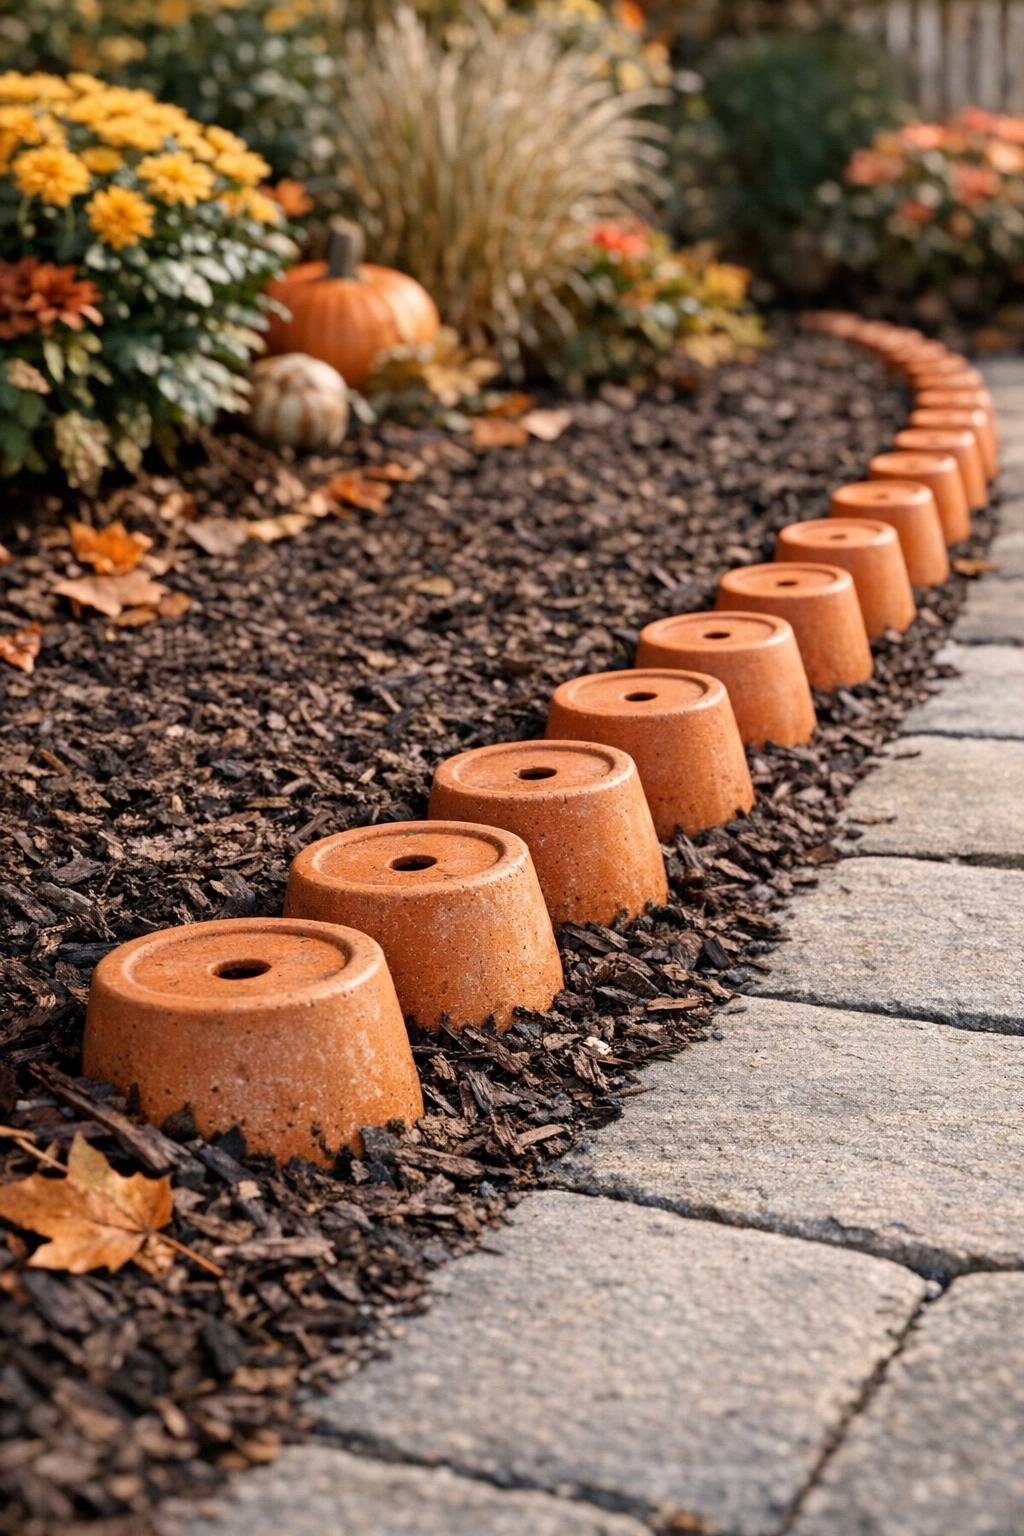
If you want a simple way to make a walkway feel finished for fall, this terracotta pot border is one of those projects that looks far fancier than it is. By burying small terracotta pots halfway into a dark mulched garden edge, you get a warm, cottage-style border with beautiful color and texture, and it comes together in an afternoon without any complicated building.
I love projects like this because they add charm without asking for power tools or a big budget. This one is especially nice for anyone who wants to dress up a front walk, define a flower bed, or make the yard feel a little more welcoming for guests and family dinners at home.
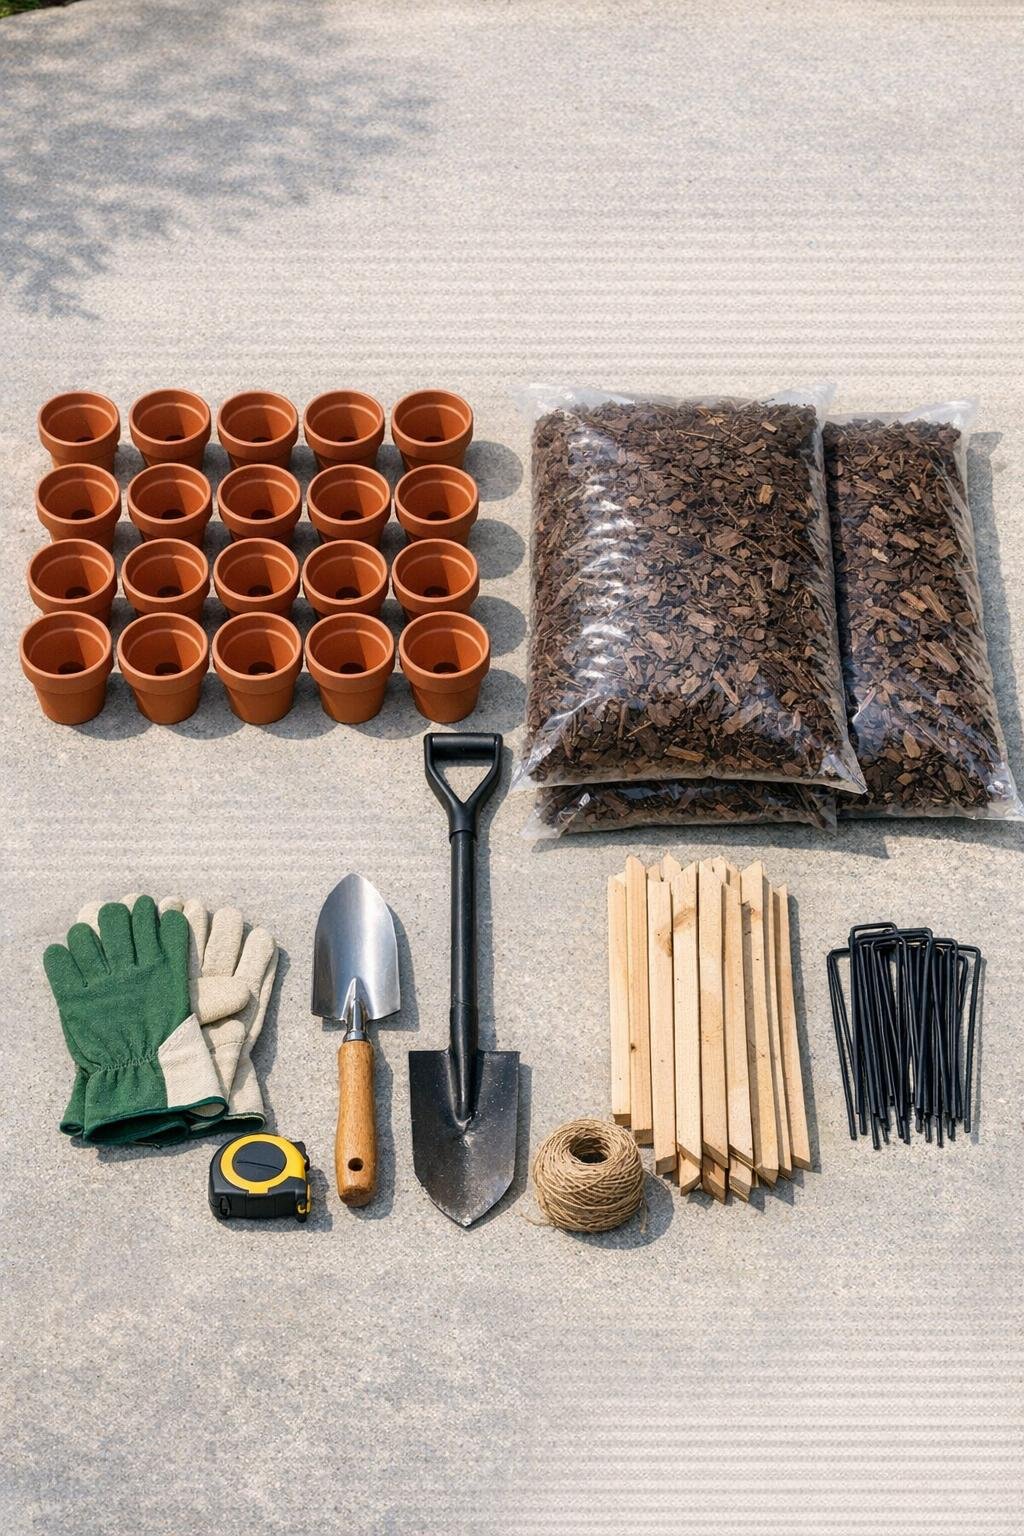
Materials
Instructions
1. Measure the section of walkway you want to edge and divide that length by the width of one pot to estimate how many pots you need. Lay the pots beside the path to check spacing before you start digging.
2. Mark the border line with wooden stakes and jute twine so the row stays smooth and even. Keep the line about 2 to 4 inches back from the walkway edge so the pots look tucked into the bed instead of crowded onto the path.
3. Use the trenching shovel to dig a shallow trench along the marked line, making it about half the height of your pots. Check depth with one pot as you go so the rim will sit evenly above the mulch.
4. Add a little garden soil to the bottom of the trench anywhere the ground dips, then tamp it lightly with the back of the trowel. This helps the pots sit at a consistent height instead of bobbing up and down.
5. Set the terracotta pots into the trench one by one, pressing each pot halfway into the soil with the open end facing up. Nestle them close together or leave a gap of about 1 inch between pots, depending on the look you want.
6. Backfill around the buried portion of each pot with soil and press firmly by hand so they stay stable. Step back every few pots to make sure the top rims form a pleasing, gentle line.
7. Spread dark mulch around and between the pots until the soil is covered and the trench disappears. Pull the mulch back slightly from the walkway so the edge looks crisp and clean.
8. Pin any loose landscape fabric under the mulch with landscape fabric pins if your bed already has fabric underneath. Then water the area lightly to settle the soil and mulch around the pots without splashing dirt onto the walkway.
Variations & Tips
For a fuller fall look: Tuck mini white pumpkins, small ornamental kale, or potted mums behind the terracotta border. I like this when I want the walkway to feel extra festive without doing a full seasonal overhaul.
For picky-maintenance gardeners: Keep the pots empty if you want the easiest upkeep. It still looks charming, and you will not have to worry about watering tiny plantings in each pot.
For a softer cottage style: Space the pots about 1 inch apart and let creeping thyme or low ground cover fill in between them. Over time, that little bit of green makes the border feel settled and natural.
For a more formal edge: Set the pots tightly together rim to rim and keep the trench line very straight. This works especially well along a front walk where you want a cleaner, tailored look.
Terracotta care tip: If you live where winters freeze hard, use thicker terracotta pots and expect some weathering over time. I think a little age only adds character, but you can always replace a cracked pot here and there next season.
Budget tip: Check garden centers at the end of summer for discounted clay pots. I have pieced together borders like this over time, and once the mulch is in place, even slightly different batches of terracotta blend together beautifully.