
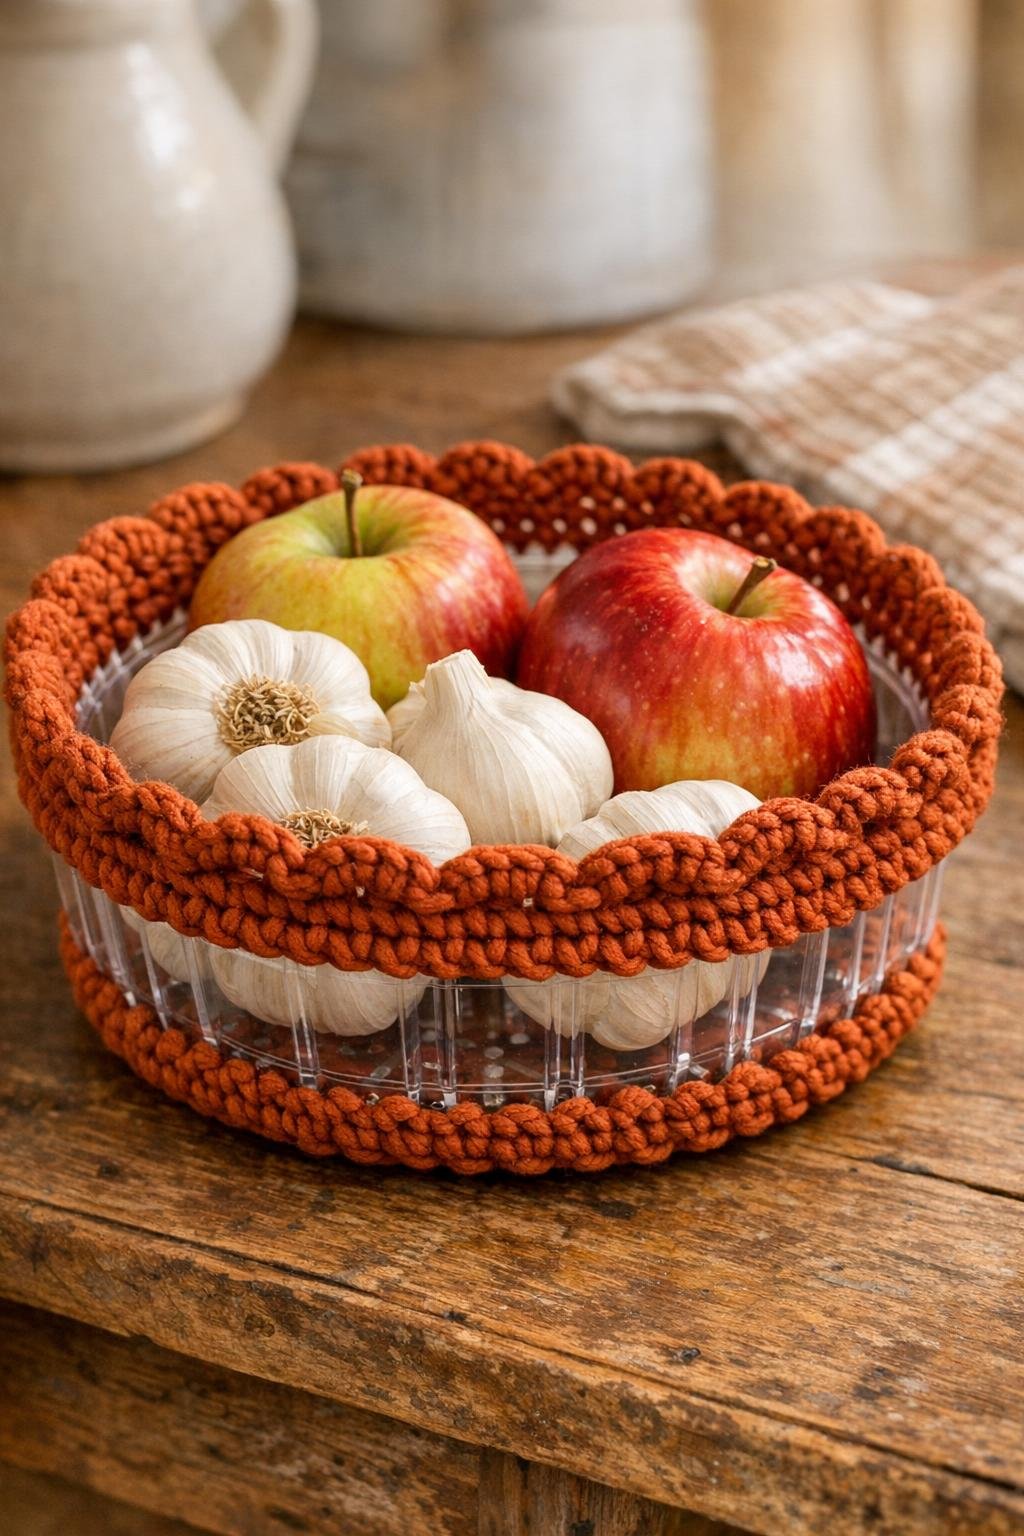
There’s something especially satisfying about turning a humble little throwaway into something you’ll use every day, and this crochet harvest fruit bowl does exactly that. By stitching right through the holes of a plastic berry clamshell container, you can make a sturdy, airy bowl that’s just right for holding apples, onions, garlic, or whatever bits of the season are sitting on your counter. It reminds me of the kind of make-do creativity I grew up around, where nobody was too proud to save a good container if it still had life left in it.
This is a lovely project for beginner-to-intermediate crocheters, especially if you’re comfortable with basic single crochet and working at a steady pace. The plastic form does much of the shaping for you, so you end up with a practical basket-like bowl without needing any fussy construction. I like using a warm rust-colored cotton yarn for that harvest look, but you can certainly make it your own.
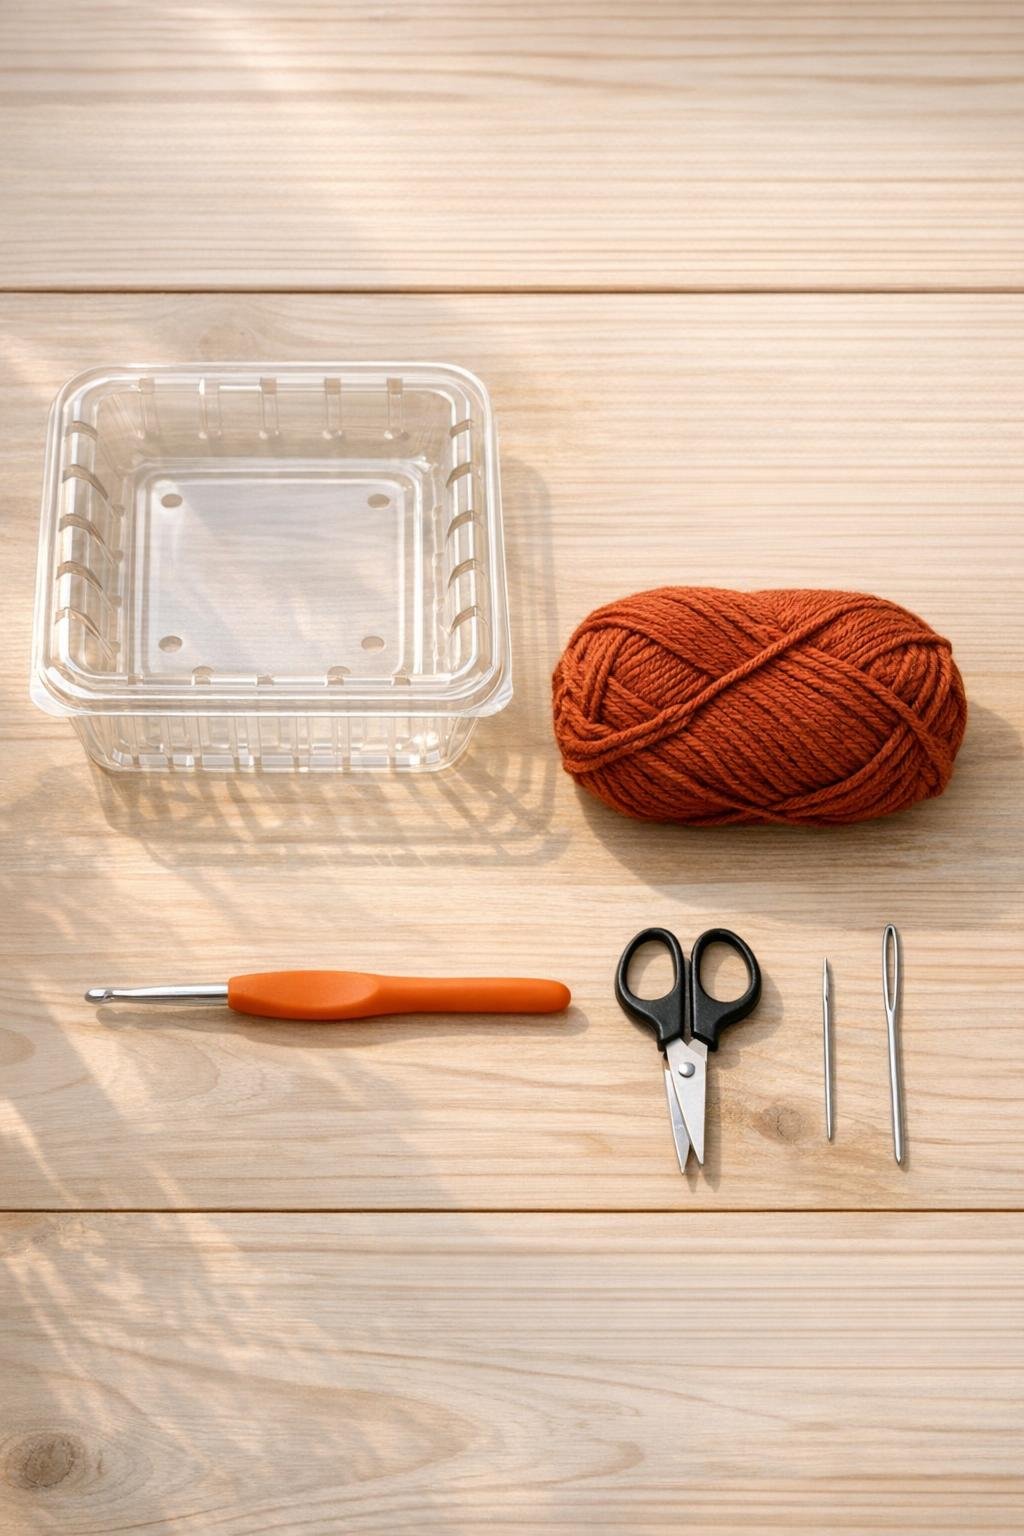
Materials
1 clean plastic berry clamshell container, about 1 pint size, 4 to 5 inches wide
Instructions
1. Wash the berry clamshell container with warm soapy water, remove any stickers, and dry it completely so the yarn stays clean and the stitches grip properly.
2. Open the clamshell and decide which half you want to use as the bowl; most often I use the deeper bottom half and trim away the hinged top if it gets in the way.
3. Tie the yarn securely through one hole near the upper rim, leaving a 4-inch tail inside the container for weaving in later.
4. Insert your hook through the next hole in the plastic, pull up a loop of yarn, and work 1 single crochet into that hole; continue with 1 single crochet in each hole all the way around the rim.
5. Join the last stitch to the first with a slip stitch, then chain 1 to begin building up the sides with a second round.
6. Work 1 single crochet into each stitch around, using the first crocheted round rather than the plastic holes this time; this softens the edge and gives the bowl a more finished look.
7. If you’d like more coverage, work a third round of single crochet all the way around; if you prefer a lighter, more open harvest basket style, stop after the second round.
8. To make the rim sturdier, work a final slip stitch round loosely all the way around, or crab stitch if you know it and want a slightly rope-like border.
9. Cut the yarn leaving a 6-inch tail, fasten off, and thread the tail onto the yarn needle to weave it neatly through several back stitches.
10. Weave in the starting tail inside the bowl, trim both ends close, and gently shape the bowl with your hands so it sits evenly on the table.
11. Fill the finished bowl with produce and check the balance; if one side dips, add one extra round of slip stitches along that area to firm it up.
Variations & Tips
Use a different container shape: A square berry container gives a nice modern look, while a rounder one feels more like a traditional basket. I’ve found the sturdier containers hold their shape best.
Choose cotton over acrylic: Cotton yarn grips the plastic better, holds up well in the kitchen, and gives the bowl a crisp finish. Acrylic can work, but it tends to slide and soften more than I like for a project like this.
Add a fuller basket edge: If you want the crochet to show more, work two single crochet stitches into every third stitch on the second round. That little increase will let the fabric flare outward just a touch.
Make a matching set: Save several clamshells from strawberries, cherry tomatoes, or small bakery items and crochet each one in the same yarn. A little collection of them on the counter looks homey and useful all at once.
Keep it practical: This bowl is best for dry produce or packaged snacks rather than anything damp. Since the base is still ventilated plastic, it’s especially handy for onions, shallots, garlic, or fresh-picked garden tomatoes that need a bit of airflow.
Mind the edges: If your container has any sharp trimmed spots, smooth them with scissors before you begin. That old-fashioned ounce of prevention saves your yarn from snagging later.