
When I want a seasonal project that looks charming without taking over my whole afternoon, this is exactly the kind of thing I make. These two-item tiered fall centerpieces use inexpensive foam pumpkins from the dollar store and thrifted glass candlestick holders to create a simple stacked accent that looks much pricier than it really is. They’re especially sweet by a front door, on a porch table, or even tucked onto an entryway console.
I love projects like this because they’re beginner-friendly, affordable, and easy to customize for your own home. If you enjoy decorating for fall but don’t want anything complicated, this is a lovely little craft that comes together quickly and still feels polished and cozy.
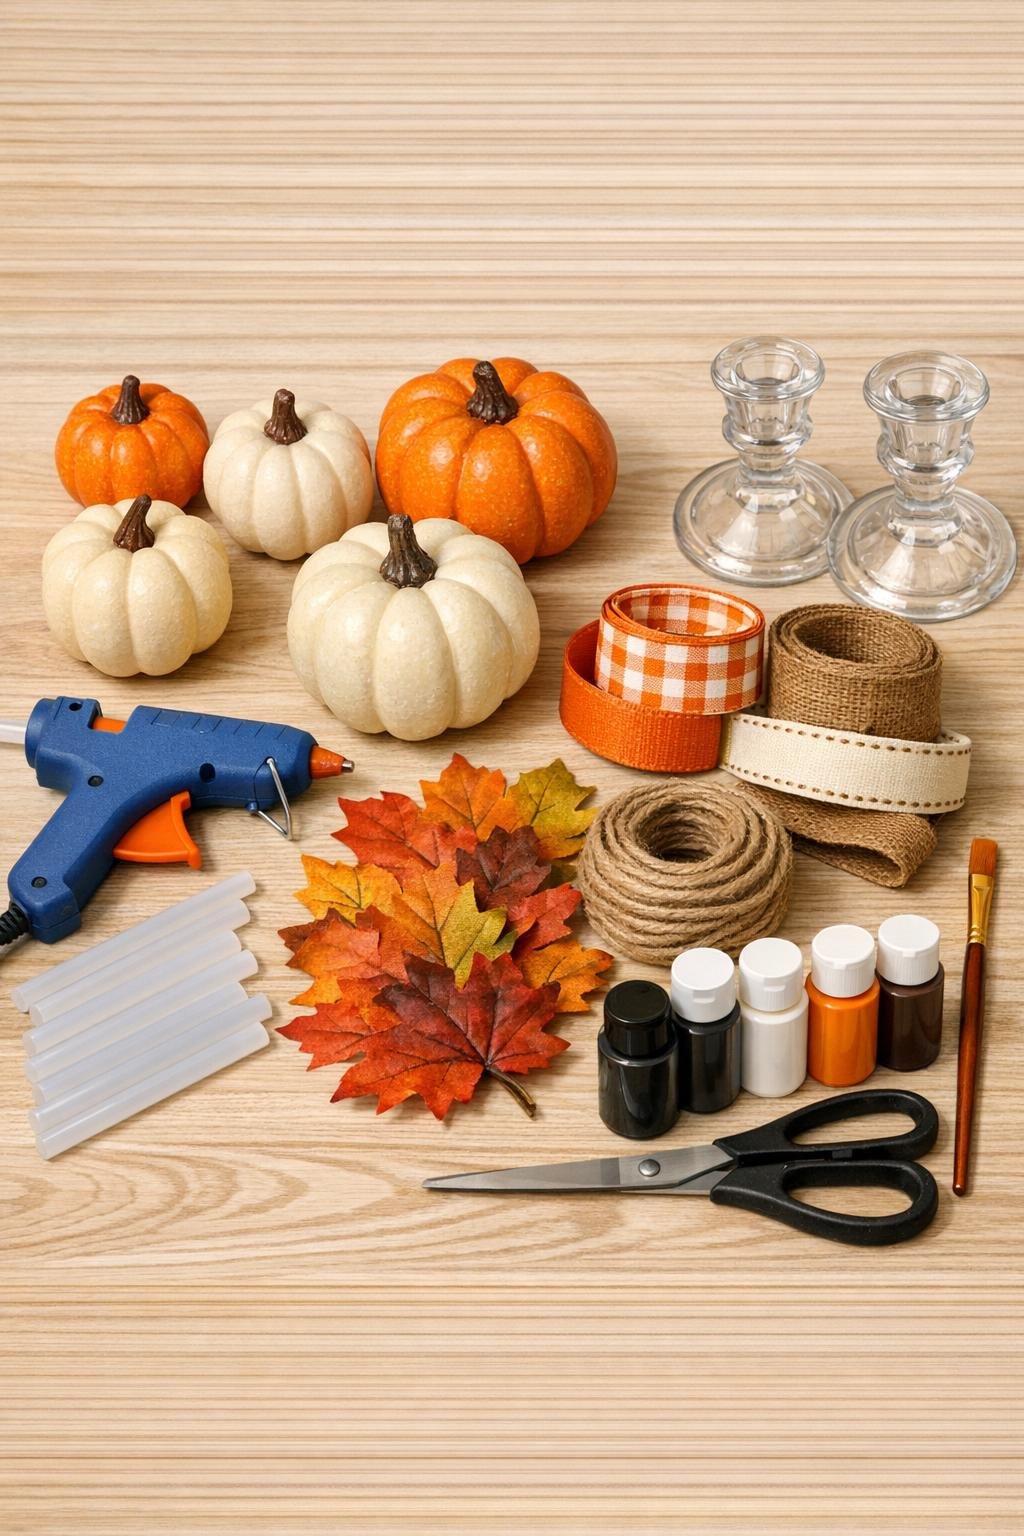
Materials
2 medium foam pumpkins, about 5 to 6 inches wide each
Instructions
1. Set parchment paper or cardboard on your work surface, then wipe the glass candlestick holders clean so the glue will stick well.
2. Remove any tags or stickers from the foam pumpkins and gently pull out the stems if they come loose easily; set the nicest stems aside for the top pumpkins.
3. Test-stack one medium pumpkin on each candlestick holder to check the balance, then place one small pumpkin on top to make sure the proportions look right before gluing.
4. Add a generous ring of hot glue to the top of one candlestick holder and press a medium pumpkin firmly in place for 20 to 30 seconds; repeat with the second holder.
5. If the top of the medium pumpkin is uneven, flatten it slightly with gentle pressure from your hands so the smaller pumpkin will sit more securely.
6. Glue one small pumpkin centered on top of each medium pumpkin, holding each one steady until the glue sets.
7. Reinsert the stems into the top pumpkins, or glue them back on if needed, angling them slightly for a natural look.
8. Wrap ribbon or twine around the center where the two pumpkins meet, then tie a neat bow or knot to hide the seam and add texture.
9. Trim small pieces of faux fall leaves or berry stems and tuck them under the ribbon or twine, securing them with a dot of hot glue if they need extra hold.
10. Touch up any visible glue strings, add a little paint if you want to soften bright pumpkin colors, and let everything cool completely before moving the pieces to your front door area.
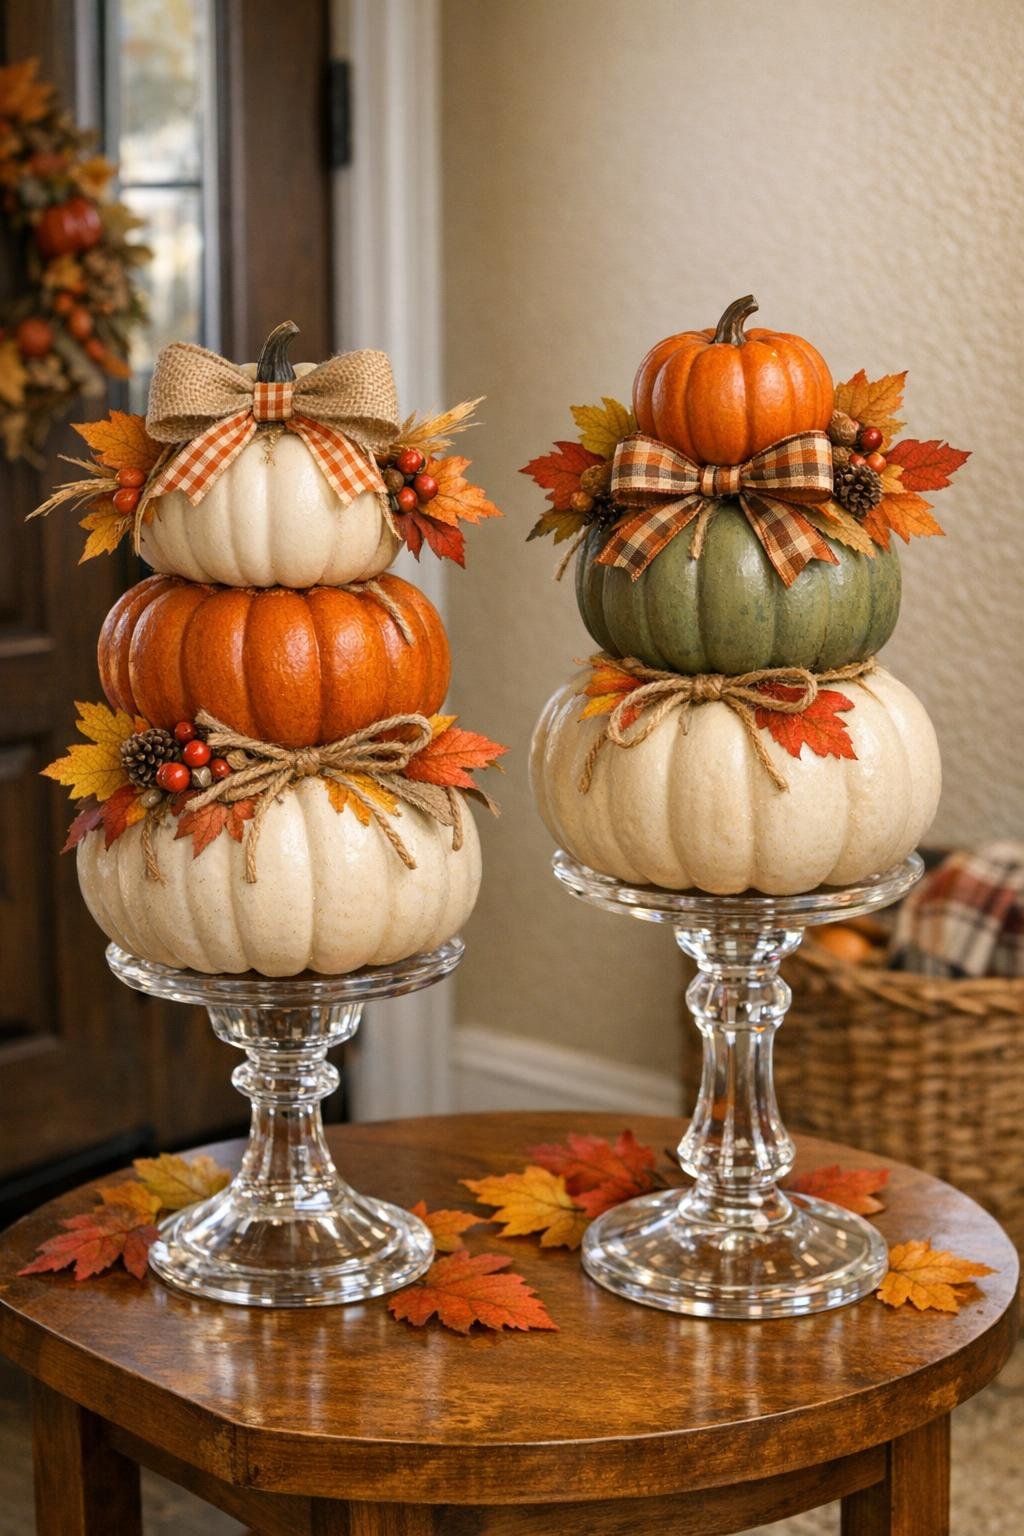
Variations & Tips
For a softer look: If the dollar store pumpkins are a little too bright, I like to dry-brush them with cream, tan, or muted orange acrylic paint. It gives them that calmer, more collected look that works beautifully on a porch.
For picky decorators: In my house, everybody has an opinion about seasonal colors, so this is an easy one to adjust. Use plain twine for a simple farmhouse style, buffalo plaid ribbon for something playful, or velvet ribbon if you want it to feel dressier.
To make them sturdier: Choose candlestick holders with a wider base, especially if you’ll place these near a busy front door. A low, heavy base helps keep the centerpiece from tipping.
For outdoor covered spaces: These work best on a covered porch or protected entry since foam and hot glue don’t love heavy rain or direct harsh weather. If you want a little more durability, use outdoor-safe adhesive instead of standard hot glue.
Budget-saving tip: Thrift stores are my favorite place to find mismatched glass candlesticks. They do not have to match perfectly; sometimes a slightly mixed pair actually looks more charming and collected.
Easy styling idea: I like to set the pair on either side of a doormat bench, a porch table, or a basket of mums. Using two makes the display feel balanced and intentional without needing a lot of extra decorating.