
These amber leaf suncatchers are one of my favorite low-effort projects for that awkward stretch between late summer and full-on fall decorating. You melt orange and gold pony beads right in the oven, use a pair of simple kitchen items as your mold and press, and end up with translucent leaves that catch the light like little pieces of stained glass. I made my first batch on a weeknight after dinner, mostly because I wanted something seasonal that didn’t require dragging out my whole craft stash.
This version makes 3 suncatchers, which is perfect for a small kitchen window, a front door sidelight, or a short garland across a mantel. If you like projects that look much fancier than they are, and you need something practical enough to fit into a busy schedule, this is a really good one.
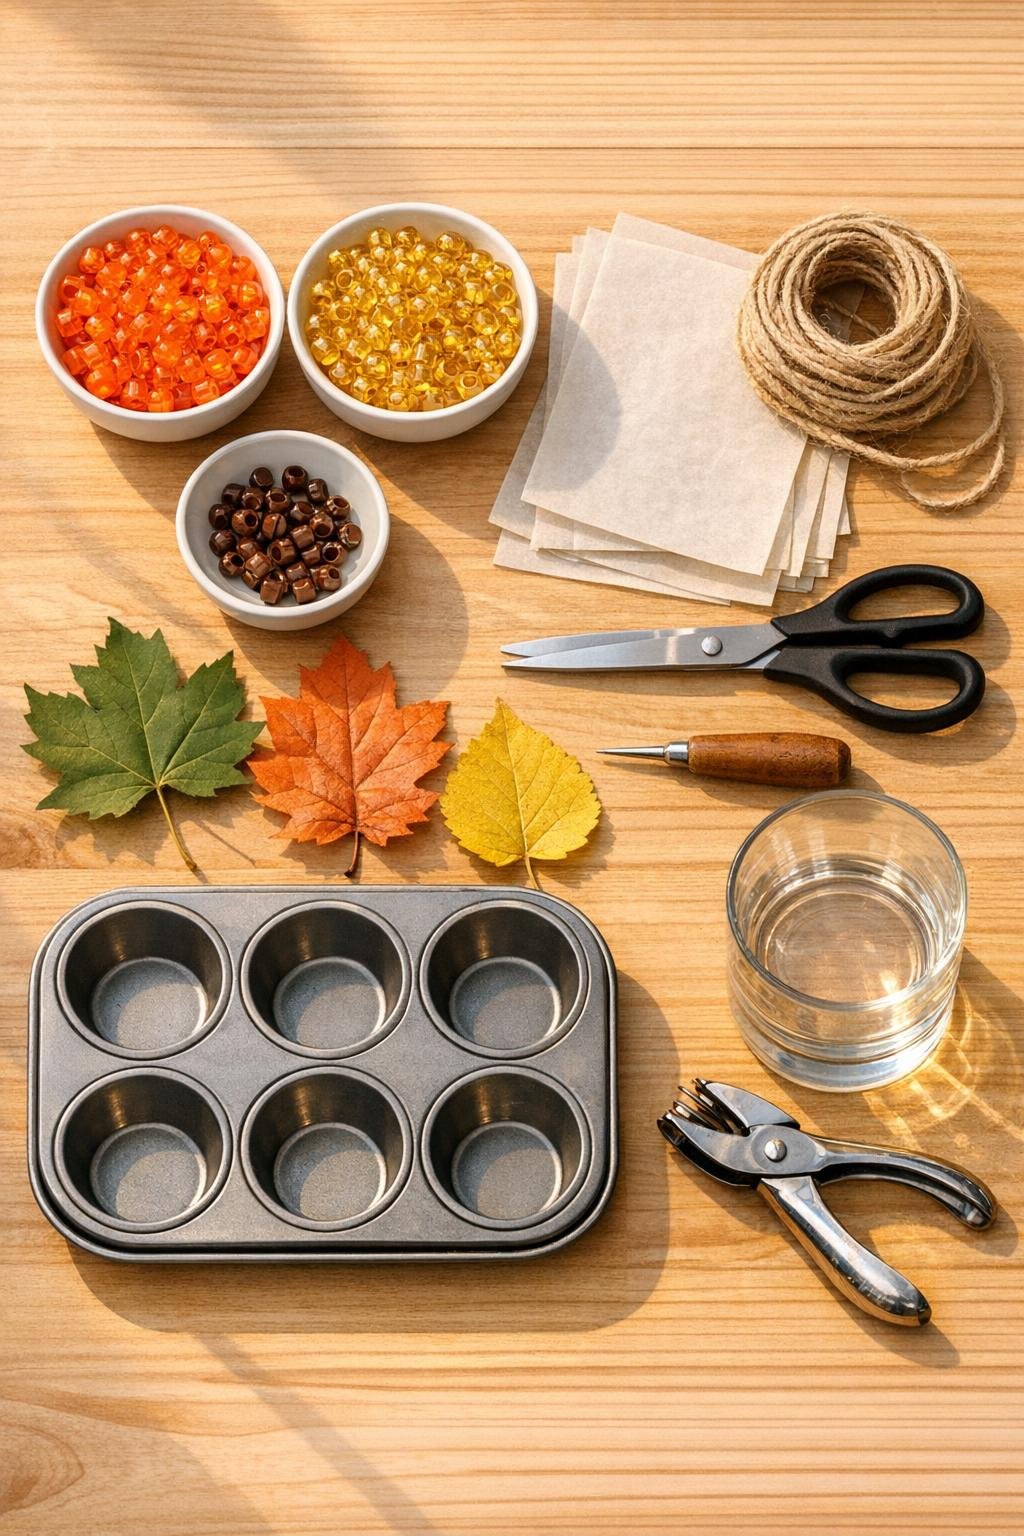
Materials
Orange translucent pony beads — 1 1/4 cups
Instructions
1. Preheat your oven to 400°F and line your work area with parchment paper for cooling and trimming later.
2. Sort the beads into a warm mix of mostly orange, some gold, and a few brown beads so each leaf will have that amber, fall-color look instead of reading as one flat color.
3. Fill 3 cups of the muffin tin with a single layer of mixed beads, using about 2/3 cup per cup so the melted discs come out thick enough to trim without cracking.
4. Bake for 18 to 22 minutes, just until the beads fully melt together and the center holes mostly disappear; keep an eye on them during the last few minutes because ovens vary.
5. Remove the pan carefully and immediately press each melted round gently with the flat bottom of the glass to flatten and slightly spread it while it is still soft.
6. Let the discs cool in the pan for 10 to 15 minutes, then pop them out and place them on parchment paper until fully cool and firm.
7. Set a leaf template or real leaf on top of each cooled disc and cut around it with sturdy scissors to make 3 leaf shapes; trim small notches for a more natural maple or oak edge if you like.
8. Punch or pierce a small hole near the top stem end of each leaf, staying about 1/4 inch from the edge so the hanger won’t tear through.
9. Thread one 12-inch piece of twine or fishing line through each hole and knot it securely for hanging.
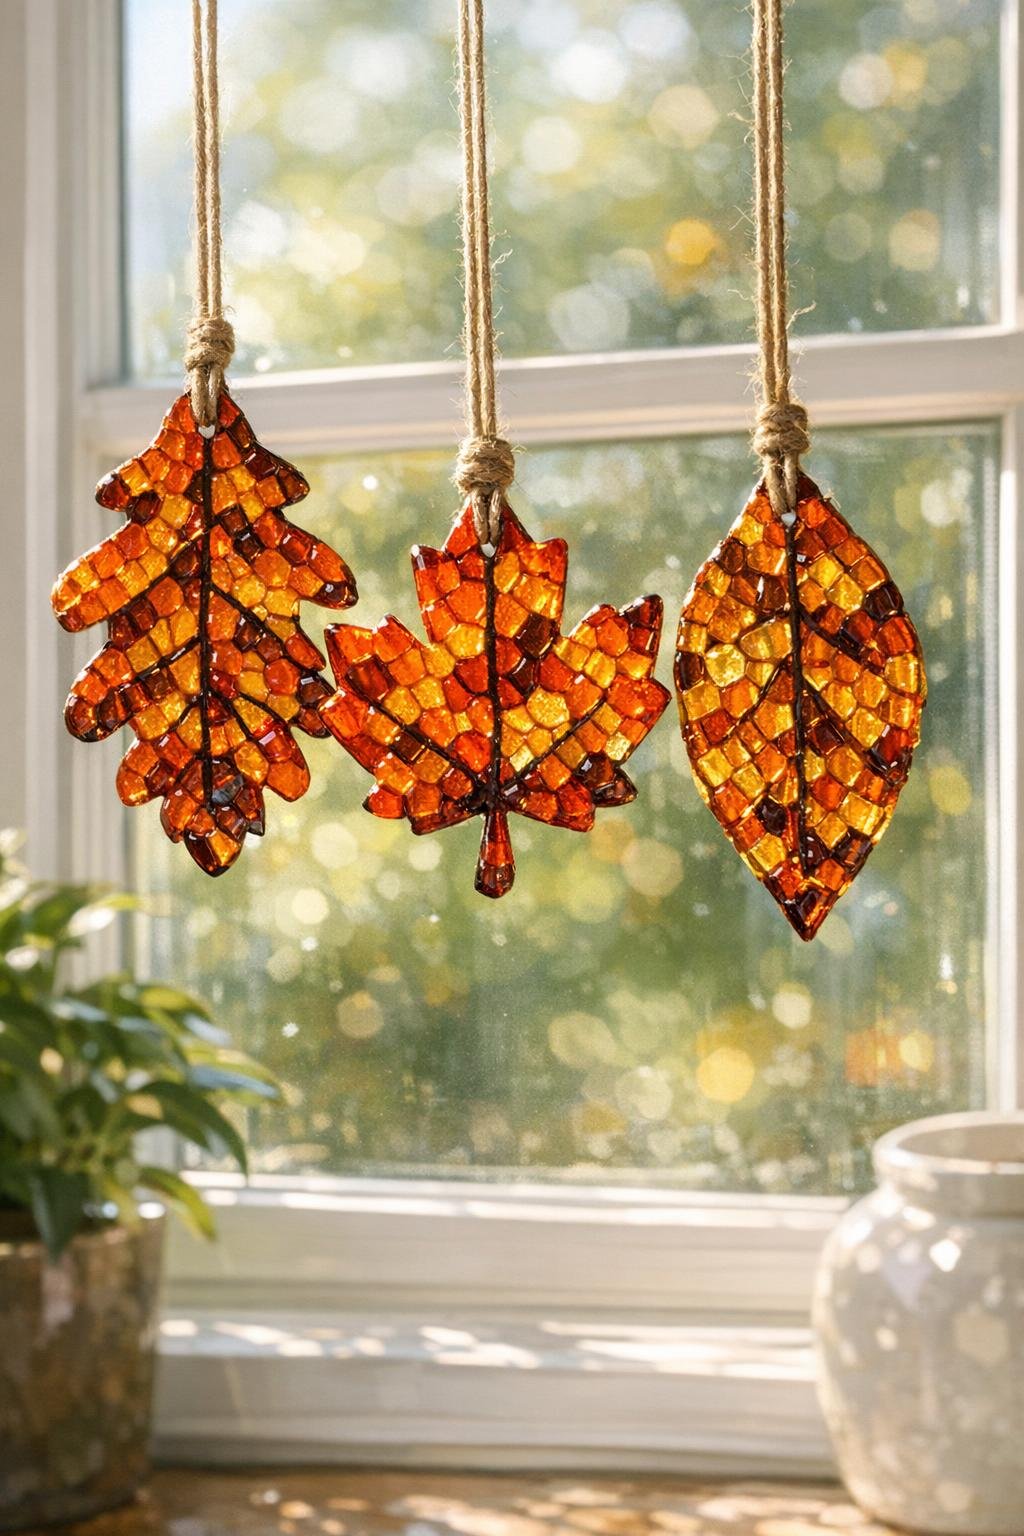
10. Hang the 3 finished leaf suncatchers in a sunny window or from a small branch, spacing them a few inches apart so the light can shine through each one.
Variations & Tips
Leaf shape mix: Try making one maple, one oak, and one simple oval leaf for a more collected, nature-inspired set. I like the slightly mismatched look because it feels less store-bought and more charming.
Color balance: If you want a richer amber tone, use about two-thirds orange and one-third gold with just a sprinkle of brown. Too much brown can muddy the light, so I keep it very minimal.
Template shortcut: Real leaves work beautifully as tracing guides, but printed templates are easier if you want the set to match. On busy nights, I go with simple leaf outlines and call it done.
Hanging option: Clear fishing line gives you a floating look in the window, while jute twine leans more rustic. If these are going near a kitchen sink window like mine, fishing line is a little easier to wipe clean.
Cutting tip: If a disc feels too hard to trim smoothly, warm it for a minute or two in the turned-off oven, then cut while it is slightly softened. Don’t reheat until fully melted again or the shape can distort.
Safety note: Use an older muffin tin for craft projects if you can, and work in a well-ventilated kitchen. I always set parchment on the counter before I start so I’m not scrambling for a landing spot when the hot pan comes out.
Display idea: These also look pretty strung from a small fallen branch as a mini wall hanging. Three leaves in a row is simple, finished-looking, and about the maximum effort I can manage on a weeknight.