
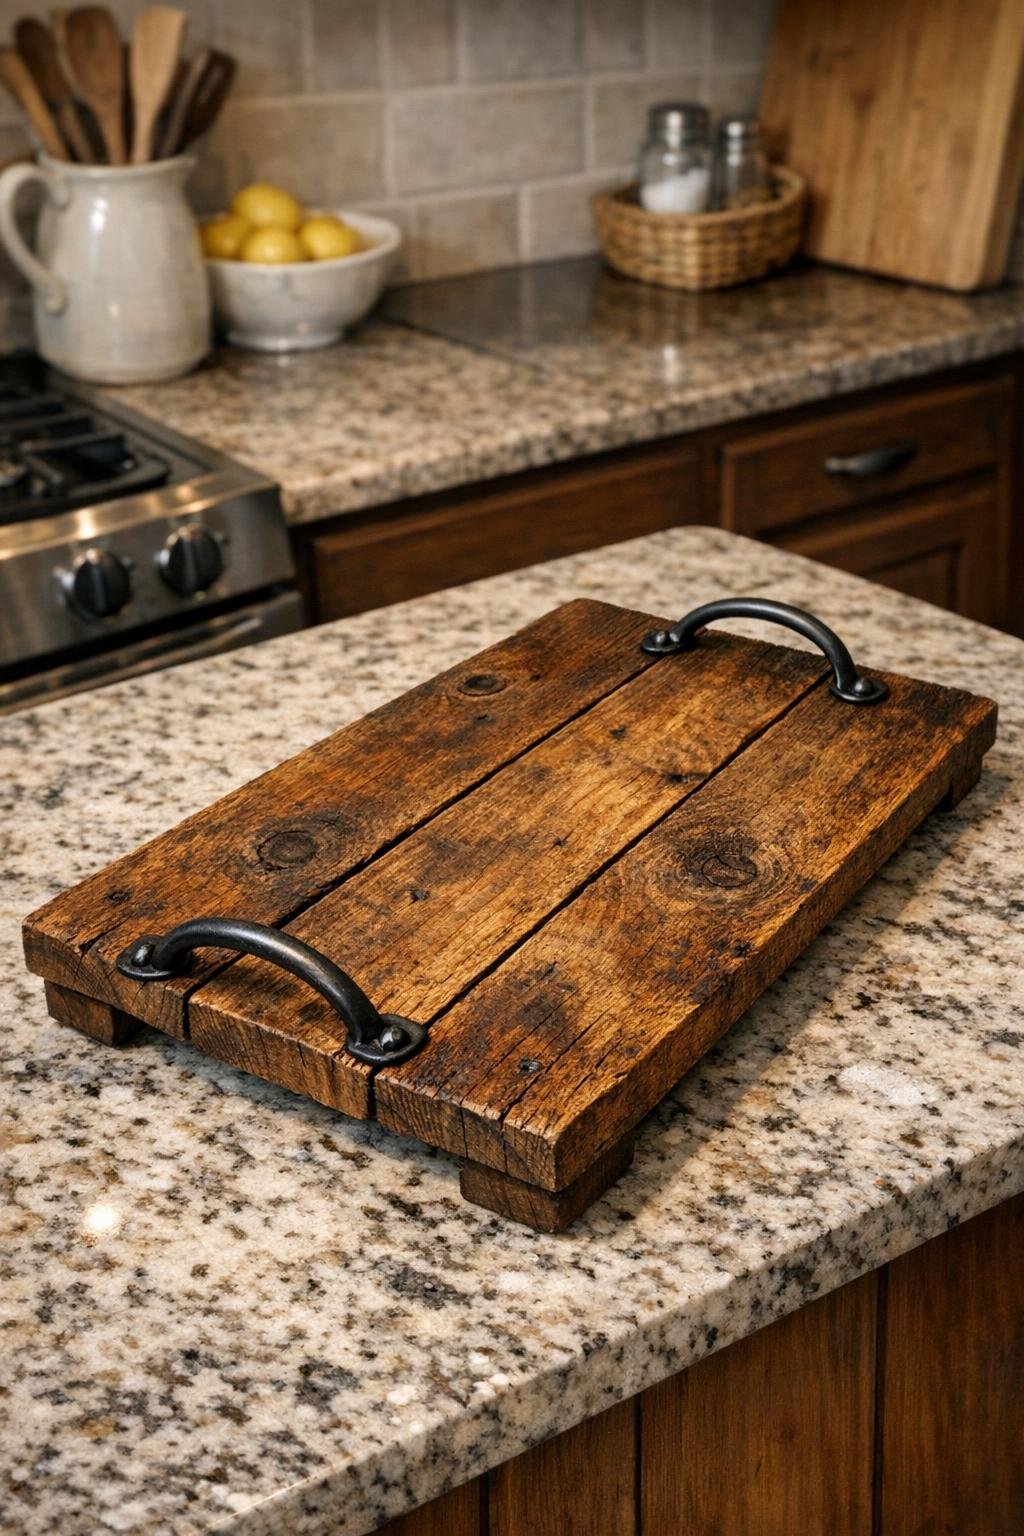
I love a project that turns “junk” into something I’ll actually use, and this rustic serving tray is exactly that. If you’ve got a few old fence pickets leaning against the garage or tucked behind the shed, this is one of the simplest ways to give them a second life. With just 3 boards and a pair of drawer pulls, you can make a sturdy tray that looks charming on a coffee table, kitchen island, or patio table.
As someone who is usually squeezing projects in between work, dinner prep, and the usual weekday chaos, I really appreciate builds like this one. It’s beginner-friendly, budget-friendly, and forgiving if your reclaimed wood is a little weathered or imperfect. In my house, that slightly worn look is part of the appeal.
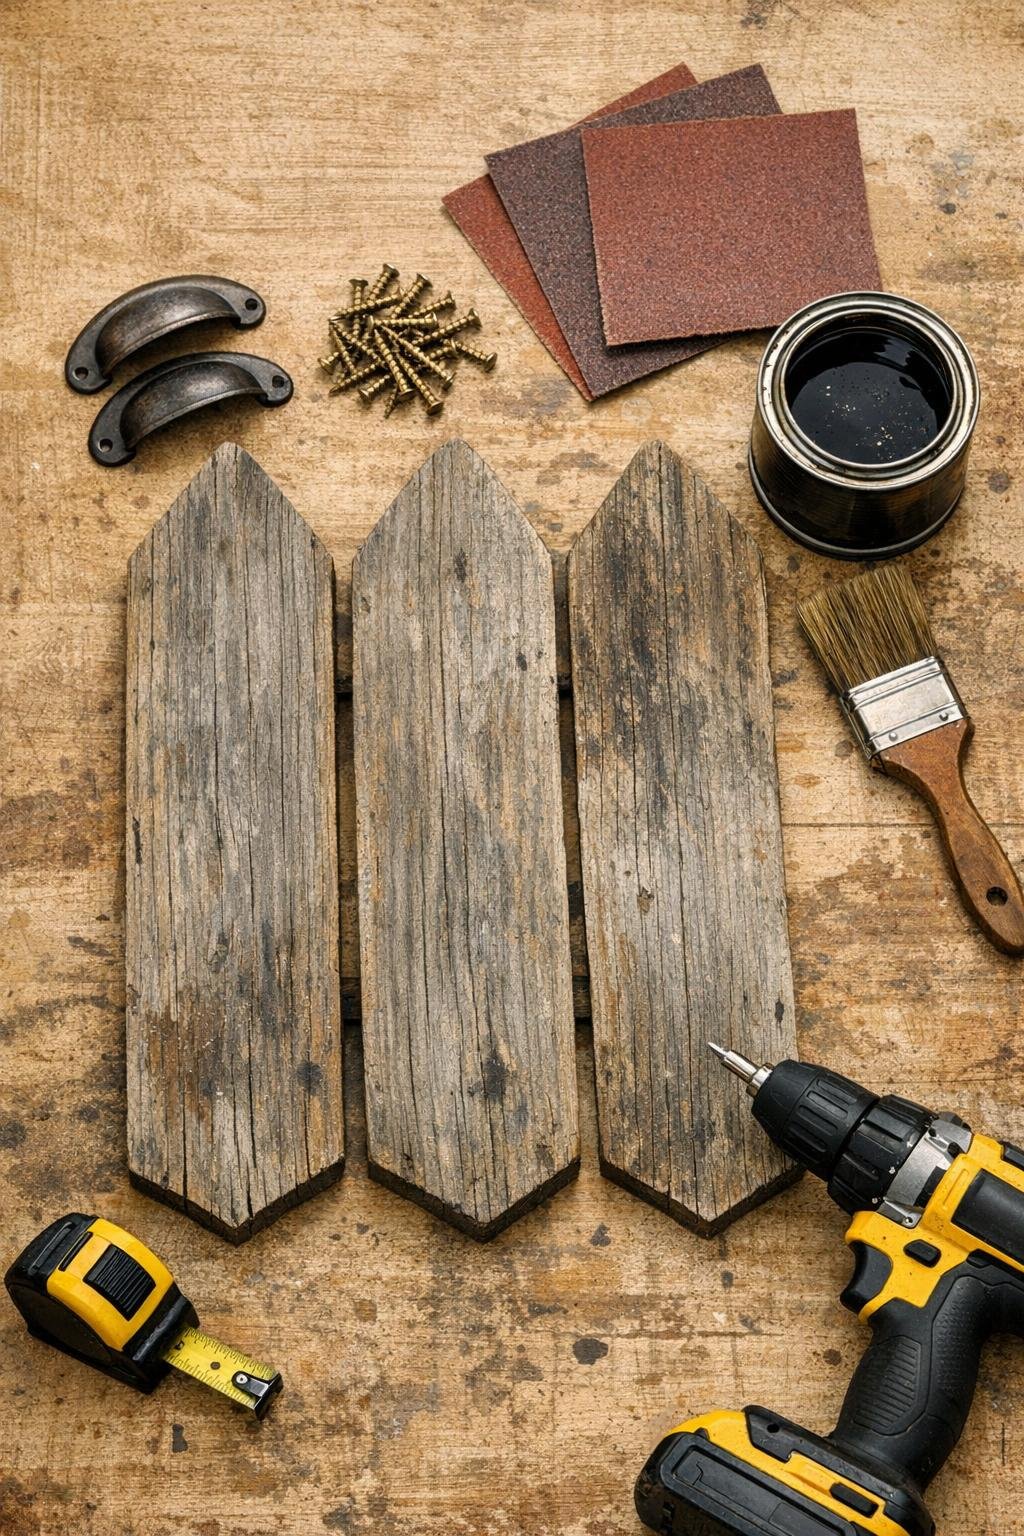
Materials
3 old wooden fence pickets, each cut to 18 inches long
Instructions
1. Cut the fence pickets to the same length, 18 inches is a great size for a small serving tray. Check that the ends are square enough to line up cleanly.
2. Sand each board with 80-grit sandpaper first to remove loose dirt, splinters, and flaking finish. Follow with 150-grit so the tray still feels rustic but won’t snag hands or towels.
3. Lay the 3 boards side by side with the best-looking faces downward so you can attach the supports on the back. Arrange them until the gaps are minimal and the tray looks balanced.
4. Position the 2 support strips across the boards on the underside, one about 2 inches from each short end. If you want extra hold, add a thin line of wood glue under each strip before screwing them down.
5. Pre-drill small pilot holes through each support strip into the pickets to help prevent splitting. Drive in the 1-inch wood screws, using 3 screws per support strip so all 3 boards are secured together.
6. Flip the tray over and lightly sand the top edges and corners again if anything still feels rough. This is the point where I usually run my hand over every edge, because old wood always seems to hide one last splinter.
7. Mark the drawer pull placement on the two short ends, centering each handle from side to side and placing it about 1 1/2 inches down from the top edge. Pre-drill the hardware holes carefully based on the spacing of your pulls.
8. Attach the drawer pulls with the screws that came with the hardware or with correctly sized replacement screws. Make sure both handles feel tight and even before moving on.
9. Apply your stain or clear sealer with a rag or foam brush, working with the grain and wiping away any excess. Let it dry fully according to the product directions, then add a second light coat if you want a richer finish.
10. Stick felt pads on the bottom corners of the support strips so the tray won’t scratch your table. Once the finish is dry, it’s ready to use for drinks, napkins, condiments, or even as a simple centerpiece base.
Variations & Tips
For a more polished look: Fill any deep nail holes with stainable wood filler before sanding, then use a darker stain for a cleaner finish that still keeps the rustic character.
For a more weathered farmhouse style: Skip the stain and use a matte clear sealer only. I’ve done this with older gray-toned wood, and it keeps that naturally aged look I always fall for.
If your pickets are warped: Clamp them together while attaching the support strips. Minor gaps are fine, but clamping helps keep the tray flatter and sturdier.
Handle tip: Test your drawer pull screws before final assembly, especially if the pickets are thinner than standard cabinet fronts. Screws that are too long can poke through the tray face.
Food-use note: Use the tray for serving dishes, mugs, jars, or wrapped items rather than placing loose food directly on the wood unless you use a food-safe finish.
Easy styling idea: When I’m not actively serving with mine, I leave it on the counter holding olive oil, salt, and a small plant. It makes everyday kitchen clutter look a lot more intentional.