
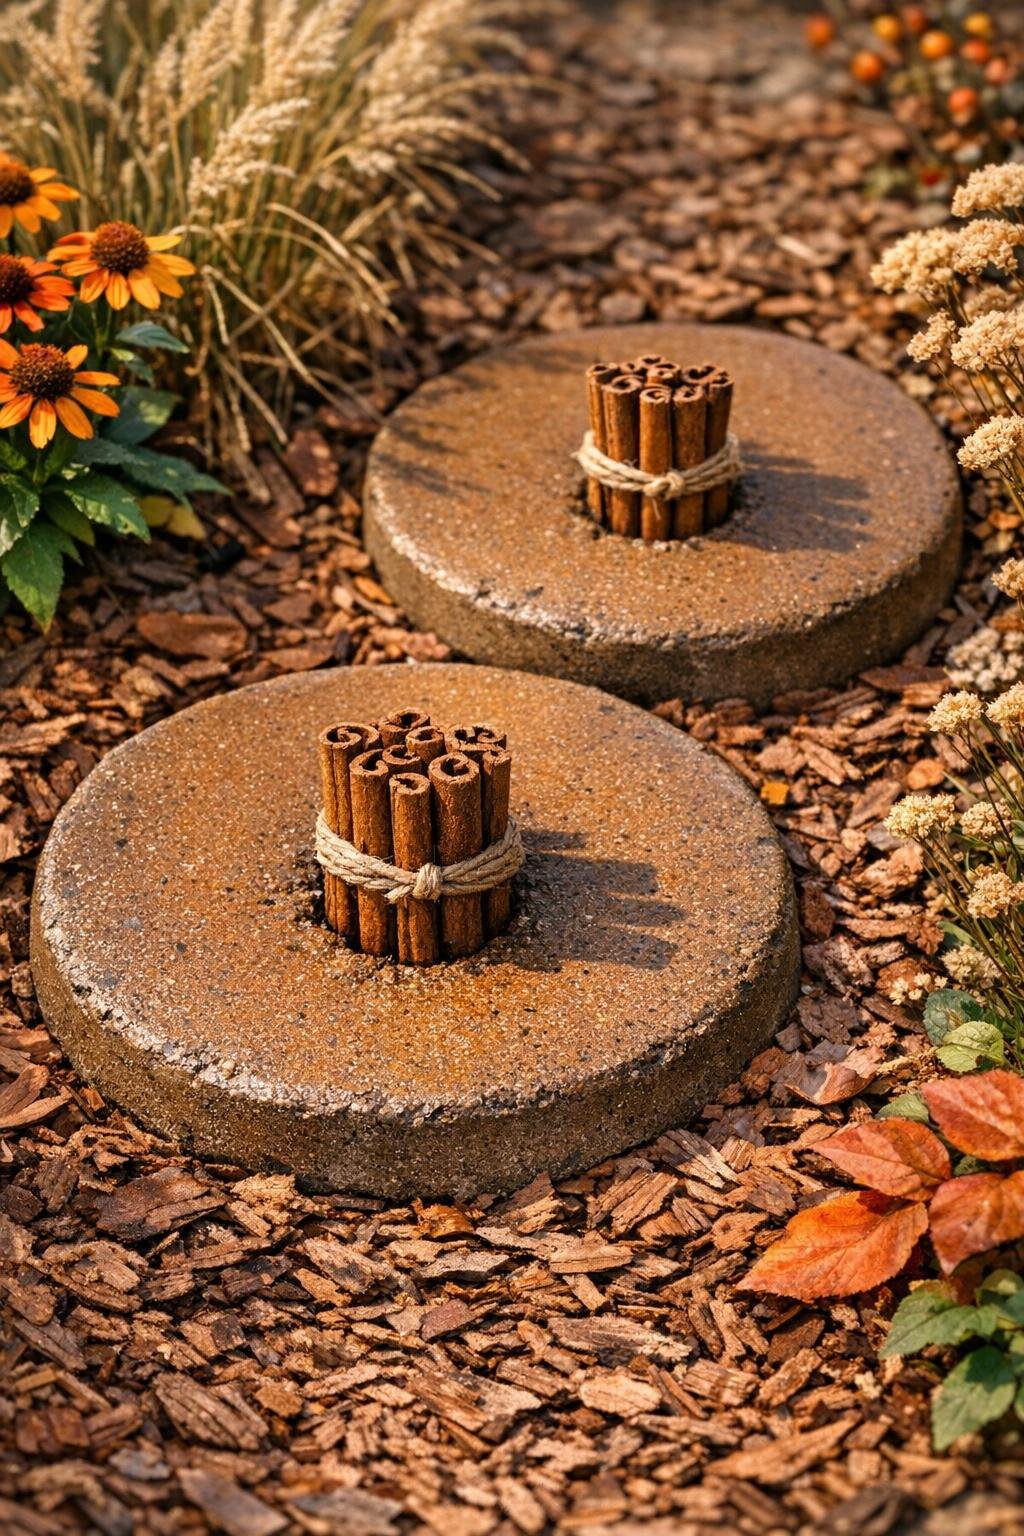
I love a project that looks way fancier than the actual effort involved, and these harvest-themed stepping stones absolutely fit that category. By bundling cinnamon sticks into simple seasonal shapes and pressing them into concrete, you get a pair of garden accents that feel warm, rustic, and perfect for fall. The secret ingredient here is a little brown craft paint mixed into the concrete surface layer, which softens that plain gray look and helps the stones feel more natural in the garden.
This is a great weekend DIY if you want to dress up a path, tuck something pretty into a vegetable bed, or make a handmade gift for a gardener. I’m always looking for projects I can finish without turning my garage into a full construction zone, and this one gives you that satisfying handmade look without a lot of complicated tools.
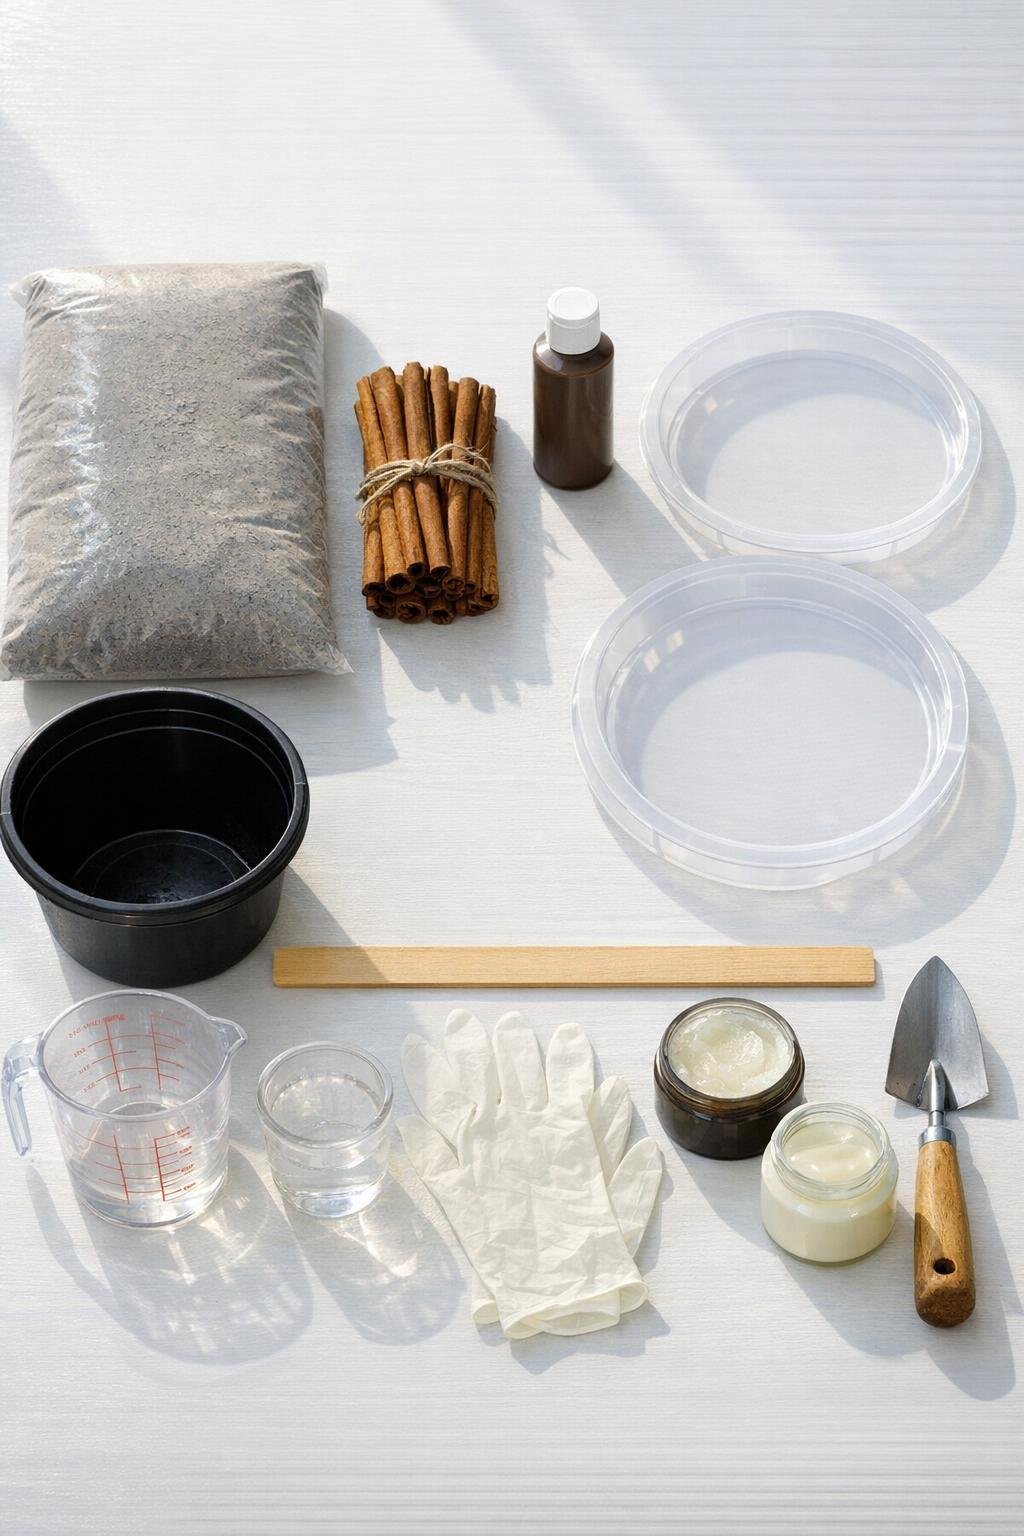
Materials
Instructions
1. Wipe out the two molds and coat the inside bottoms and sides with a thin layer of petroleum jelly so the stones release easily later.
2. Sort the cinnamon sticks and make two small bundled designs, using about 20 sticks per stone; I like a simple tied-sheaf look or a fan shape that feels a little like gathered wheat.
3. In the mixing bucket, combine the concrete mix with water a little at a time until it reaches the texture of thick oatmeal and holds its shape when stirred.
4. Scoop concrete into each mold until it is about 1 1/2 inches deep, then tap the molds firmly on the work surface several times to release air bubbles.
5. Stir the brown craft paint into 2 to 3 tablespoons of the wet concrete from the bucket, then spread this tinted layer thinly across the top of each mold to create a warmer surface color.
6. Press one cinnamon stick bundle into the center of each stone, pushing gently until the sticks sink about halfway into the concrete but still stand out clearly on the surface.
7. Smooth the exposed concrete around the edges with a trowel or spoon, and clean away any splashes from the top of the cinnamon sticks before the mix begins to set.
8. Let the stones cure in the molds for 24 hours in a level, dry spot, then carefully flex the molds and lift the stones out onto a flat surface.
9. Sand any rough edges lightly with 120-grit sandpaper, then let the stones continue curing for another 24 to 48 hours before sealing.
10. Brush or spray on a thin coat of clear outdoor matte sealer, let it dry fully, and place the pair in the garden where they will get light foot traffic or serve as decorative accents.
Variations & Tips
Leaf-look finish: If you want even more autumn character, dust a tiny bit of extra brown or tan craft paint over the top after curing, then wipe it back so the color settles into small surface texture.
Mold options: Plastic plant saucers are my favorite because they flex easily, but old cake pans, sturdy takeout containers, or square dish tubs also work if they are all the same depth.
Best placement: Because the cinnamon sticks are a decorative inlay, I use these stones in lightly used areas instead of my busiest walkway. They are perfect near raised beds, herb gardens, or beside a porch step.
Make-ahead tip: You can pour the stones one evening and unmold them the next day, which is exactly the kind of low-drama project I need during a busy workweek.
Weather protection: Reapply outdoor sealer every season or two if the stones live in a very wet spot. That extra minute helps the cinnamon stay looking neat longer.
Shape variation: For a more stylized harvest design, arrange the sticks into a small fan, wheat spray, or pumpkin-stem cluster before pressing them into the concrete.