
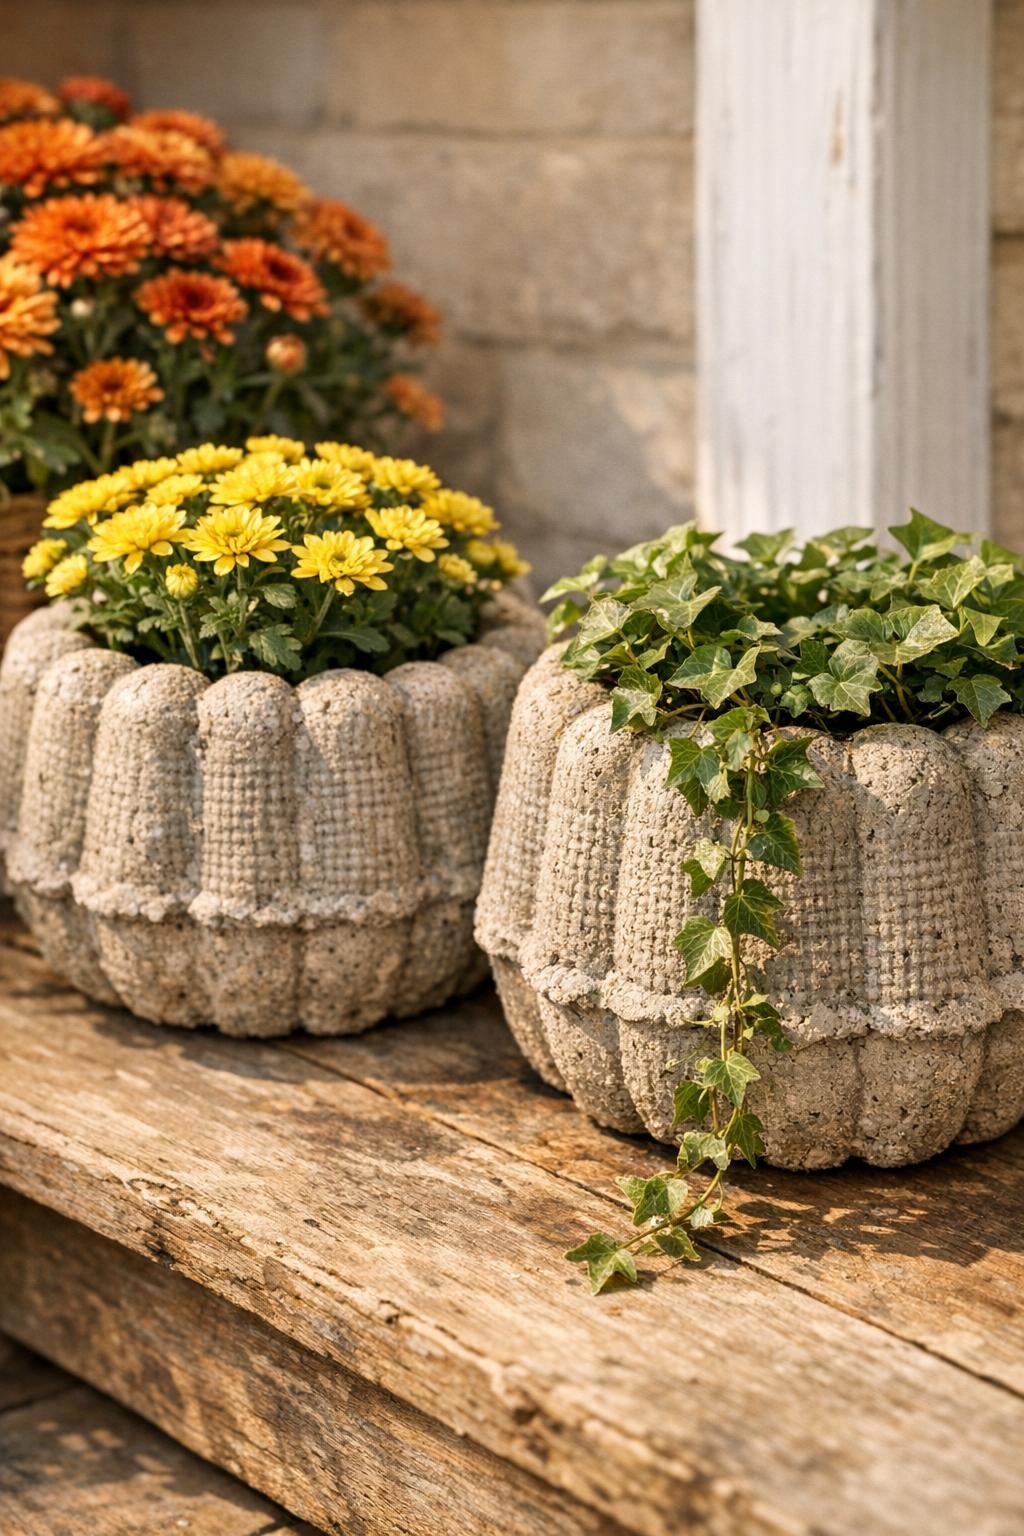
There’s something especially satisfying about turning a few humble household things into planters that look like they came from a little garden shop off a country road. For this project, I use burlap, bundt pans, concrete mix, and one simple pantry staple to make a pair of textured harvest planters with lovely shape, weight, and character. The burlap leaves behind that soft, woven texture, while the bundt pan gives each planter a graceful ringed form that feels both rustic and a touch elegant.
I’m fond of projects like this because they dress up a porch in a hurry, and they don’t ask for fancy supplies. If you enjoy practical decorating, fall planting, or simply making something useful with your own two hands, this is a good one. It reminds me of the old Midwestern habit of making do with what you have, then standing back and admiring how handsome it turned out anyway.
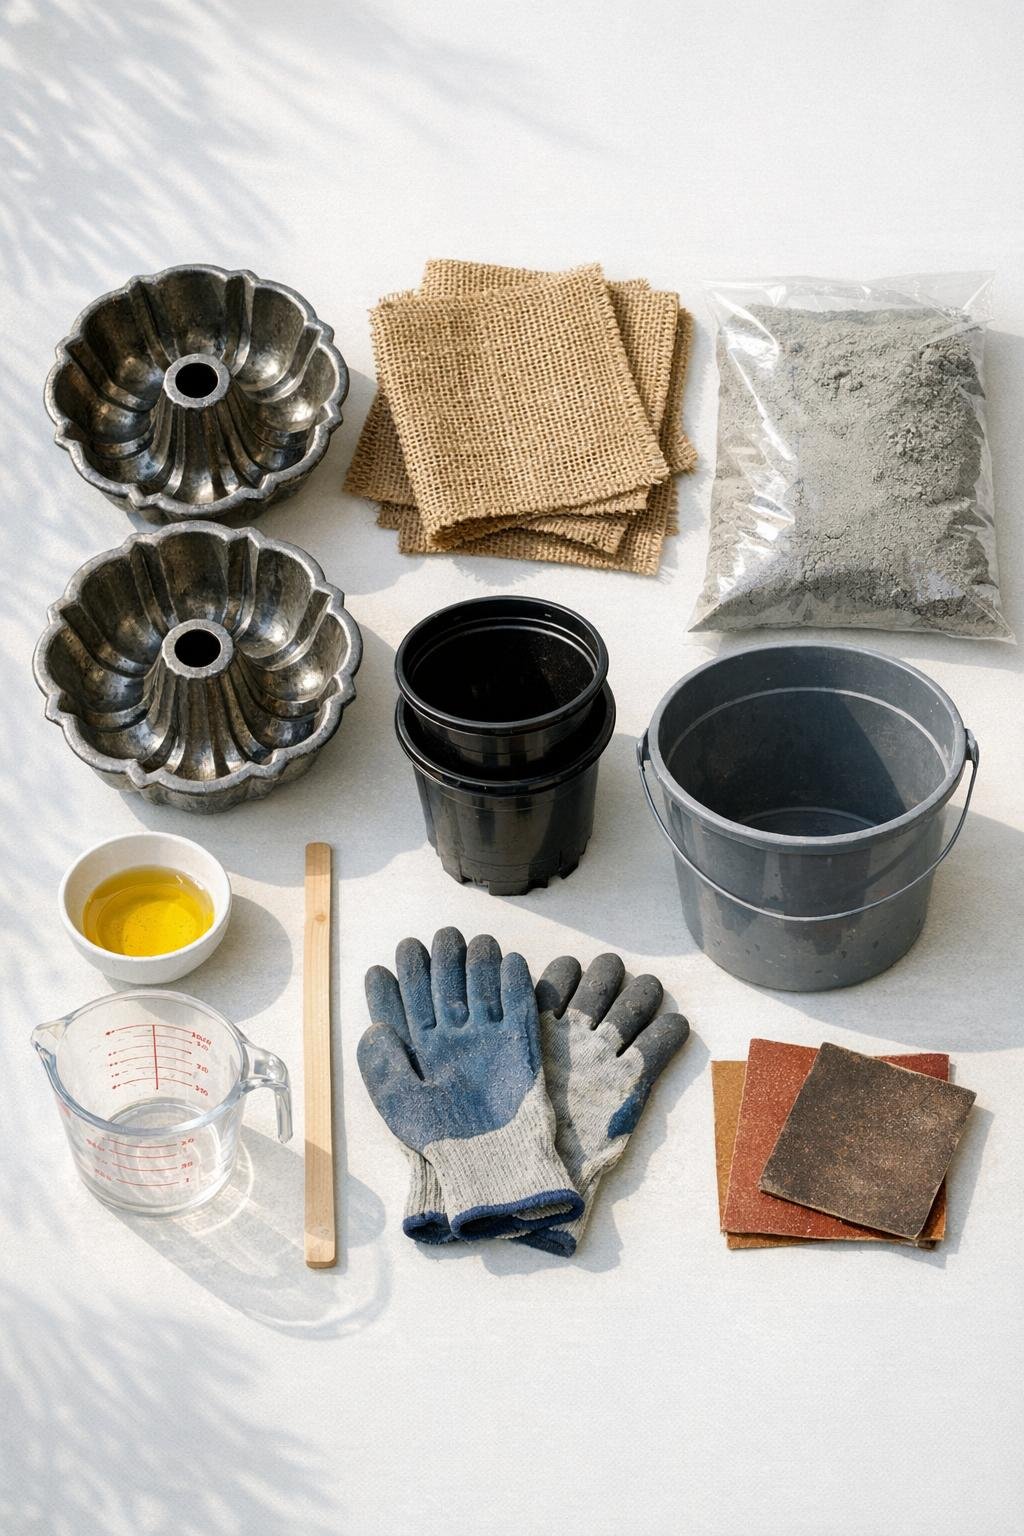
Materials
2 metal bundt pans, 9 to 10 inches wide each
Instructions
1. Set up your work area outdoors or in a well-ventilated spot, and place the bundt pans on a level surface. Put on gloves and a dust mask before opening the concrete mix.
2. Cut or trim the burlap so each piece fits down into a bundt pan with enough extra to fold slightly over the rim. Press the burlap into the grooves so it sits snugly against the pan.
3. Lightly coat the burlap surface and the outside of each inner plastic pot with cooking oil. This pantry staple helps everything release much more easily once the concrete cures.
4. In the bucket, combine the concrete mix with water a little at a time until it reaches a thick brownie-batter consistency. Stir thoroughly so there are no dry pockets hiding at the bottom.
5. Spoon or pour concrete into each burlap-lined bundt pan until it is about two-thirds full. Tap the pans firmly on the table a few times to settle the mix and release air bubbles.
6. Center one plastic pot into the wet concrete in each pan, pressing down slowly to form the planting cavity. Leave at least 1 1/2 inches of concrete around the sides and bottom for strength.
7. Place a stone or brick inside each plastic pot to keep it from floating up while the concrete sets. Check that the inner molds stay centered, then smooth the exposed top surface with your gloved hand or a trowel.
8. Let the planters cure undisturbed for 24 to 48 hours, or according to your concrete mix directions. Once firm, remove the weights, pull out the inner pots, and gently lift the concrete forms from the bundt pans.
9. Peel away the burlap to reveal the woven texture on the outside. If any edges feel rough, soften them lightly with 120-grit sandpaper.
10. Allow the planters to continue curing for another 5 to 7 days before planting, especially if they feel cool or damp. After that, add a bit of gravel if you like, then pot up your favorite mums, ornamental cabbage, herbs, or trailing ivy.
Variations & Tips
For a more aged finish: Brush the cured planters with a thin wash of watered-down gray or taupe exterior paint, then wipe most of it away so the texture stays front and center.
If you want drainage: Before the concrete fully hardens, insert a greased dowel or pencil straight through the base area to create a drainage hole, then remove it once the mix begins to firm up.
For easier demolding: Metal bundt pans usually release well, but a few extra taps around the sides with a rubber mallet can help if one clings a bit. I’ve learned patience here saves cracks later.
To change the shape: Try two different bundt pan patterns for a charming mismatched pair. As long as both pans are sturdy and similarly sized, the method stays the same.
For planting success: If your planters will live outdoors year-round, choose plants suited to your climate and avoid letting water sit in them through freezing weather. Concrete is durable, but standing water and hard frost can be a hard combination.
To soften the rustic look: Tuck moss around the soil line or set the planters on old bricks or a weathered bench. That little touch gives them the settled-in look of something that has always belonged on the porch.