
I love a project that looks far fancier than the ingredient list suggests, and these rustic harvest bowls absolutely fit that category. Using plain paper lunch bags, strong black tea, and a simple pantry staple, you can make lightweight decorative bowls with a warm, weathered finish that looks right at home on a fall table, entry console, or kitchen island.
As someone who is usually squeezing creative time in between work emails and figuring out dinner, I appreciate crafts like this that feel relaxing without requiring a full weekend commitment. This is a great project for anyone who likes natural, imperfect home décor and wants an easy upcycled craft that still feels genuinely stylish.
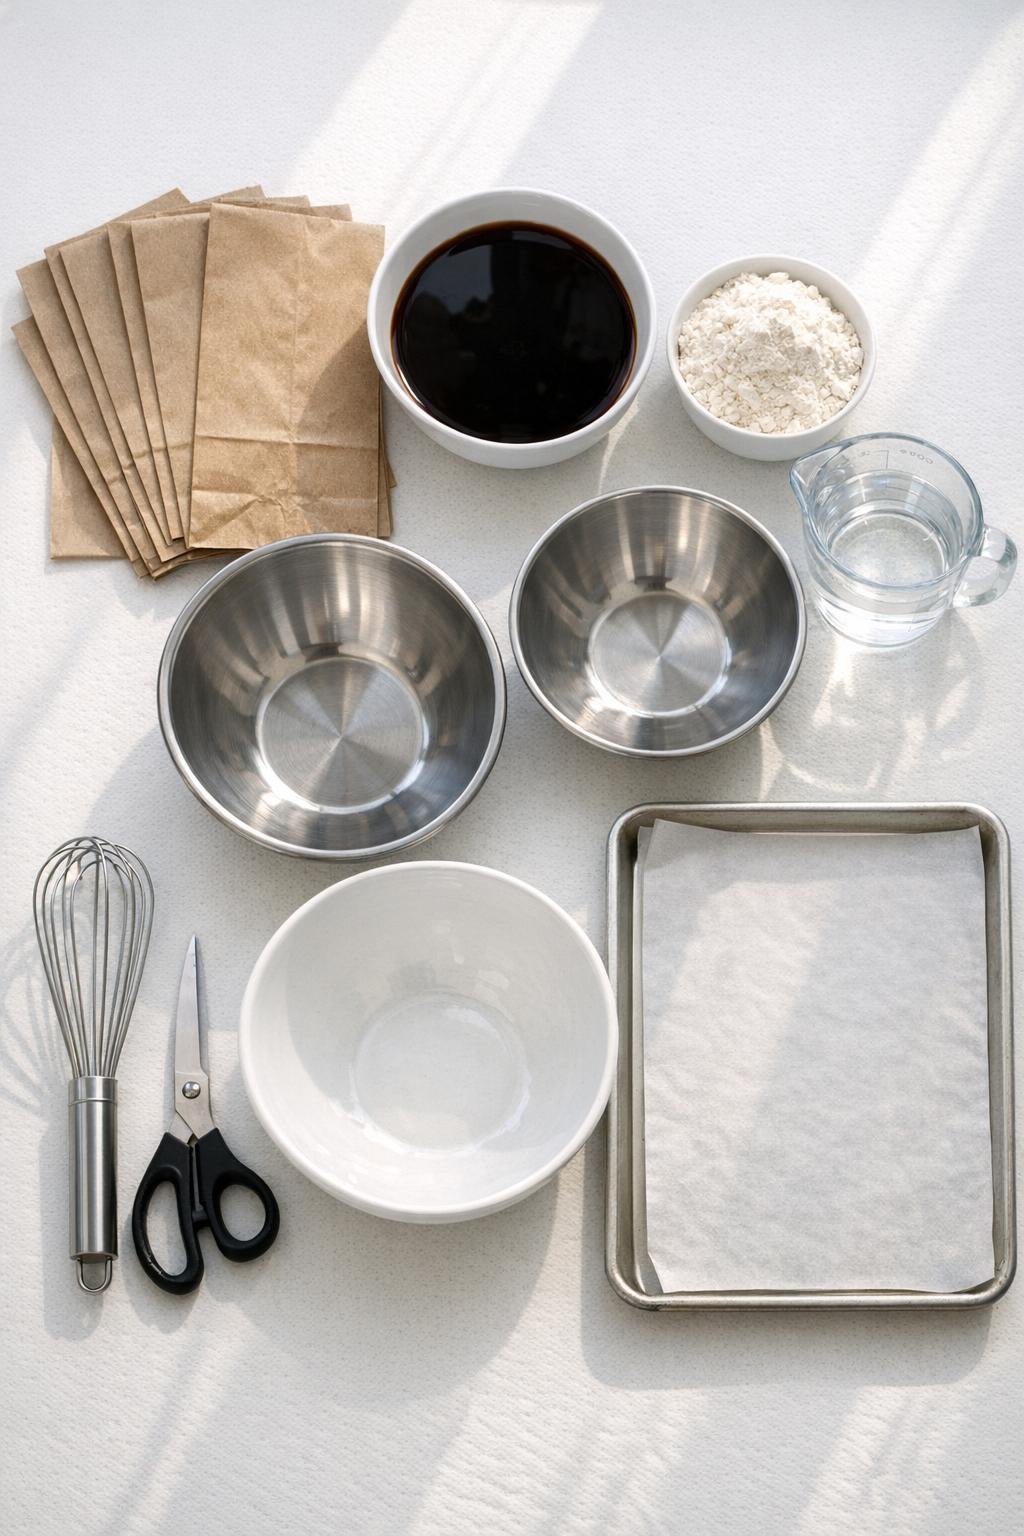
Materials
6 brown paper lunch bags, standard size 5 x 3 x 10 inches
Instructions
1. Brew the black tea extra strong, then let it cool completely. I usually steep 6 to 8 tea bags in 4 cups of hot water so the paper picks up a deep, aged color.
2. Crumple each paper lunch bag tightly in your hands, then gently open them back up. This creates the creases that give the finished bowls their rustic, leather-like texture.
3. Tear or cut the bags into rough pieces about 2 to 4 inches wide. Keep the edges uneven rather than perfectly straight, because that layered organic look makes the bowls more interesting.
4. Place the paper pieces into the cooled tea and press them down so they soak evenly. Let them sit for 10 to 15 minutes until fully saturated and nicely stained.
5. In a separate bowl, whisk together the flour and water until smooth and lump-free. The mixture should look like a thin paste, similar to pancake batter.
6. Line your tray or work surface with parchment paper, then turn one mixing bowl upside down to use as your mold. If needed, lightly dampen the outside of the bowl so the first layer of paper sticks in place more easily.
7. Lift one tea-soaked paper piece out of the bowl, gently squeeze out the excess liquid, and drag it through the flour paste. Lay it over the upside-down bowl and smooth it with your fingers.
8. Repeat with more pieces, overlapping them in different directions until the entire outside of the bowl is covered. Build up 3 to 4 layers for a sturdy decorative bowl.
9. Shape the rim as you go by pressing or folding the edges where you want them. I like leaving a softly uneven top edge because it makes the finished bowl look more collected and handmade.
10. Make the second bowl the same way on your second mold. If you want a slightly chunkier look, add an extra layer around the rim and base.
11. Let both bowls dry completely for 24 hours, or until they feel firm and no longer cool to the touch. Good airflow helps a lot, so I usually set mine near a sunny window or under a ceiling fan.
12. Carefully slide the dried bowls off the molds and trim any long or awkward bits with scissors. Press the shape gently with your hands if you want to refine the curve.
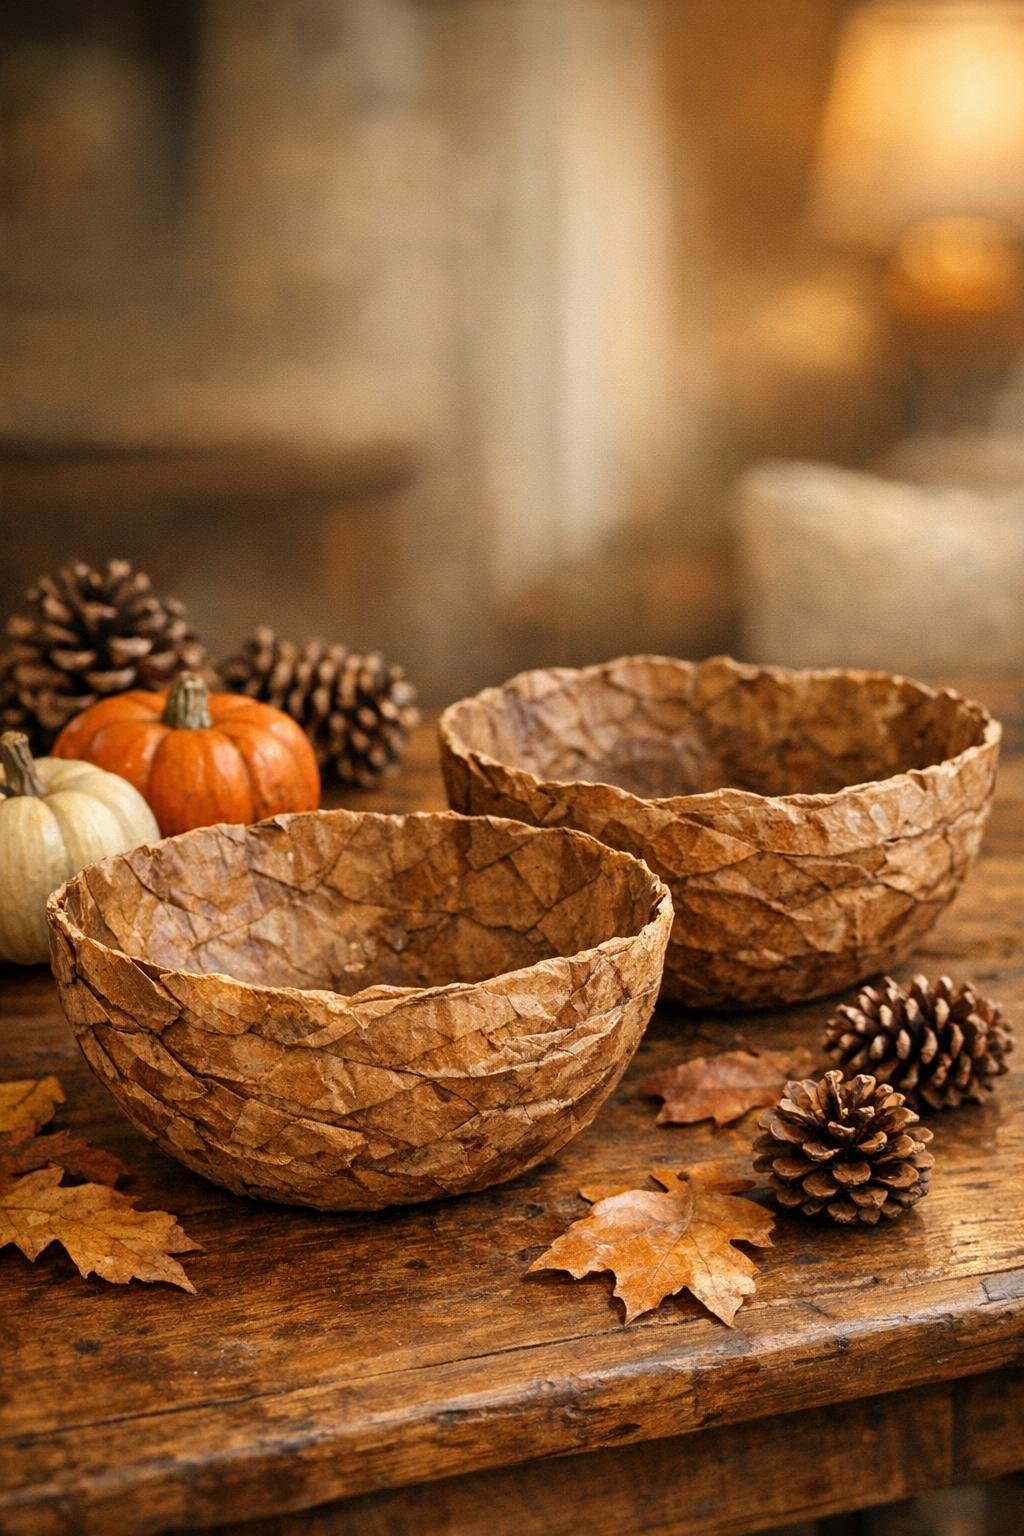
13. If desired, lightly mist the finished bowls with a matte clear sealer and let them dry. This helps them hold up better for decorative use, especially if you plan to fill them with faux pumpkins, pinecones, or dried leaves.
Variations & Tips
For a darker antique finish: Add the optional cinnamon to the flour paste or brush a little extra cooled tea over the outside after the bowls dry for deeper brown variation.
For a smoother shape: Tear smaller paper pieces and press each layer down thoroughly with your fingertips. More, smaller layers will give you a rounder bowl with fewer ridges.
For a rougher farmhouse look: Leave the rim more jagged and let a few paper edges overlap visibly. That uneven finish works especially well in fall décor.
Best uses: These bowls are best for lightweight decorative items only, not food or anything wet. I use mine for potpourri, mini faux gourds, and seasonal shelf styling.
Make-ahead tip: You can soak and tear the paper the night before, then assemble the bowls the next day when you have a little uninterrupted time.
If the bowl sticks to the mold: Let it dry longer before removing it, and gently loosen the edge first. A fully dry bowl releases much more cleanly than one that still has hidden damp spots.