
If you love growing a little extra food in a small space, this strawberry tower planter is one of those projects that feels almost too simple for how useful it turns out. I’ve made versions of this in my own backyard when I wanted fresh berries close to the patio, and stacking a few basic shed items into one vertical planter is such a satisfying way to turn an unused corner into something productive.
This project is great for beginner gardeners, busy families, and anyone who wants easier picking without bending over a large bed. The finished tower gives you multiple planting pockets, good drainage, and a tidy footprint, which makes it especially handy for porches, driveways, and sunny spots right outside the kitchen door.
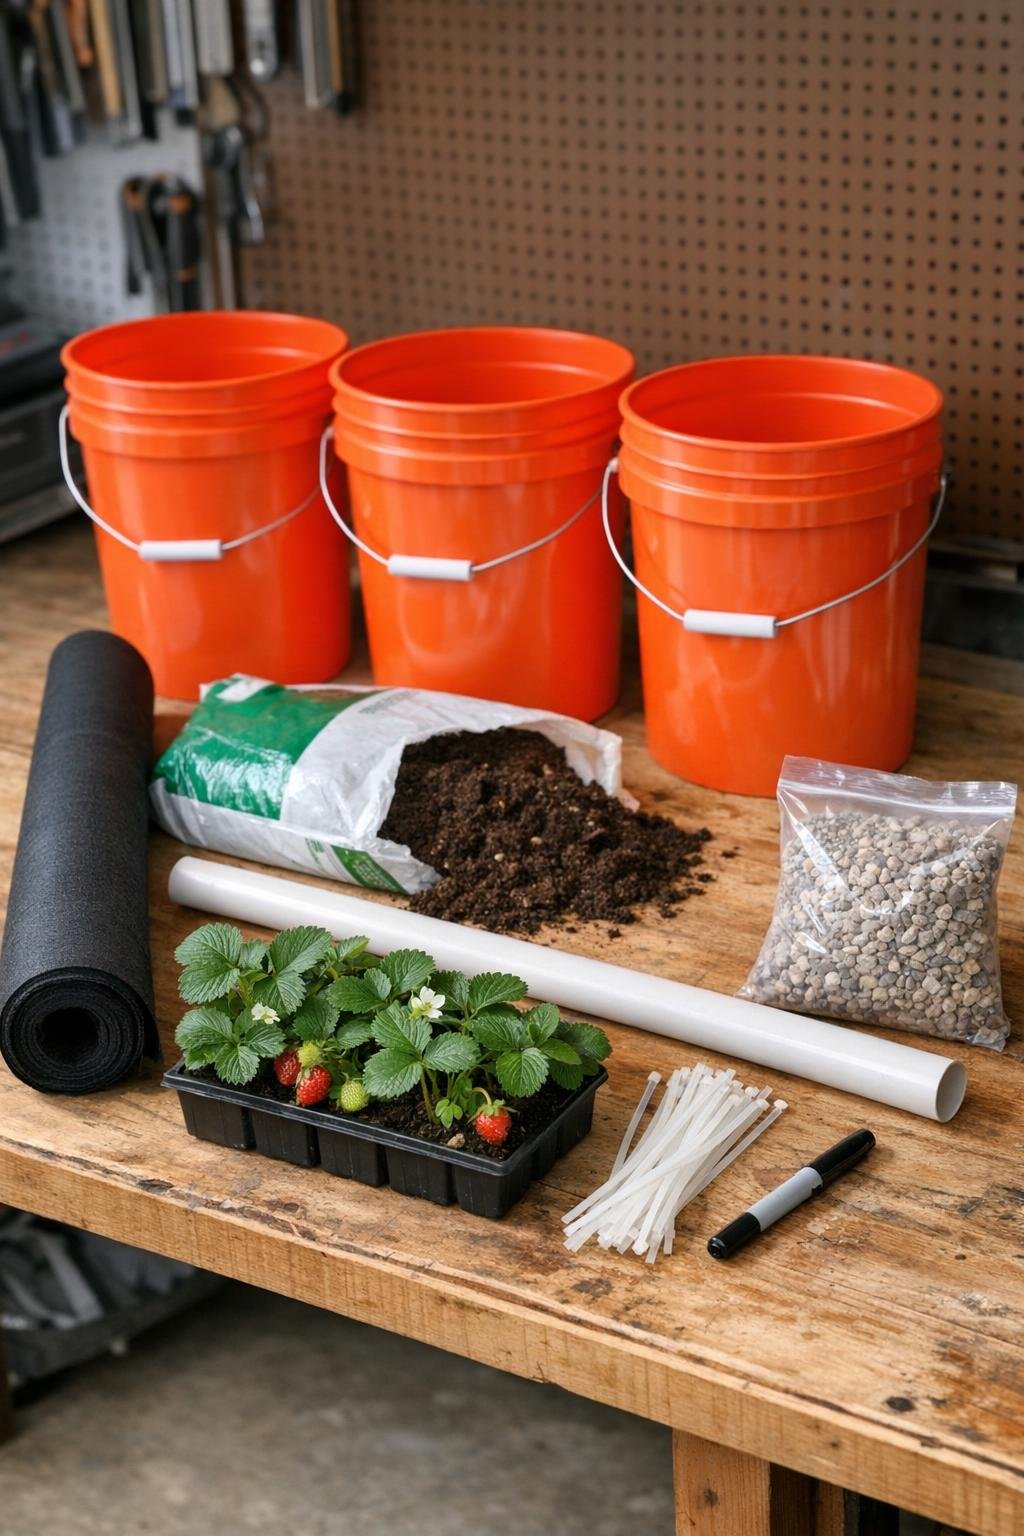
Materials
3 orange 5-gallon plastic buckets, clean and without lids
Instructions
1. Wash the buckets and mark planting holes around the sides of each one, spacing them about 4 to 5 inches apart and staggering the rows so the plants will have room to spread.
2. Drill or cut 2-inch planting holes at each mark, then drill 6 to 8 small drainage holes in the bottom of every bucket.
3. Drill small holes all along the PVC pipe, leaving the bottom 4 inches solid, so water can slowly seep out through the center of the planter.
4. Wrap the drilled section of the PVC pipe with landscape fabric and secure it with zip ties to keep soil from clogging the watering holes.
5. Set the first bucket in its final sunny location, add 2 cups of gravel to the bottom, and stand the PVC pipe upright in the center with the solid end down.
6. Add a few inches of potting mix, then tuck strawberry plants into the lowest side holes from the inside so the crowns stay just above the soil line.
7. Continue adding soil and planting the side holes layer by layer until the first bucket is full, then plant 2 or 3 strawberries in the top surface.
8. Repeat the gravel, soil, and planting process with the second and third buckets, stacking them carefully so the tower stays centered and stable around the same pipe.
9. Fill the pipe slowly with water, then water the top soil until everything is evenly moist and the mix settles into place.
10. Check that every strawberry crown is above the soil, add a little extra potting mix where needed, and place the tower where it will get at least 6 to 8 hours of sun each day.
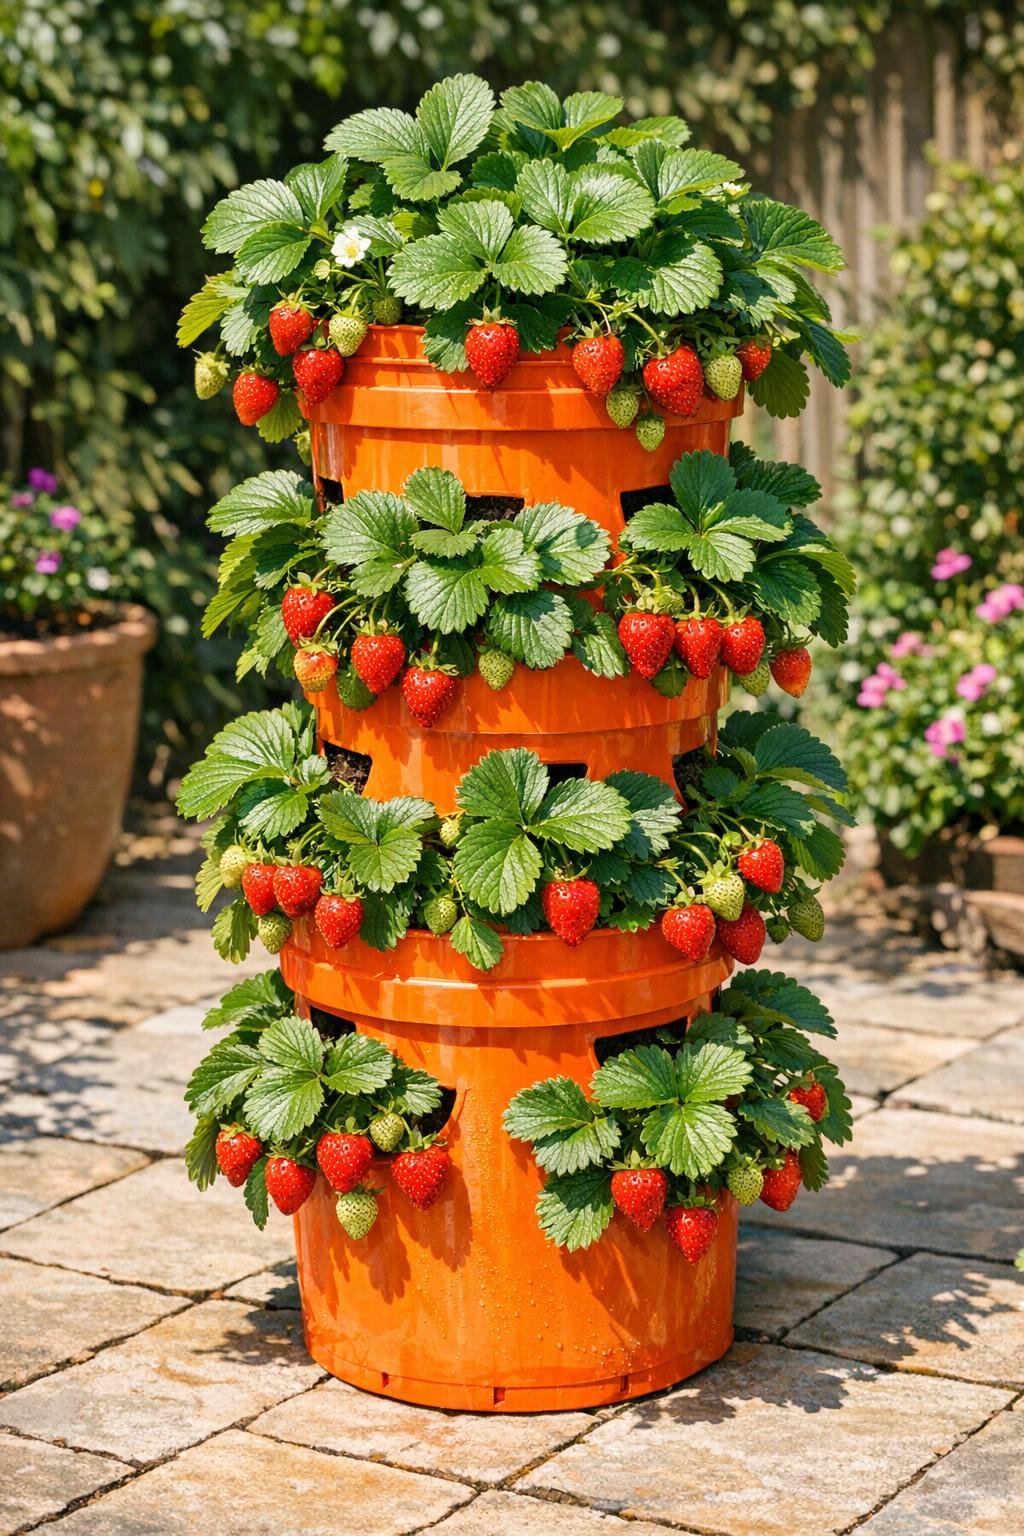
Variations & Tips
For smaller families: Use just 2 buckets instead of 3 if you want a lighter planter that is easier to move and still gives you plenty of berries for snacks and pancake mornings.
For picky eaters: Plant one bucket level with everbearing strawberries and another with sweeter day-neutral varieties so kids can compare flavors and pick their favorites right off the tower.
For better watering: If your summers get hot like ours sometimes do, pour water into the center pipe first and then lightly water the top; that helps the lower roots stay from drying out too fast.
For cleaner fruit: Add a thin layer of straw on the top surface to reduce splashing and keep the berries a little cleaner after rain.
For easier harvesting: Turn the planting holes slightly off-center on each bucket before stacking so the berries are visible from more angles and easier for little hands to find.
For winter care: In colder climates, move the tower to a protected spot or wrap the buckets with burlap after the plants go dormant to help shield the roots from freezing.
Pro tip: Don’t overfill the side holes with plants; giving each strawberry a bit of breathing room leads to healthier growth, fewer disease problems, and much nicer berry production later on.