
There’s something so satisfying about making a garden ornament that looks like it came from a nice little boutique, only to know you put it together yourself with a few humble supplies. These decorative concrete garden spheres start with ordinary mesh bath loofahs, and once they’re dipped in a simple cement mixture with a bit of table salt, they dry into wonderfully textured balls that look right at home tucked into flower beds, set in a planter, or lined along a front walk.
I’m especially fond of projects like this because they use simple materials and reward a patient hand more than fancy equipment. If you enjoy easy outdoor crafts, want a low-cost way to fill an empty garden corner, or just love weathered, stone-like décor, this is the kind of afternoon project that feels both practical and charming.
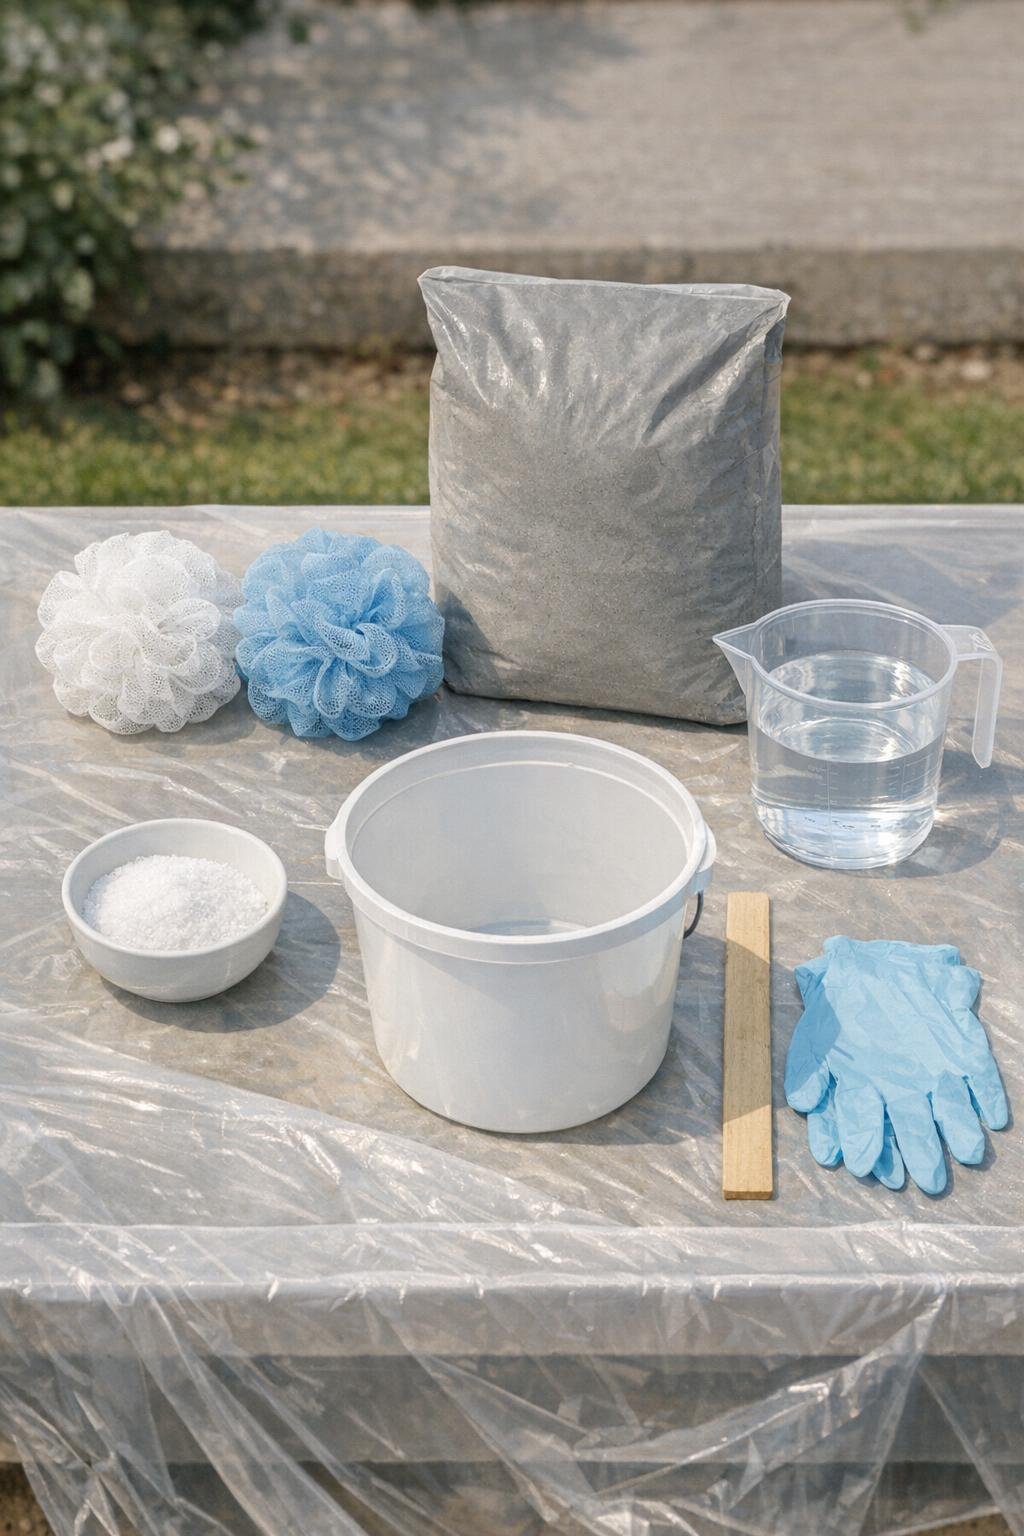
Materials
Instructions
1. Set up your work area outdoors or in a well-ventilated spot, and cover the surface with a drop cloth. Put on gloves and lay out the loofahs so they’re ready to dip as soon as the cement is mixed.
2. Cut off any plastic hanging cords from the loofahs if they look bulky or distracting, or tuck them into the center and secure them with a short piece of floral wire. Fluff and round each loofah so it forms a ball shape before coating.
3. Pour the cement mix into the bucket, then stir in the table salt evenly while dry. Add water a little at a time until you get a thick, yogurt-like slurry that will cling to the mesh without dripping off in sheets.
4. Press the first loofah into the cement mixture and turn it slowly with gloved hands until every side is coated. Squeeze very gently once or twice so the cement works into the mesh openings but the loofah still keeps its round shape.
5. Lift the coated loofah out and lightly pat or smooth any heavy globs so the texture stays visible. Set it on wax paper or plastic sheeting, then repeat with the second loofah.
6. Let the spheres sit for 20 to 30 minutes, then rotate each one a quarter turn so the bottom doesn’t flatten too much as it firms up. If a spot looks thin, dab on a little extra cement mixture with your gloved fingers.
7. Allow the spheres to cure undisturbed for 24 hours until hard to the touch. For the strongest finish, mist them lightly with water once or twice during the first day if the weather is hot or very dry.
8. After curing, brush off any loose grit and place the finished spheres in a dry spot for another 24 hours before displaying. If you’d like added durability, brush on a thin coat of outdoor concrete sealer and let it dry fully.
Variations & Tips
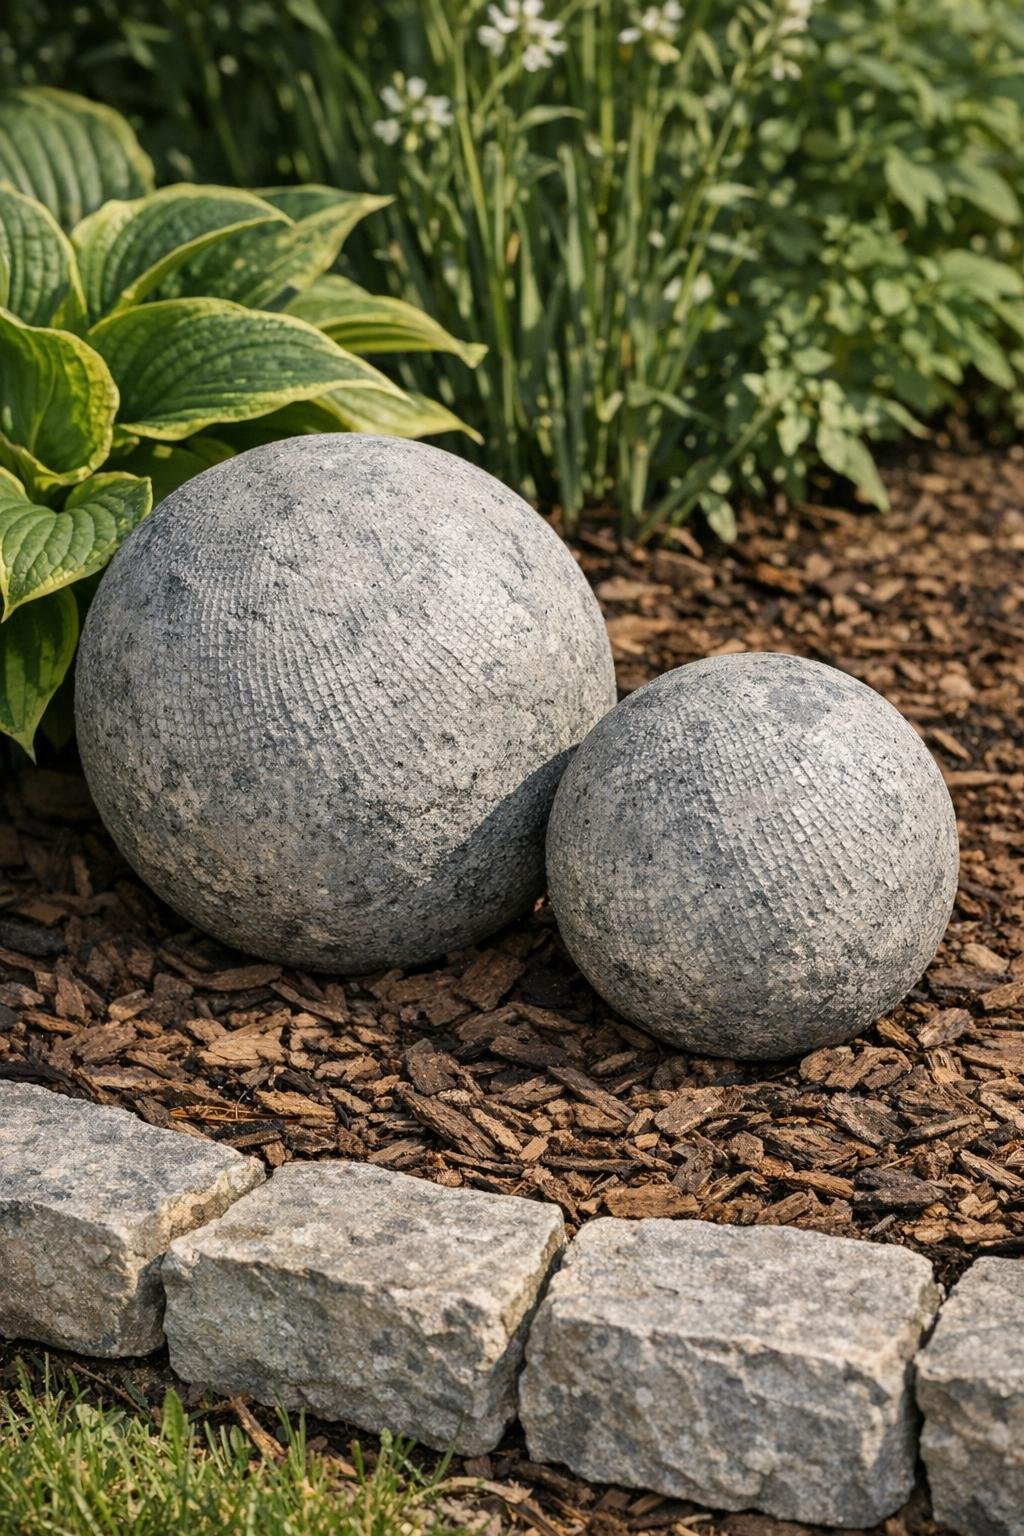
Use different sizes: If you can find one slightly larger loofah and one smaller one, the pair looks especially nice clustered together in a planter or garden bed.
Choose the right cement texture: A sanded cement mix gives a softer, stone-like finish, while a rapid-set mix often creates a rougher, more weathered look. Either works, but I prefer the more natural, old-garden feel of a sand topping mix.
Don’t over-water the mix: If the slurry is too thin, it will slide right off the mesh and pool underneath. Add water slowly, because it’s much easier to thin a thick mix than fix a runny one.
Keep the texture visible: The prettiest part of this project is the open, lacy pattern left by the mesh. Resist the urge to smooth too much cement over the surface, or you’ll lose that lovely texture.
Display thoughtfully: I like to nestle these where they look a little unexpected—between hostas, beside a porch step, or in a shallow bowl on the patio. They have that old-farmhouse garden charm that makes people stop and ask about them.
Bring them in for winter if needed: In places with repeated freeze-thaw cycles, handmade concrete pieces last longer if they’re moved to a sheltered porch or shed during the harshest part of winter.