
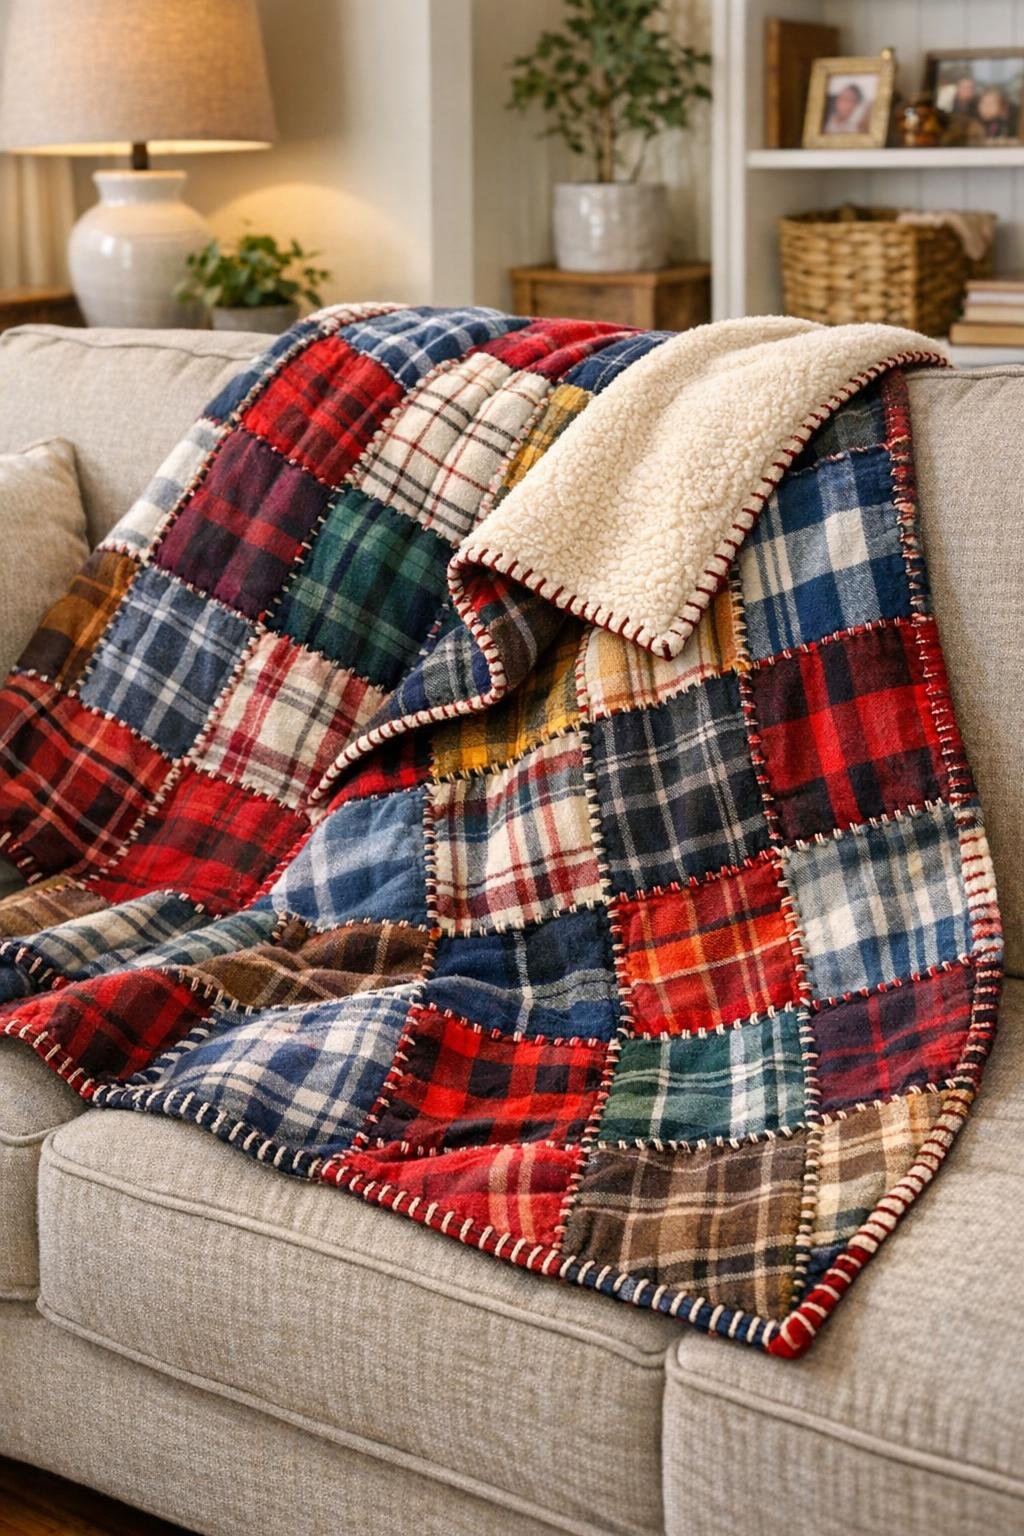
I love a project that turns something headed for the donate pile into something my family actually reaches for every evening, and this cozy throw blanket does exactly that. If you have a stack of old flannel shirts with soft fabric but worn collars or missing buttons, you can turn them into a warm patchwork blanket that feels wonderfully homey and lived-in.
This is a great beginner sewing project because the pieces are forgiving, the pattern is simple, and the finished blanket has that charming mix-and-match look that makes a couch or reading chair feel extra inviting. I especially like making these in the fall, when everybody in my house starts hunting down the softest blanket in the room.
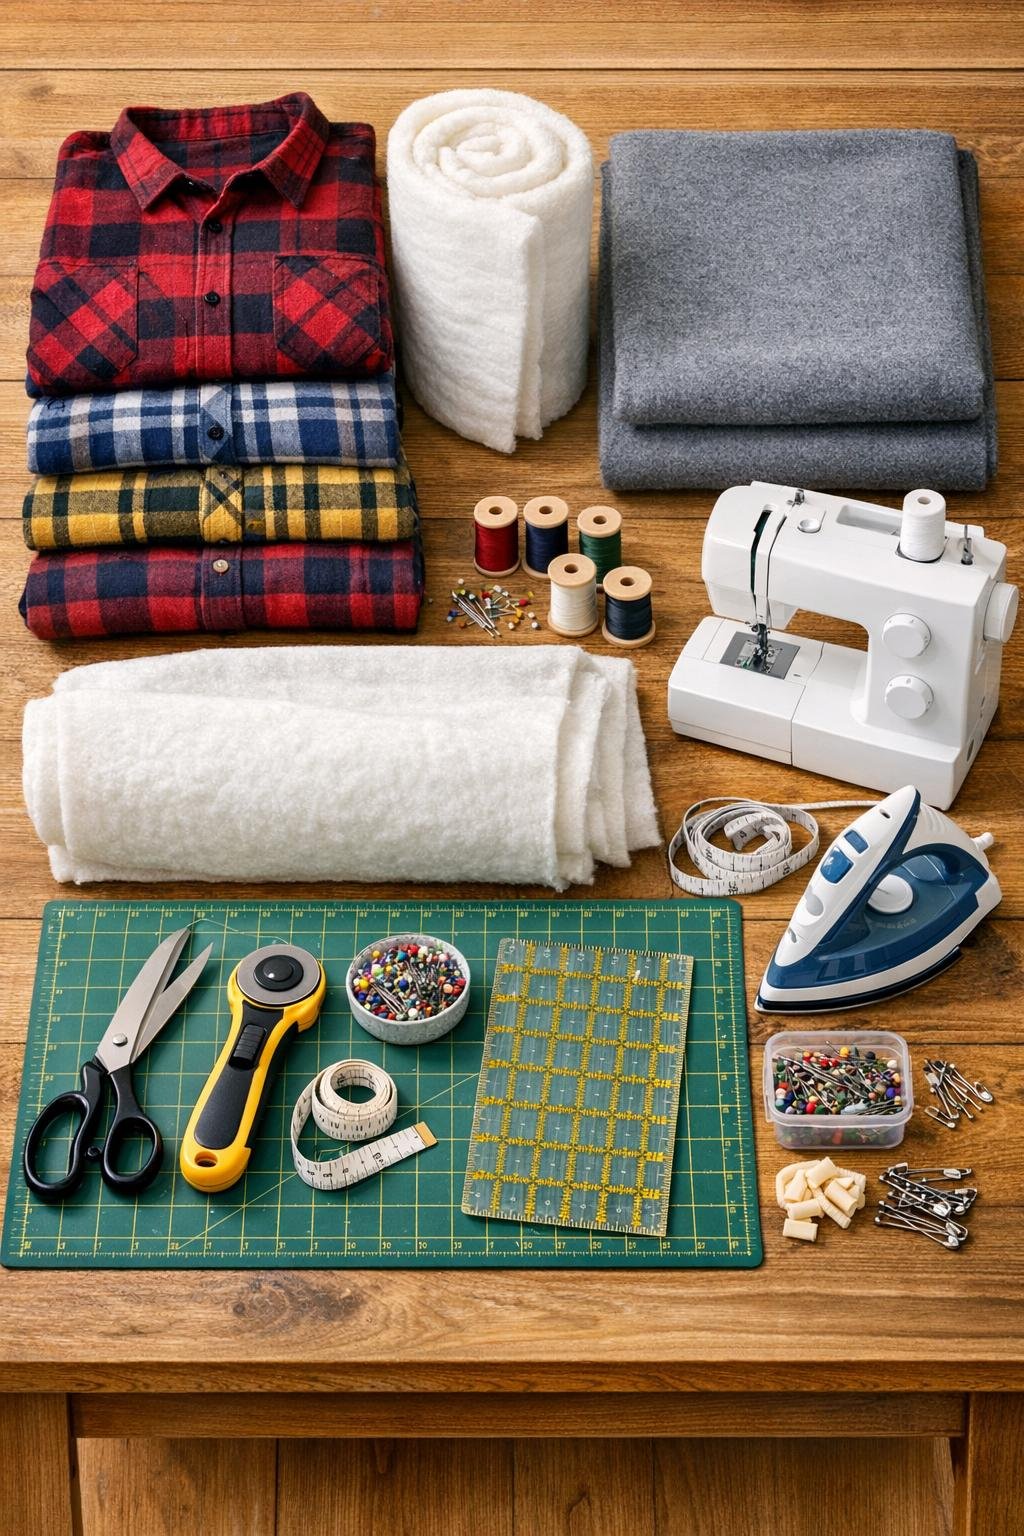
Materials
5 old flannel shirts, adult size medium to extra-large, cleaned and pressed
Instructions
1. Wash and dry the flannel shirts, fleece, and batting if needed, then iron the shirts flat so the fabric is easy to cut accurately.
2. Cut each shirt apart along the side seams, sleeves, and shoulder seams, and remove collars, cuffs, pockets, and button plackets so you are left with usable flat panels of flannel.
3. Use the ruler and rotary cutter to cut the flannel into 30 squares measuring 12 x 12 inches each, trimming away worn spots and arranging colors in a layout you like.
4. Sew the squares into rows with right sides together using a 1/2-inch seam allowance, then press the seams open or to one side after each row is finished.
5. Join the rows together, matching corners carefully, until the patchwork top measures about 54 x 72 inches, and press the full top one more time.
6. Lay the fleece backing right side down, place the batting on top, and center the patchwork top right side up over both layers to make a simple quilt sandwich.
7. Smooth all the layers from the center outward and pin or clip them well, then trim the backing and batting so all edges are even.
8. Sew around all four edges with a 1/2-inch seam allowance, leaving a 6-inch opening on one side for turning.
9. Trim the corners to reduce bulk, turn the blanket right side out through the opening, and push the corners out gently with your fingers or a blunt tool.
10. Fold the raw edges of the opening inward, press the whole blanket flat, and topstitch around the entire outer edge about 1/4 inch from the border to close the opening and finish the throw.
Variations & Tips
For picky color preferences: If your family likes a calmer look, stick to just two or three flannel colors instead of a big mix. I find that blues, creams, and soft reds make a blanket that feels especially easy to decorate with.
For extra softness: Use a plush fleece or minky-style backing instead of basic fleece. It makes the blanket feel a little more special for movie nights.
If your shirts are smaller: Cut 10-inch squares instead and make more of them to reach the same finished size. Just keep your seam allowance consistent so the blanket top comes together neatly.
To avoid bulky seams: Skip thick pocket areas, cuffs, and button sections when cutting your squares. Those sturdy spots are useful for other scrap projects, but they can make this blanket lumpy.
Easy quilting option: If you want the layers to stay even more secure after washing, sew a few straight lines across the blanket through all layers. I like stitching along every other row seam for a simple finish.
Memory blanket idea: Save flannel shirts from family camping trips, school events, or favorite winter seasons and mix them into one throw. That little bit of history is what makes a handmade blanket feel like more than just another house project.