
I’ve always had a soft spot for old books, especially the kind you find tucked in a dusty corner at a thrift store with worn covers and a little history in their pages. This project turns three forgotten hardcover books into a charming vintage riser that looks right at home under a candle, a small lamp, or a crock of flowers on a kitchen counter. It’s simple, useful, and it gives something old a second life instead of sending it to the discard pile.
Out here, I’ve learned that some of the prettiest things in a home come from making do with what you have and seeing possibility where somebody else sees clutter. If you enjoy easy upcycling projects, farmhouse decorating, or just want a quick afternoon craft that doesn’t require fancy tools, this little book stack riser is a lovely one to make.
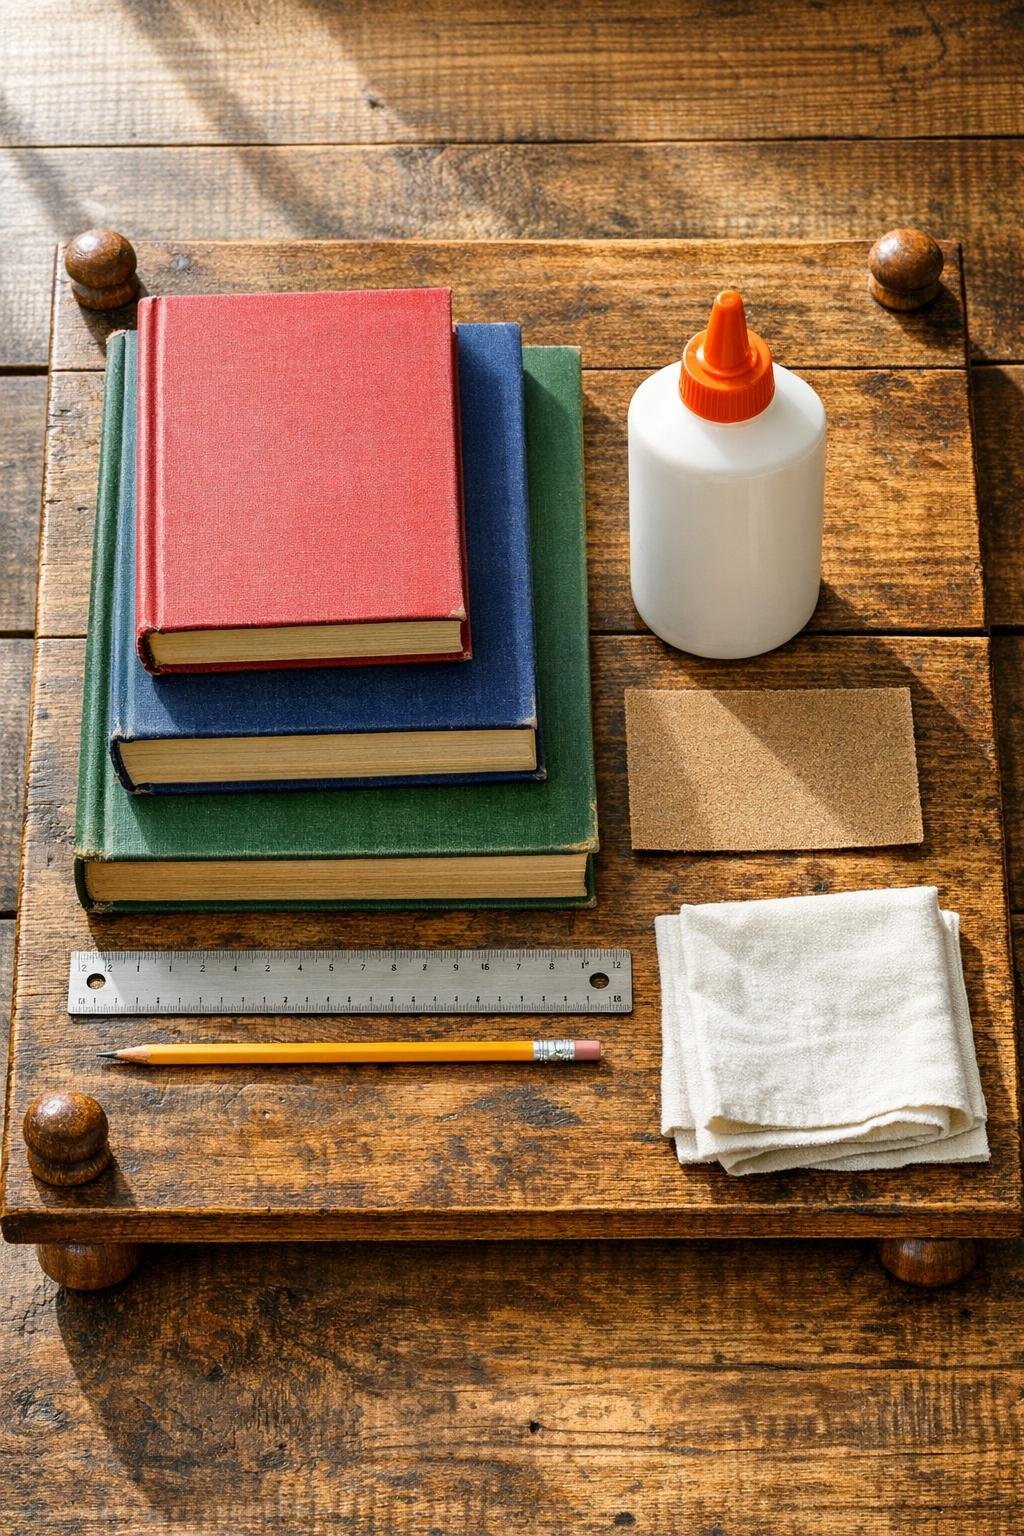
Materials
3 thrift store hardcover books, graduated sizes from large to small, about 9 x 6 inches, 8 x 5.5 inches, and 7 x 5 inches
Instructions
1. Choose three hardcover books that are sturdy and close in shape, with the largest on the bottom and the smallest on top. Make sure the covers are firmly attached and the stack looks balanced when centered.
2. Wipe each book clean with a dry cloth and remove any loose dust or peeling bits from the covers. Lightly sand glossy spots on the top cover of the bottom two books so the glue will grip better.
3. Stack the books in order and adjust them until the edges are centered the way you like. Use a pencil to make tiny guide marks inside the overhang area so you can place them back in the same position after gluing.
4. Apply a thin, even layer of strong craft glue to the top cover of the largest book, then set the middle book in place using your guide marks. Press down firmly for a few seconds so the cover makes full contact.
5. Spread glue on top of the middle book and set the smallest book on top, centering it carefully. Press again and check from all sides to be sure the stack is straight.
6. Turn the stack upside down carefully and position the four wooden feet near the corners of the bottom book, keeping them about 0.75 inch in from each edge. Check that all four feet line up evenly before gluing.
7. Glue each wooden foot in place and press firmly. Let the riser sit upside down until the glue has fully set according to the glue directions, preferably at least 8 hours for a secure hold.
8. Turn the riser right side up and test it on a flat surface. If needed, sand the bottom of any foot very lightly to correct a wobble, then add felt pads to the feet if you want to protect tabletops.
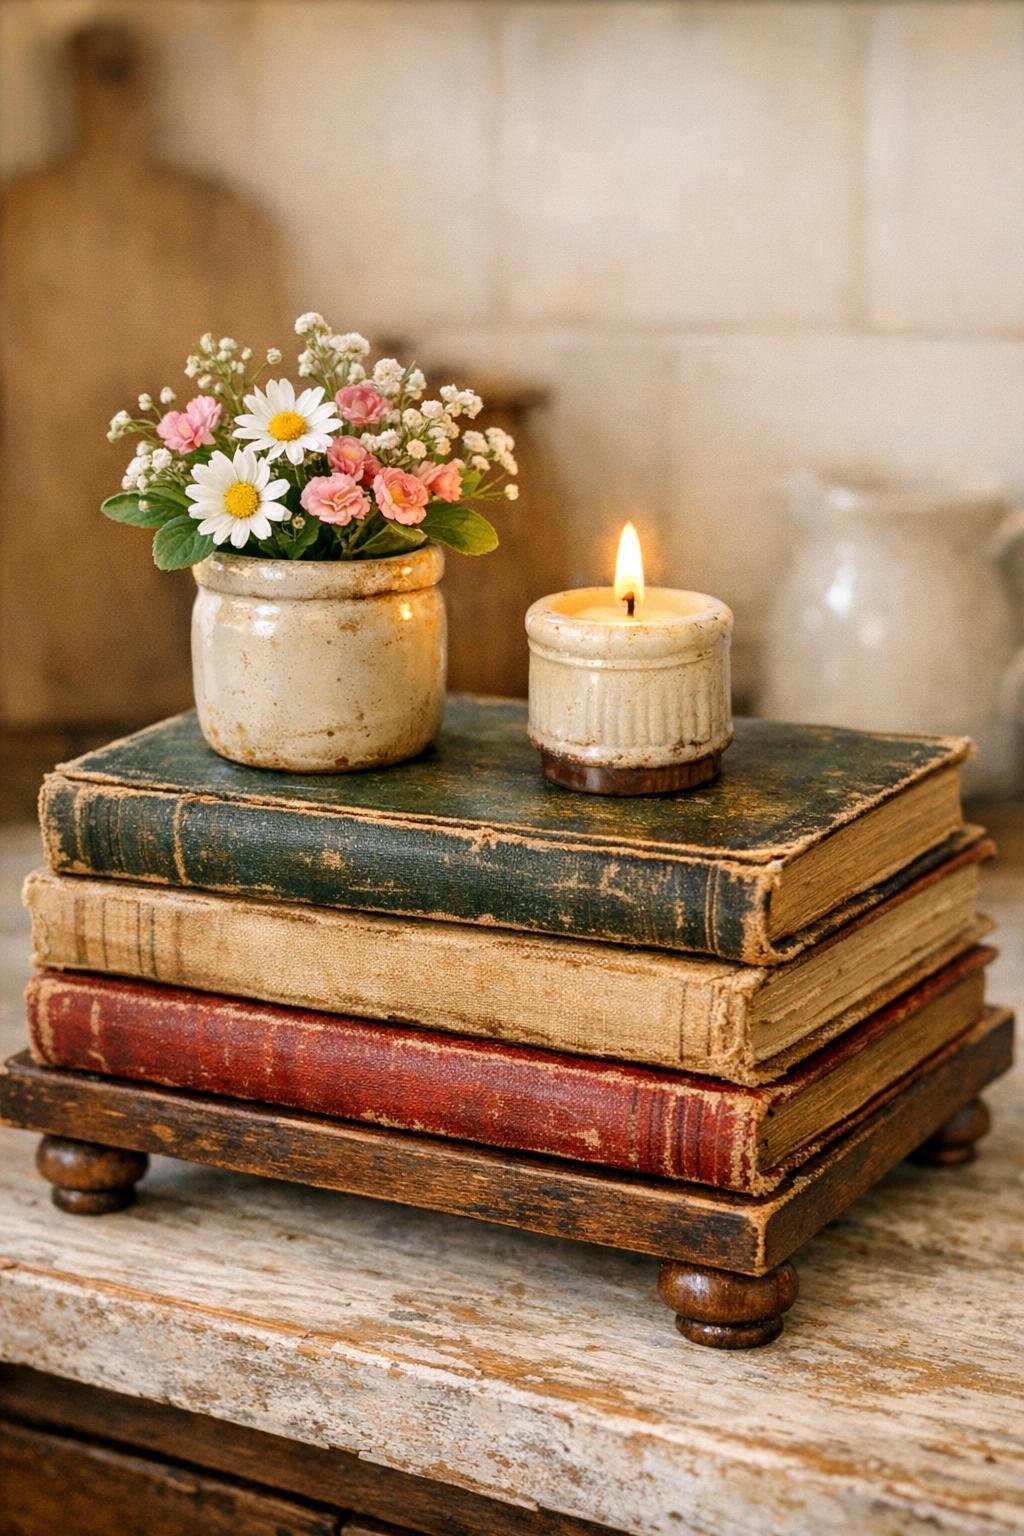
Variations & Tips
Use a color theme: If you want a more polished decorating piece, choose books in similar shades like cream, faded blue, or brown. I love the look of mismatched old covers too, but a gentle color story can make the stack feel especially intentional.
Try a kitchen version: This riser is sweet under a salt cellar, little plant, or soap bottle beside the sink. In an old Midwestern kitchen, small touches like this bring warmth without taking up much room.
Skip damaged books: Avoid books with crumbling spines, loose boards, or a musty smell that won’t air out. A sturdy stack will hold up much better over time.
Add a waxed finish: If the covers are very dull, buffing them lightly with a soft dry cloth after the glue cures can bring back a little richness. I wouldn’t soak them with anything wet, though, since paper and moisture have never been the best of friends.
Mind the weight: This riser is best for lightweight décor, not heavy appliances or large pottery. Think candle, bud vase, framed photo, or a little seasonal display.
Make it more rustic: If you enjoy a timeworn look, leave the scuffs and faded corners just as they are. Some of my favorite pieces in the house are the ones that still wear their years honestly.