
I’ve lived long enough to know that what looks like a useless pile by the shed can still have a second life in it, and old pallet wood is a perfect example. These simple outdoor lanterns are one of those projects that feel especially satisfying because they turn rough scraps into something warm and charming for a porch, patio, garden path, or picnic table.
What I like most about this project is that it doesn’t ask for fancy lumber or complicated joinery. If you can measure, cut, and drive a few screws, you can make a handsome set of four lanterns with plenty of farmhouse character. They remind me of the practical kind of beauty we always appreciated out here in the Midwest—sturdy, useful, and made from what we had on hand.
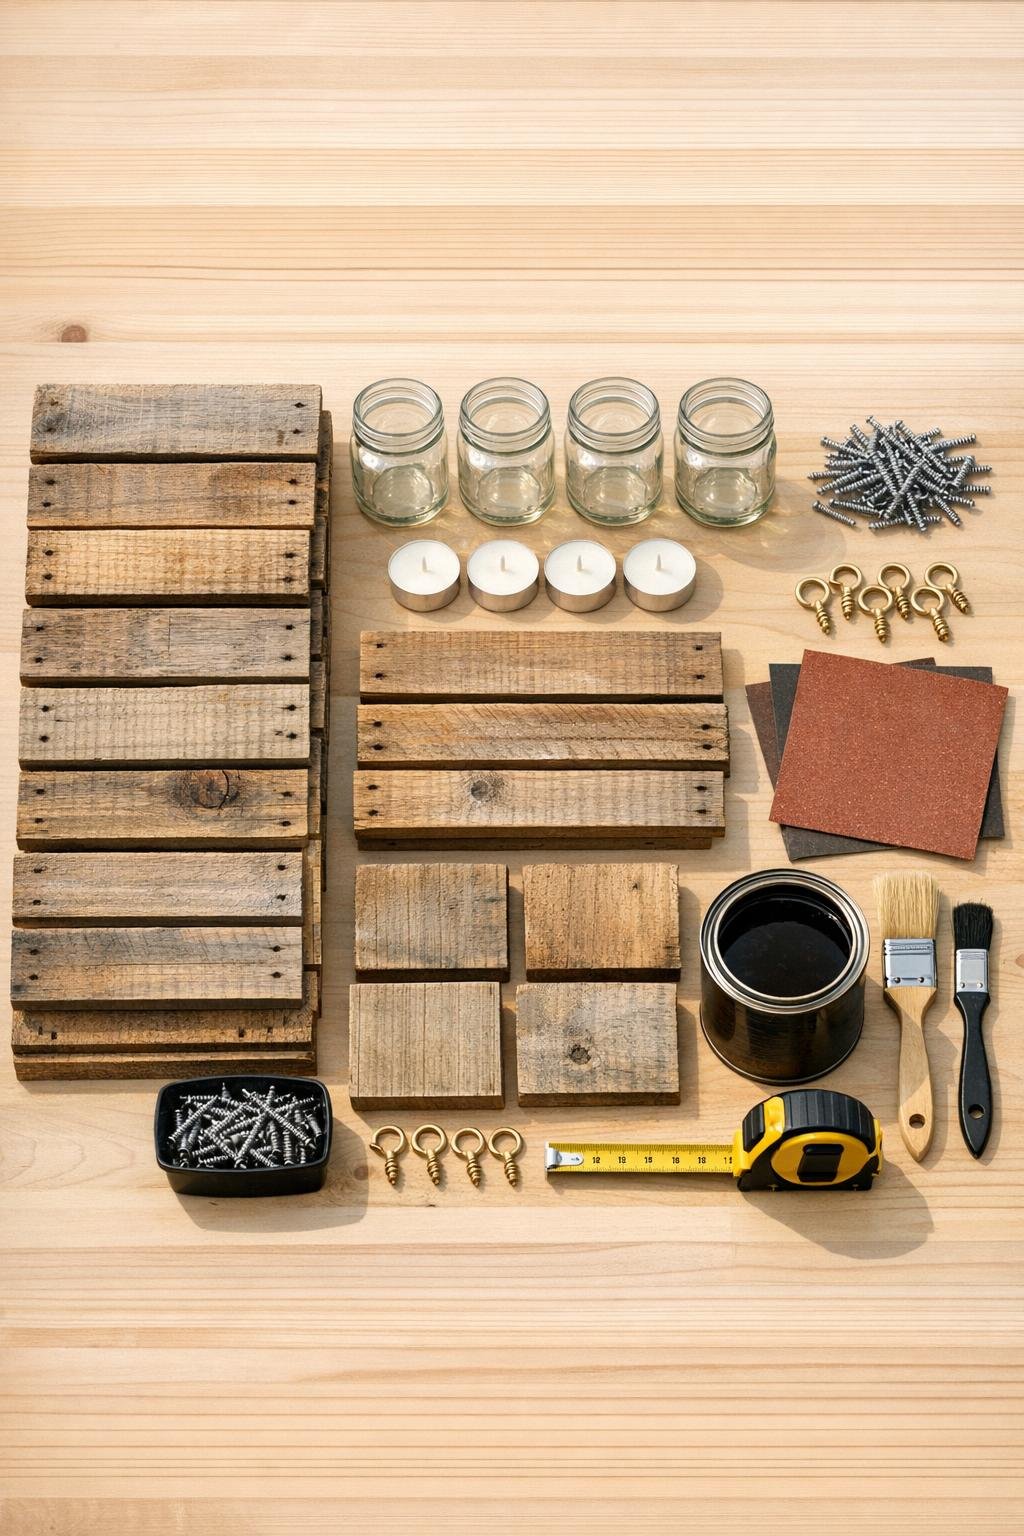
Materials
Old pallet wood slats, 16 pieces cut to 12 inches long x about 3 1/2 inches wide x 1/2 inch thick
Instructions
1. Break down the pallet and choose the straightest boards with the fewest cracks, then remove all nails and staples. Sand off splinters and rough edges with medium-grit sandpaper.
2. Cut your pallet wood into the listed sizes: sixteen 12-inch side slats, eight 6-inch side slats, and eight 6-inch support strips. Keep the cuts as square as you can so the lanterns sit evenly.
3. Lay out two 12-inch slats and two 6-inch slats into a rectangle to form one lantern side. Repeat to make a second matching rectangle for the same lantern.
4. Add a thin bead of wood glue at each corner, predrill if needed, and fasten the rectangles with 1 1/4-inch exterior screws. Make four pairs of side frames total, one pair for each lantern.
5. Stand two matching side frames upright and connect them at the top and bottom with four 6-inch support strips, making an open box. Use 3/4-inch screws so the supports hold firmly without splitting the wood.
6. Repeat the assembly until you have four matching lantern frames. Check each one on a flat surface and sand any uneven corners or edges.
7. Screw one small cup hook into the center of the top support inside each lantern. This gives you a place to hang the mason jar securely.
8. Apply your stain or exterior paint, working it into the rough pallet grain, and let it dry completely. Once dry, smooth lightly with fine-grit sandpaper and brush on a clear exterior sealer.
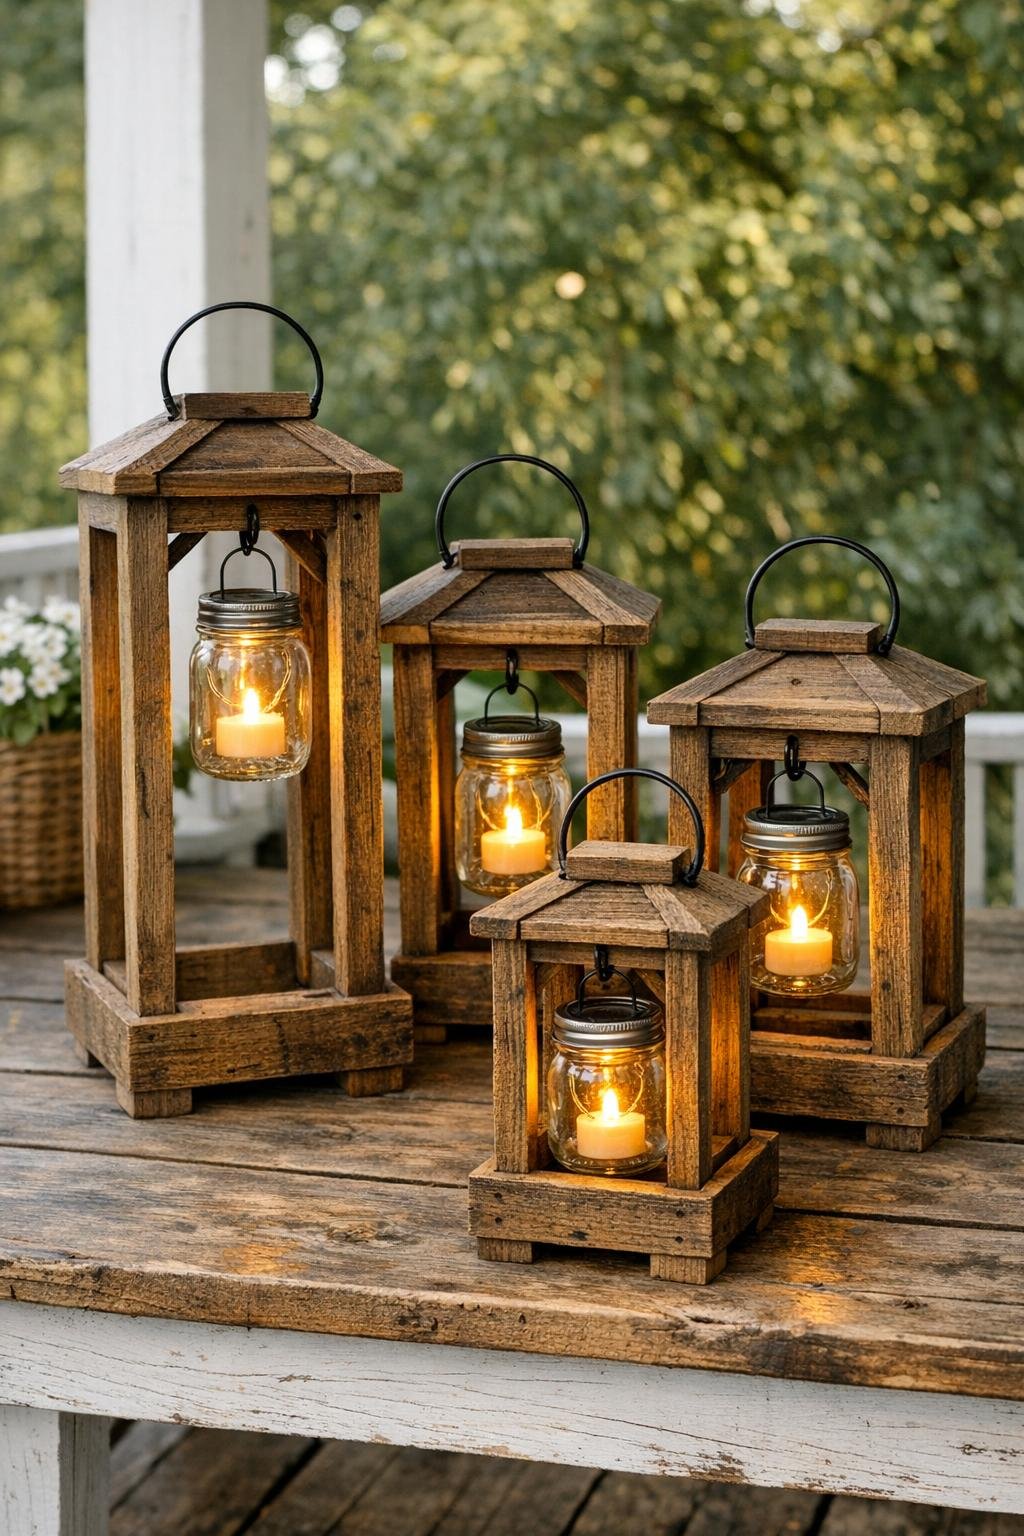
9. Hang one half-pint mason jar from the cup hook inside each lantern, using the jar’s wire handle if it has one, or secure a loop of sturdy wire around the jar neck. Set a battery-operated tea light inside each jar.
10. Add felt pads to the bottom if the lanterns will sit on a painted porch or table, then place them outdoors and enjoy the glow. These look especially pretty grouped in a row of four at different spacings along a railing, step, or centerpiece.
Variations & Tips
Make them taller: If you want more dramatic lanterns, cut the long side slats to 16 inches instead of 12 inches and keep the width the same.
Change the finish: I like a dark walnut stain for a weathered look, but white paint, soft gray, or a dry-brushed finish also suits cottage or coastal spaces beautifully.
Use real candles carefully: If you prefer real flame, use a larger jar and make certain the flame sits well away from the wood; personally, I recommend battery tea lights outdoors for safety and simplicity.
Add handles: A loop of rope or a metal pull attached at the top can make these easier to carry and give them even more old-fashioned charm.
Pick better pallet wood: Avoid boards that are damp, badly split, or treated with anything questionable. Clean, dry, solid pallet wood always gives the nicest finished result.
Batch your cuts: When I’m making several of the same piece, I cut all matching boards at once. It saves time and helps all four lanterns come out looking like a proper set.