
I love a backyard project that looks much fancier than it really is, and these garden pathway lights are exactly that kind of win. By placing clear glass jars over simple black solar stakes, you can create a glowing walkway that feels charming, cozy, and just a little magical once the sun goes down.
This is a great project for anyone who wants to dress up a garden path, line a patio edge, or make an outdoor gathering space feel more welcoming without wiring or expensive fixtures. As a mom who likes making our yard feel special for evening dinners and summer get-togethers, I especially appreciate that this one is quick, affordable, and easy to customize.
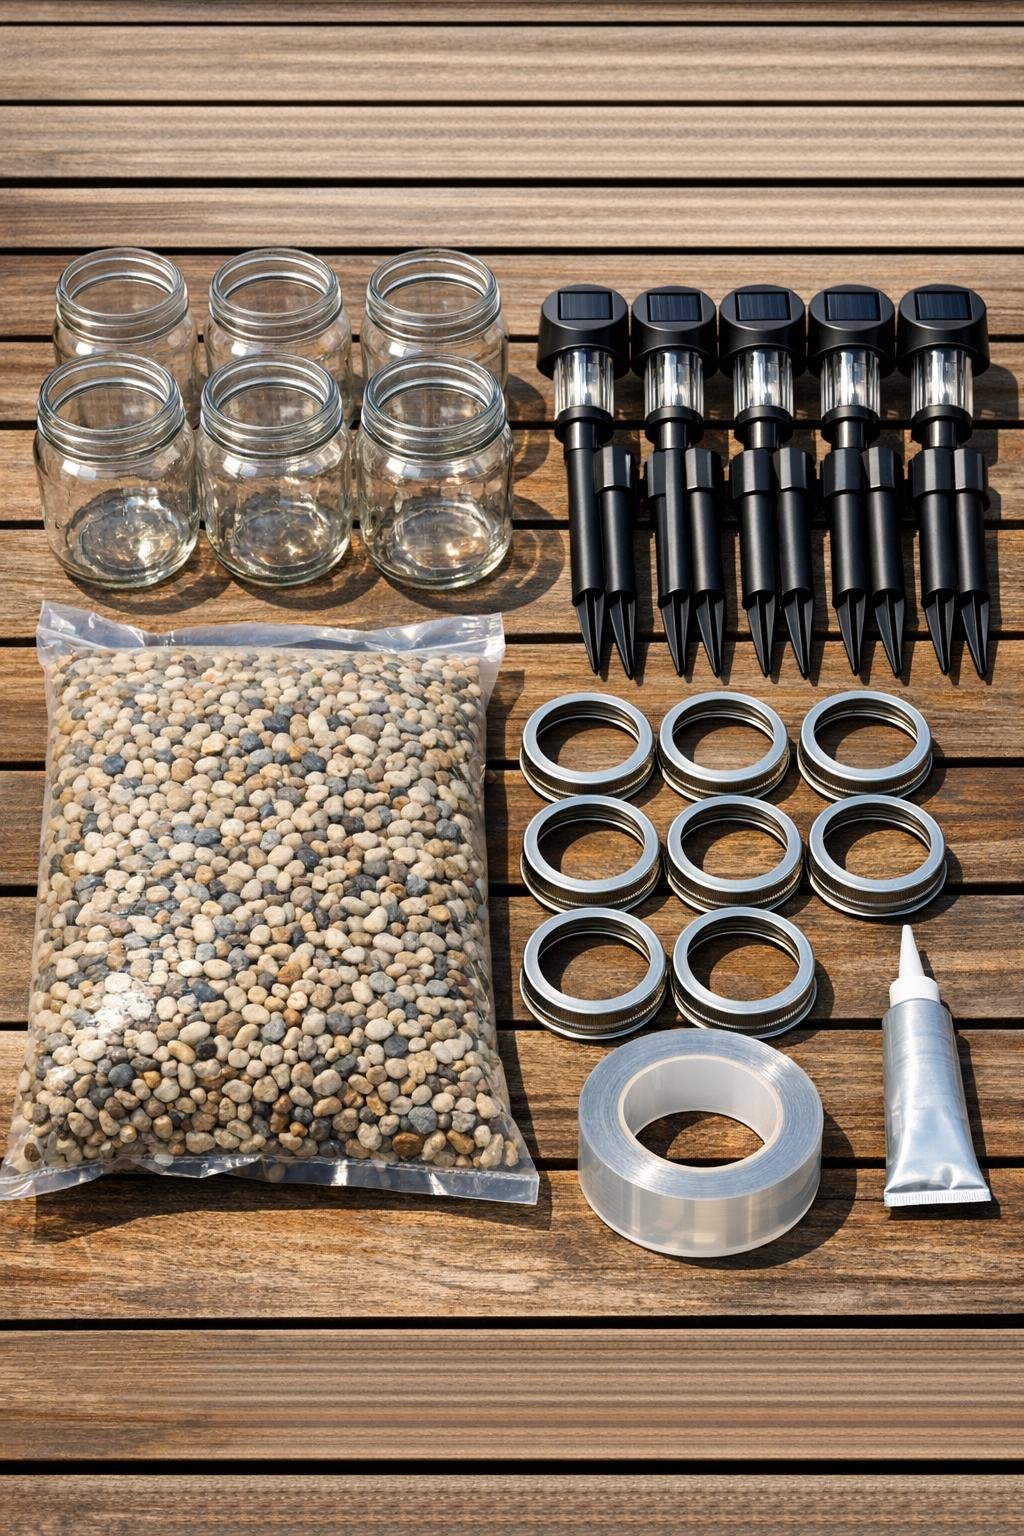
Materials
8 clear glass jars, 1-quart size, wide-mouth if possible
Instructions
1. Choose the path or garden edge where you want the lights to go, then decide on spacing; I usually like 3 to 4 feet between lights so the glow looks even without feeling crowded.
2. Set the solar stakes in the sun for a full day before installing them so you can test the brightness that evening and make sure they are all working properly.
3. Wash the glass jars in warm soapy water, dry them completely, and polish off fingerprints or dust so they sparkle once the lights are on.
4. Remove any decorative tops or extra pieces from the solar stakes if needed, keeping the solar light head attached securely to the stake according to the product design.
5. Test-fit one jar over one solar stake light by gently lowering the jar upside down over the light head; the jar should sit centered and stable without pressing hard against the solar panel.
6. If the fit is slightly loose, wrap a small amount of weather-resistant clear tape around the top portion of the light housing, then test again until the jar sits snugly and evenly.
7. If you want extra security, add a thin bead of outdoor clear silicone where the jar meets the top housing or lid ring, then let it cure fully according to the package directions.
8. Mark the placement of each light along the path with landscape pins or small ground marks, checking that the line looks balanced from both directions.
9. Use a hand trowel to level each spot, and add a small handful of pea gravel in soft or muddy areas so the stakes stay upright after rain.
10. Push each stake into the ground carefully, holding the stake rather than the jar, and keep the jars level so the finished row looks neat and intentional.
11. Step back and adjust the height, angle, and spacing until the pathway lights look even; this little pause makes a big difference in the finished look, and I never skip it.
12. At dusk, switch the lights on if your model has a manual setting, then enjoy the glow and make any final spacing changes once you see how the light spreads.
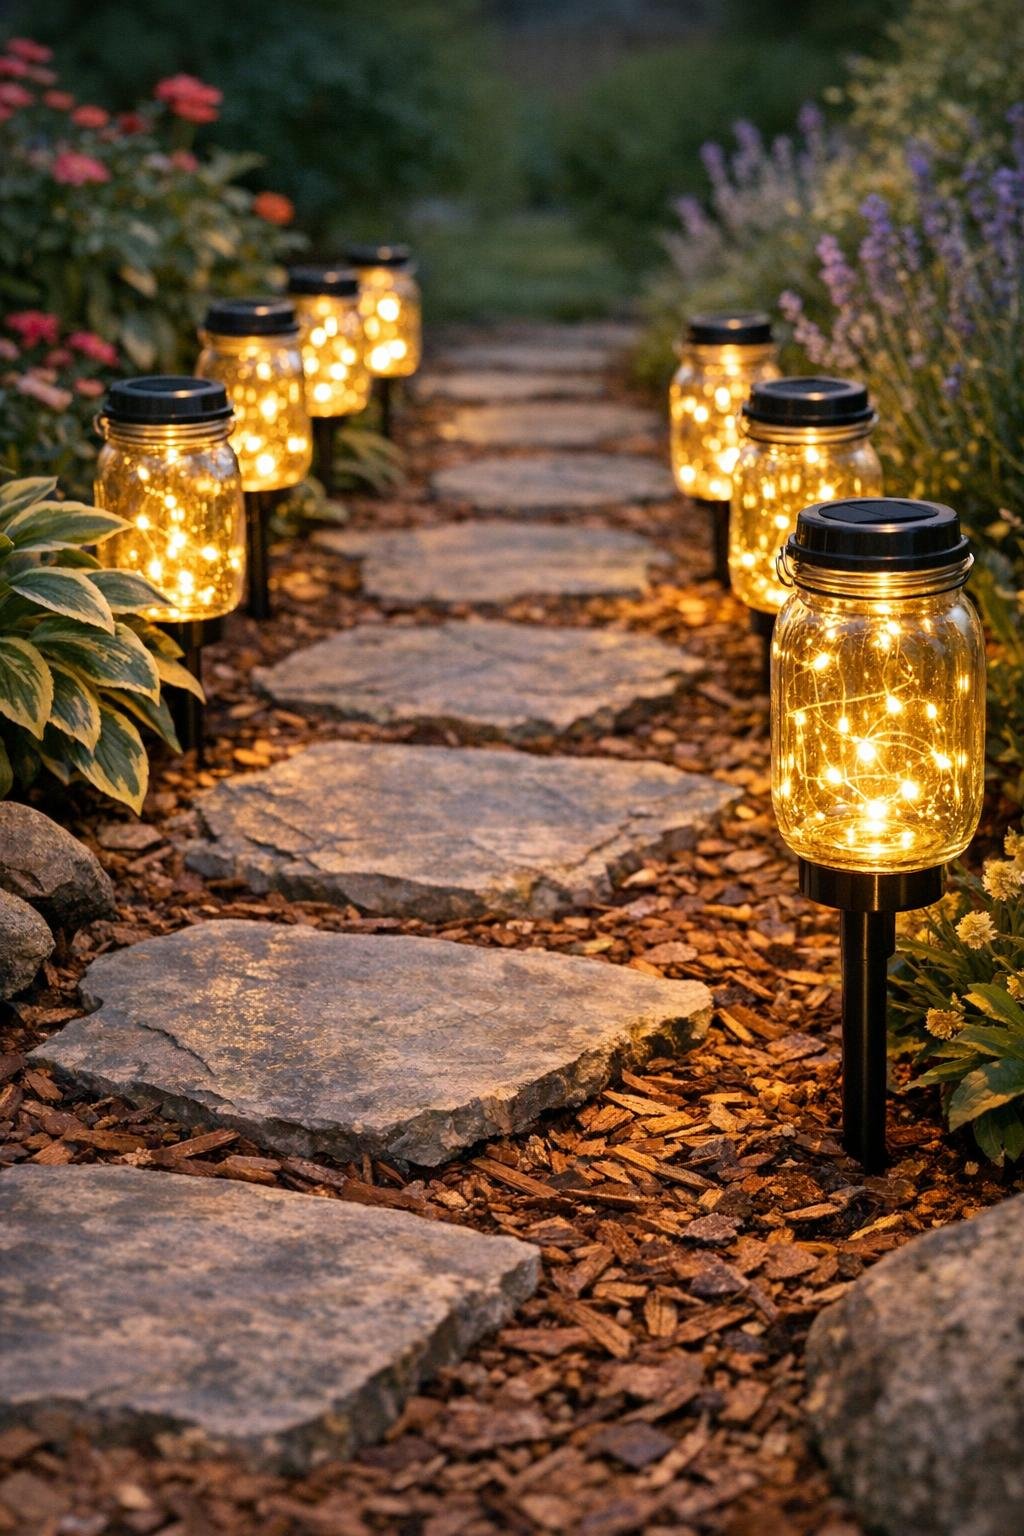
Variations & Tips
For a cleaner look: Use wide-mouth jars that fully cover the light head and sit evenly; matching jars make the whole pathway feel more polished.
For picky weather spots: If your yard gets strong wind or frequent storms, use a small bead of outdoor silicone and let it cure well before putting the lights outside.
For better drainage: Avoid placing the lights in low spots where water collects, and add a little pea gravel under each stake to help keep them steady and dry.
For a softer glow: Choose slightly textured clear jars instead of perfectly smooth ones; they scatter the light in a gentle way that looks lovely during outdoor dinners.
For family-friendly placement: Keep the lights just off the walking line of the path so nobody bumps the jars with shoes, bikes, or lawn tools.
For easy seasonal updates: You can switch jar shapes, add lid rings, or reposition the lights around flower beds and patio borders without rebuilding the whole project.