
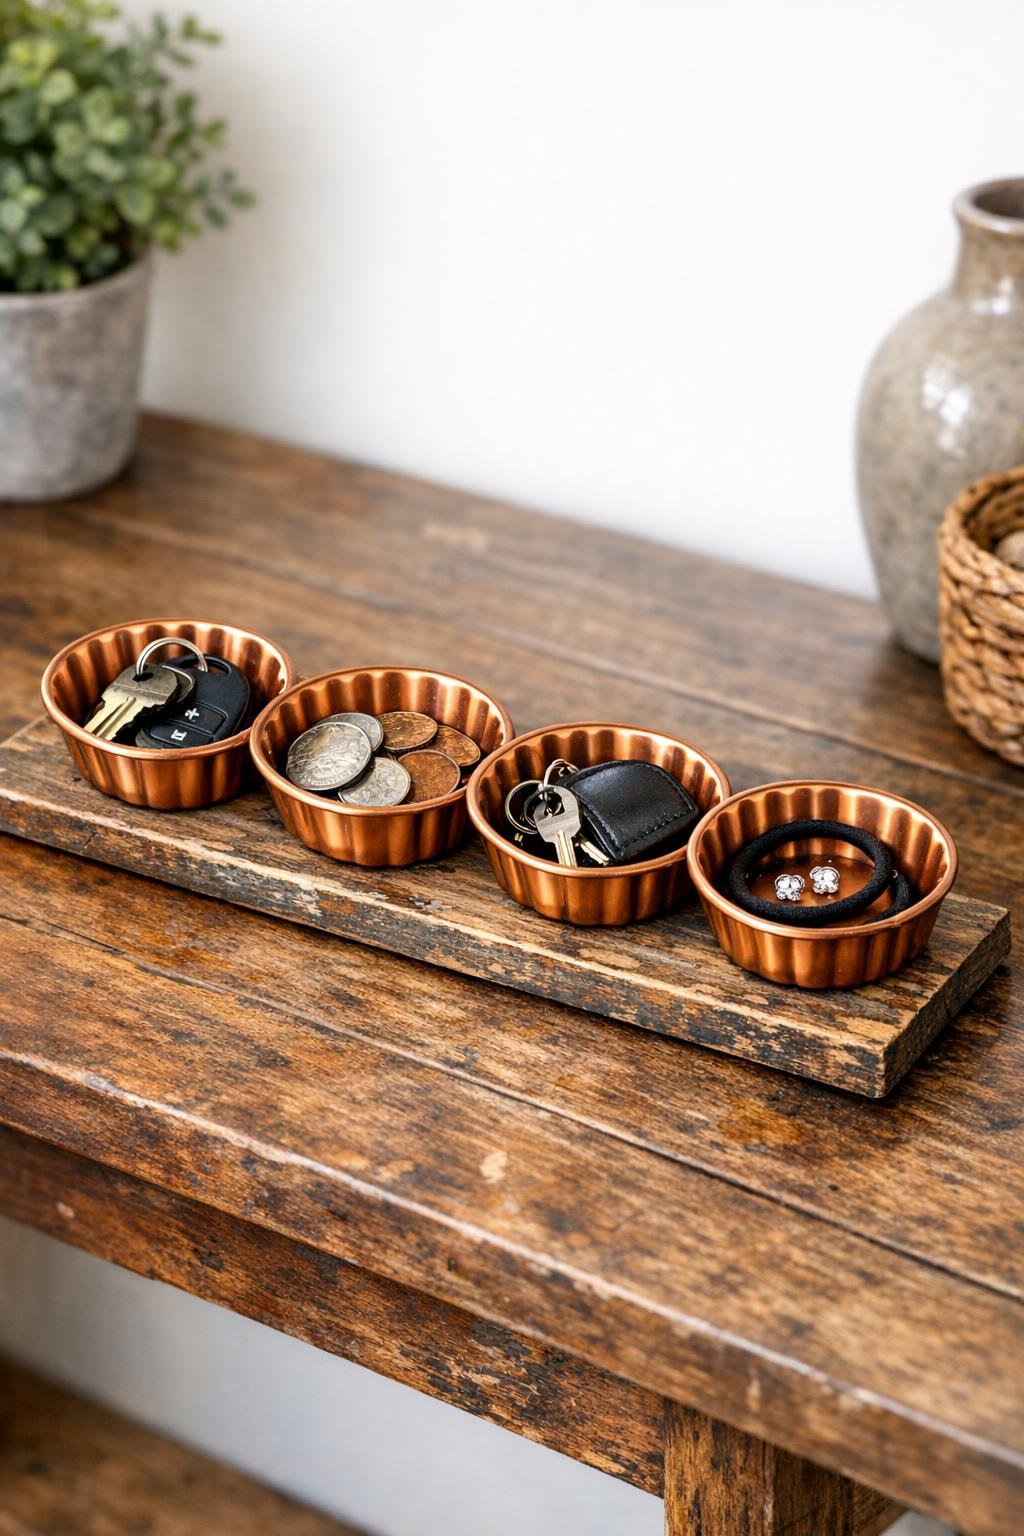
A slim entryway organizer like this is one of those little projects that earns its keep every single day. By sliding small copper muffin tins onto a narrow wooden tray, you get tidy spots for keys, coins, lip balm, spare change, and all the tiny things that seem to collect by the door. I love projects like this because they solve a real household problem without asking for a full weekend or a shop full of tools.
As someone who spends plenty of time making a home feel warm and functional, I’m especially fond of storage that looks intentional instead of purely utilitarian. This catch-all has a cozy, slightly vintage feel thanks to the warm copper and distressed wood, and it’s a good beginner project for anyone who wants an easy piece of home décor with a practical purpose.
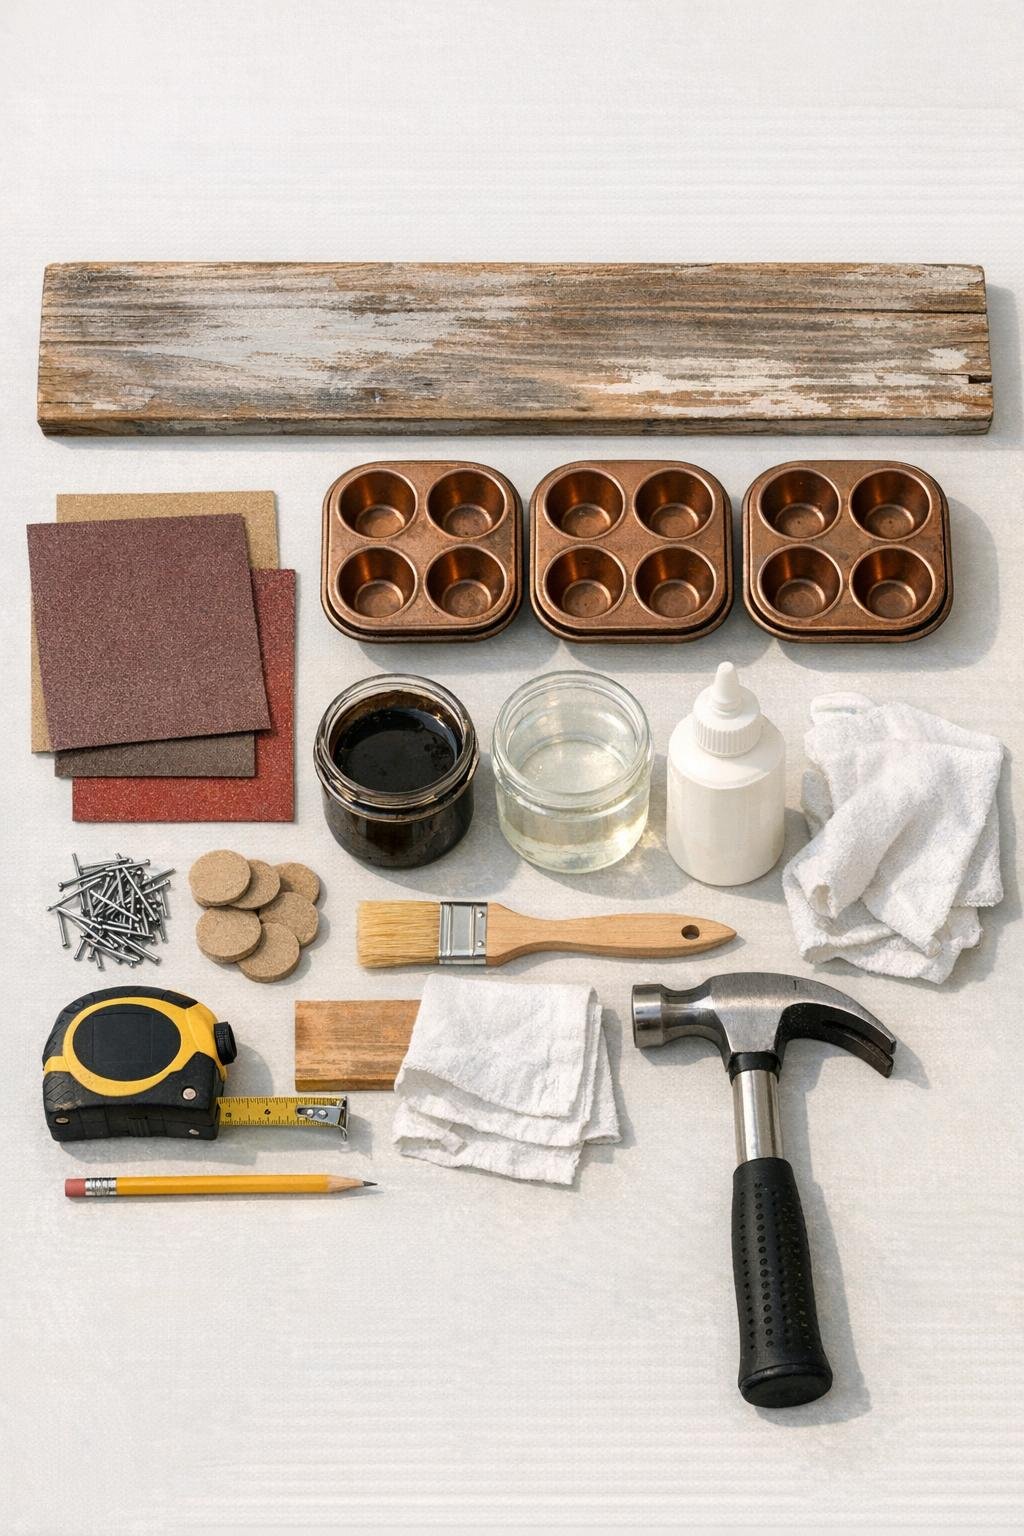
Materials
Instructions
1. Choose a narrow wooden tray or cut a board to about 24 by 5 1/2 inches so it fits easily on an entryway table, shelf, or console.
2. Sand the entire wood surface with 120-grit sandpaper, then smooth it with 220-grit until the tray feels even and ready for finish.
3. Wipe away all dust with a clean rag, then apply your stain or paint in a thin, even coat and let it dry fully according to the product directions.
4. Lightly distress the edges and corners with fine sandpaper if you want a cozy, timeworn look, then seal the finish with a thin coat of matte polyurethane or furniture wax.
5. Arrange the copper muffin tins in a straight line along the length of the tray, leaving about 1 inch of space at each end and a small, even gap between each tin.
6. Trace lightly around each muffin tin with a pencil so you can return them to the same placement after securing the supports.
7. Add a tiny bead of wood glue where each tin edge will rest, or attach slim guide strips or small brads at the traced lines to create low stops that keep the tins from sliding around while still letting them sit neatly on the tray.
8. Press the tins back into position and check that they sit level and evenly spaced; if you used brads or stops, adjust them before the glue sets so the tins slide into place cleanly.
9. Let the tray dry completely, then turn it over and stick felt pads on the bottom corners to protect your entryway table or shelf.
10. Set the finished tray by the door and assign each copper tin a purpose, such as keys, coins, earbuds, or mail clips, so the organizer stays useful instead of becoming one big jumble.
Variations & Tips
Add a mail slot: If you want this piece to handle paper clutter too, mount a small upright block or narrow divider at one end of the tray for envelopes and unopened mail.
Use a different finish: Dark walnut stain gives this a more classic look, while whitewashed paint feels lighter and more farmhouse. I usually choose finishes the same way I balance flavors in cooking: make sure one element stands out, and let the rest support it.
Secure for heavy use: If your household is hard on entryway storage, use very thin wood strips as side rails instead of glue alone so the muffin tins stay aligned with daily grabbing and dropping.
Line the tins: Small circles of cork, felt, or shelf liner inside each tin soften the sound of keys and help prevent scratches.
Try a longer tray: For a family entryway, increase the tray length to 30 or 36 inches and use 5 or 6 muffin tins so each person gets a designated spot.
Keep proportions narrow: The tray should be only slightly wider than the tins, which keeps the project looking intentional and prevents it from taking over a small entry table.