
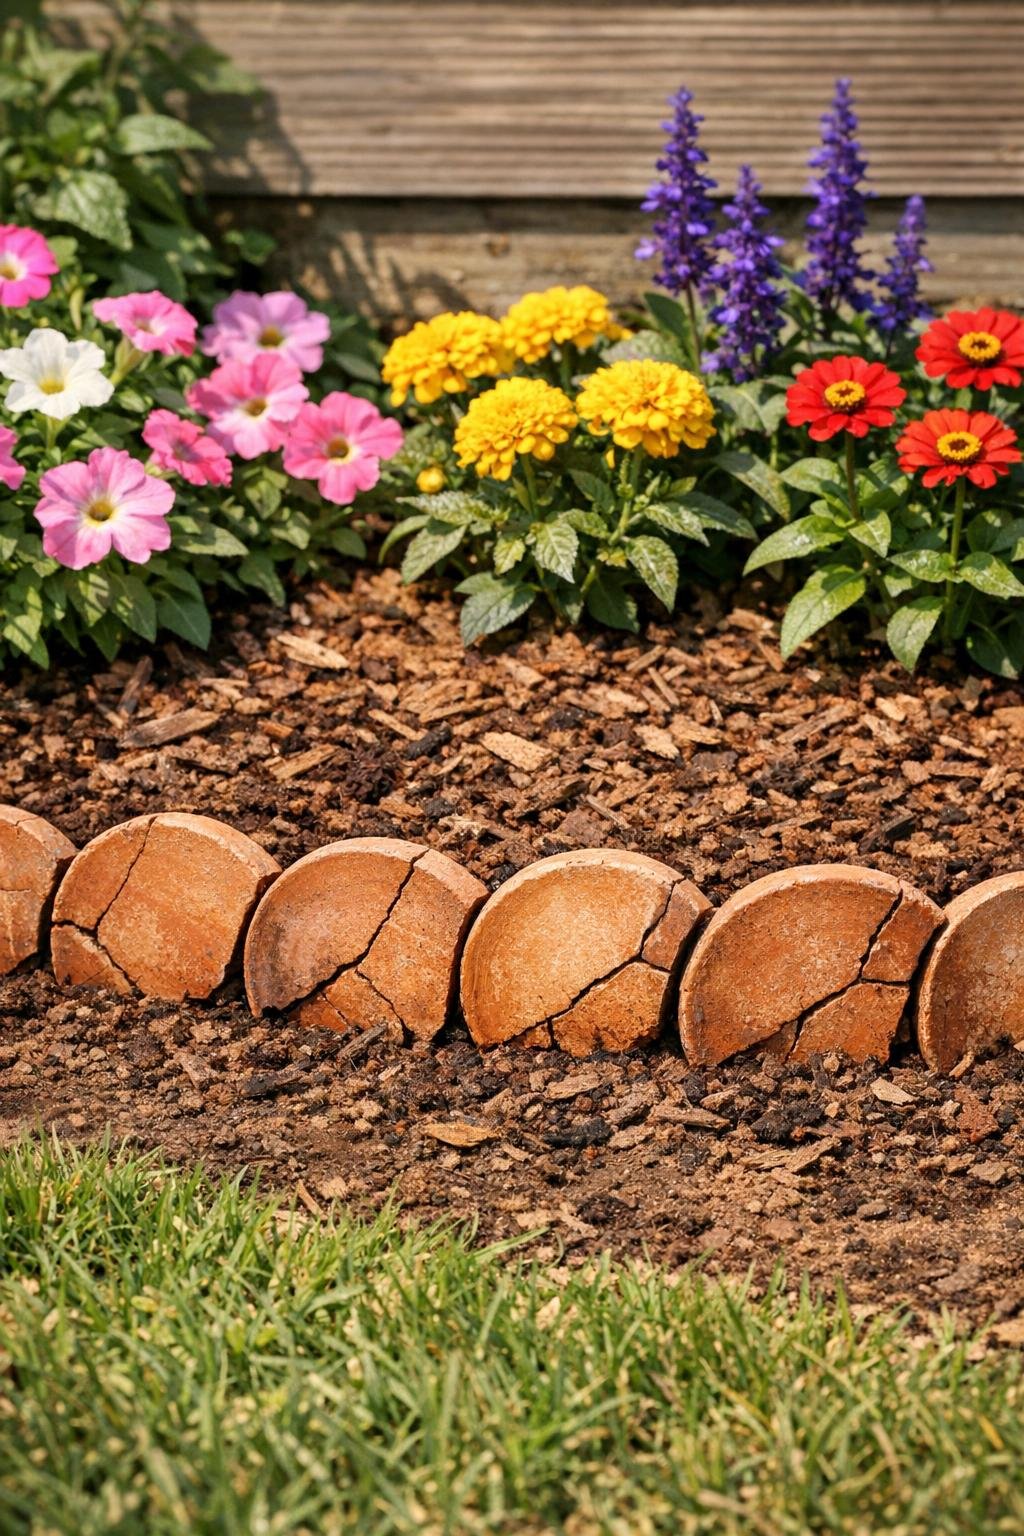
I’ve always had a hard time throwing out old clay saucers, even the cracked ones. Out here, we learn early that a thing doesn’t have to be perfect to still be useful, and this little garden border is one of my favorite examples of that kind of practical thrift. By burying cracked clay saucers halfway into the soil, you can make a charming scalloped edge that looks right at home around a flower bed.
This is an easy afternoon project for just about anyone, especially if you like cottage-style gardens, rustic yard touches, or simple upcycling ideas that don’t cost much. It reminds me of the kinds of clever fixes folks used to come up with using whatever was on hand, and I think that sort of resourcefulness still makes a garden feel more personal and lived-in.
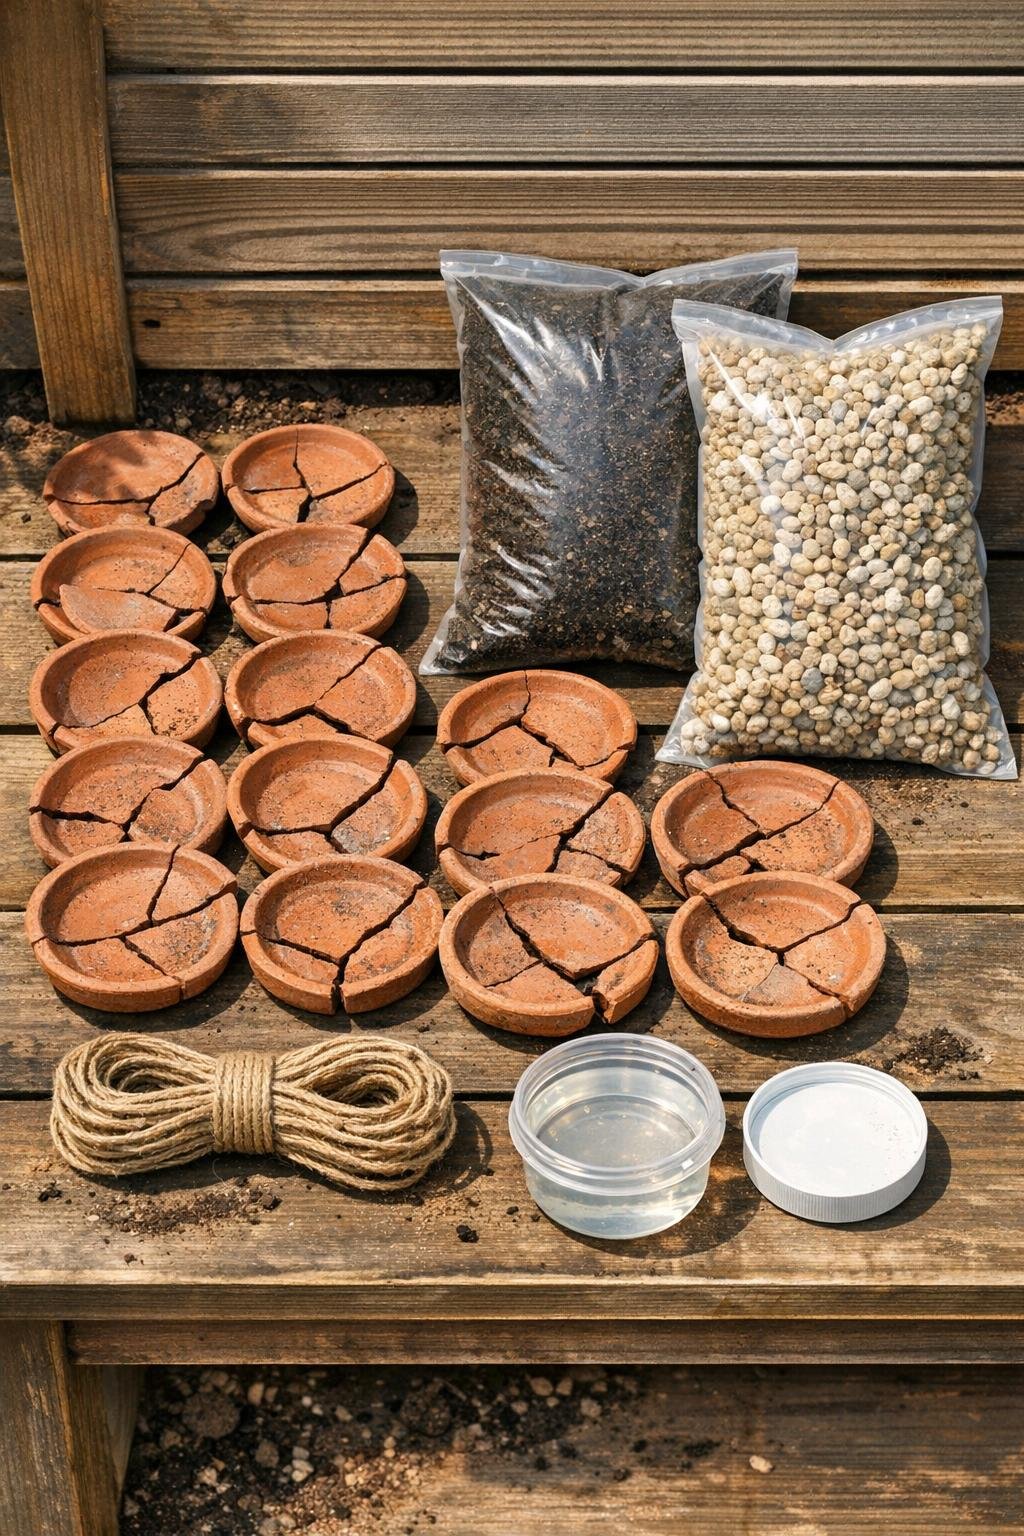
Materials
Instructions
1. Gather your cracked clay saucers and sort out any pieces that are too shattered to stand upright in soil. Saucers with one clean crack or a chipped edge work beautifully for this border.
2. Brush off loose dirt and rinse the saucers with water so the terracotta surface is clean. Let them dry completely before sealing.
3. Apply a thin coat of exterior masonry sealer to both sides of each saucer to help them hold up better through rain and watering. Set them aside until fully dry according to the product directions.
4. Mark the line of your garden border with landscape marking twine so you can see the curve before you start digging. Step back and adjust the shape until it looks natural with the flower bed.
5. Dig a narrow trench along the marked line about 4 to 5 inches deep and slightly wider than the saucers. Keep the bottom of the trench as level as you can.
6. Pour 1 to 2 inches of pea gravel into the bottom of the trench for drainage. Spread it evenly so the saucers will sit on a stable base.
7. Press the clay saucers into the trench halfway down, overlapping them slightly like shingles or standing them edge to edge for a scalloped look. Alternate the cracked areas so the border still looks balanced and intentional.
8. Backfill around the saucers with garden soil, packing it firmly on both sides to hold each piece in place. Check every few saucers to keep the tops at a consistent height.
9. Water the soil lightly to settle everything, then add more garden soil anywhere the border loosens or leans. Make small adjustments by hand until the line looks even.
10. Finish by smoothing the bed side of the border and the lawn or path side so the edging looks tucked in and established. Once the plants fill in around it, the terracotta edge will look like it has always belonged there.
Variations & Tips
For a softer cottage look: Use saucers in slightly different diameters, such as 6-inch and 8-inch pieces, for a more relaxed, collected-over-time feel.
If your soil stays wet: Add an extra inch of pea gravel below the saucers so the terracotta is less likely to sit in standing water after heavy rain.
For stronger placement: Choose the least damaged edge of each saucer as the buried side, since that gives the visible top edge a cleaner, sturdier appearance.
To stretch your materials: Space the saucers with a 1-inch gap between them and fill the gaps with small stones if you want the border to cover a longer bed.
Seasonal upkeep: After winter, walk the border and press any shifted saucers back into place with fresh soil. Freeze and thaw can nudge terracotta upward, but it is an easy fix.
A good design note: This edging looks especially pretty around small cutting beds, herb gardens, or old-fashioned flower borders where the warm clay color can echo your pots and planters.