
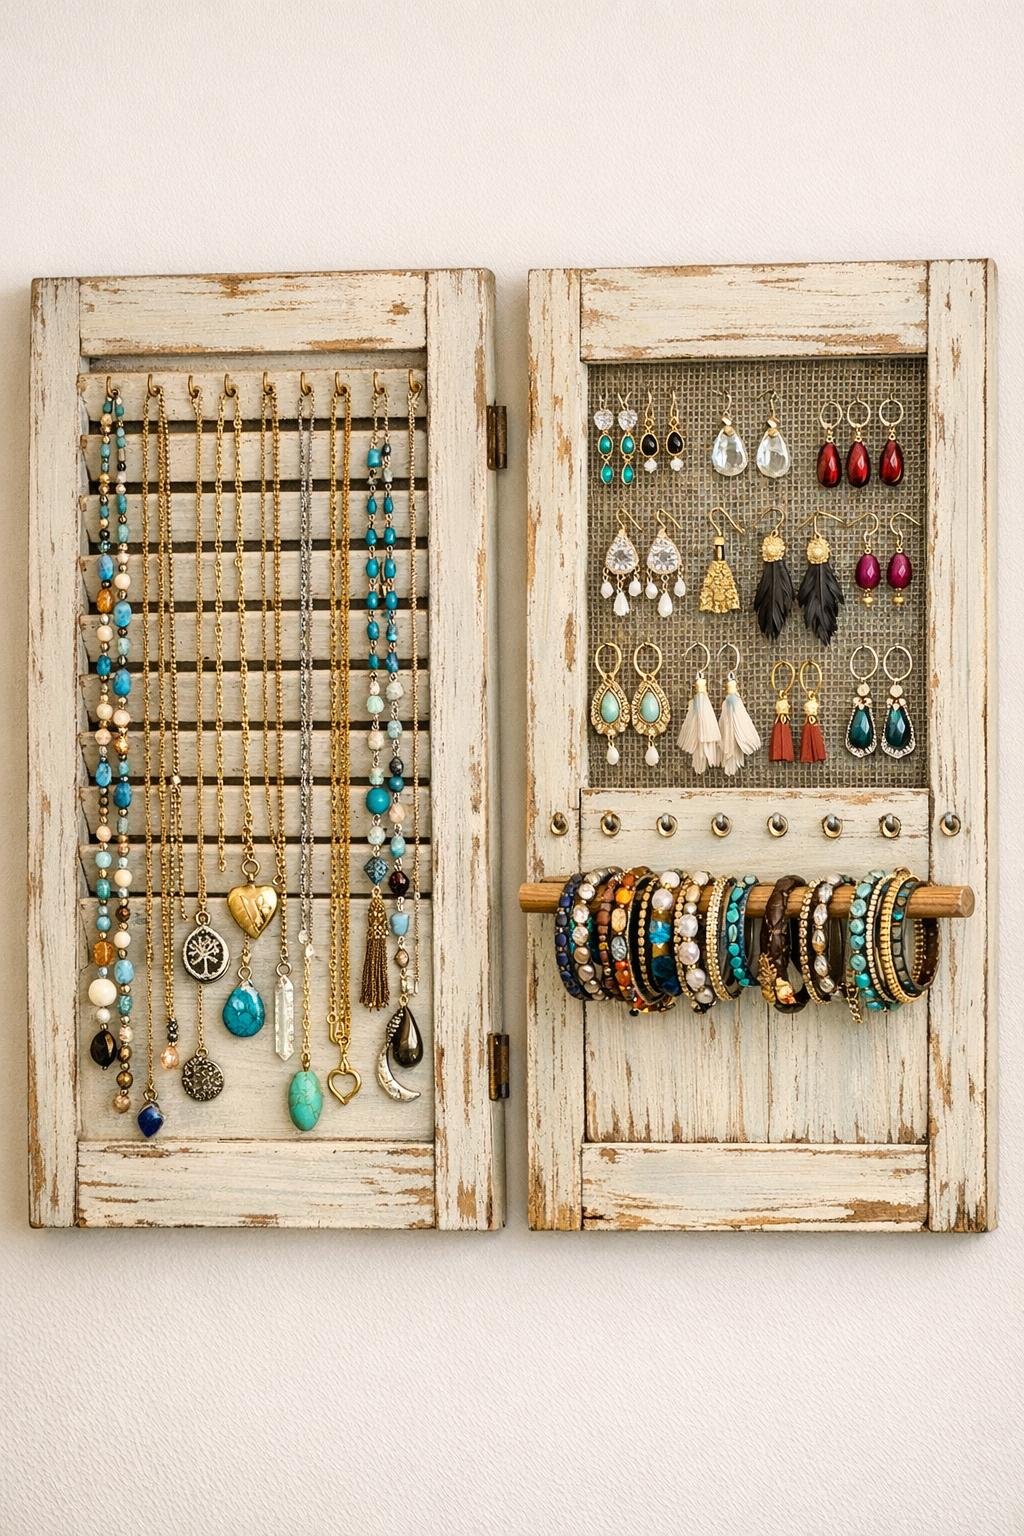
Old window shutters are one of those thrift-store finds I can never quite walk past. Even when they look chipped, dusty, or a little lopsided, they usually still have great bones. In this project, I’m turning a pair of old shutters into a 3-item vintage-style jewelry display: one section for necklaces, one for earrings, and one for bracelets or rings. It’s practical, decorative, and a smart way to give tired architectural salvage a second life.
I especially like this kind of project for anyone who has jewelry tucked into boxes and tangled in drawers. The finished display feels charming and collected, but it’s also genuinely useful. If you’re comfortable with light sanding, simple painting, and basic screw-in hardware, you can make this in an afternoon.
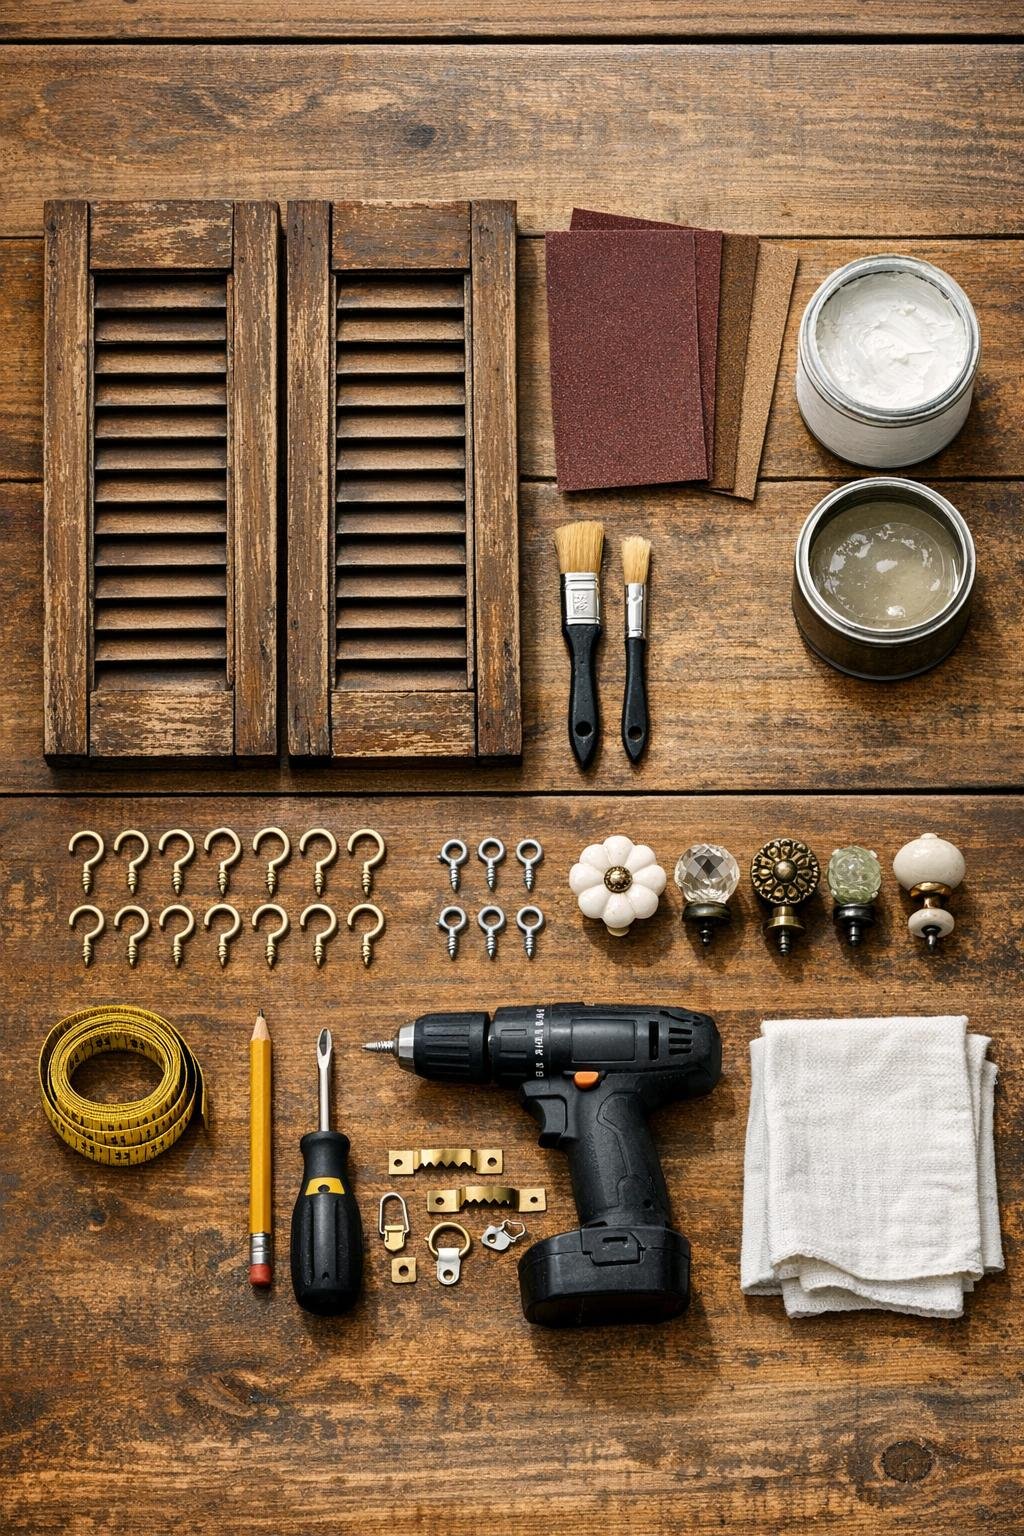
Materials
Instructions
1. Wipe down both shutters with a dry rag, then remove loose dust, cobwebs, and flaking debris so you can see the wood clearly before refinishing.
2. Lightly sand the front, back, and edges with 120-grit sandpaper, focusing on rough spots while leaving some age marks intact for a vintage look.
3. Smooth everything with 220-grit sandpaper, then wipe away the dust with a clean rag so the paint or finish will go on evenly.
4. Brush on one light coat of chalk paint, working with the slats and frame, and let a little of the old finish show through if you want more character.
5. Once the paint is dry, sand the edges and raised areas very lightly to distress them, then seal with clear wax or matte sealer for a durable finish.
6. Choose one shutter for necklaces and mark 12 evenly spaced hook locations along the lower rail or frame, keeping at least 3/4 inch between each hook.
7. Drill small pilot holes and twist in the 12 cup hooks, then check that they sit straight so necklaces will hang neatly without crowding.
8. Cut the chicken wire or metal mesh to 8 x 10 inches and attach it to the center opening of the second shutter using staples or small nails, folding sharp edges under first.
9. Twist the 8 screw eyes into the side frame or lower section of that same shutter, then mount the 8-inch dowel across two decorative knobs or simple side supports to create a bracelet bar below the mesh.
10. Add the 3 decorative knobs anywhere you’d like extra hanging storage, such as along the side or bottom frame, for chunky bracelets, longer chains, or ring holders.
11. Attach D-rings and picture wire to the back of each shutter, then hang them side by side or slightly staggered so the three storage zones read as one coordinated display.
12. Sort your jewelry by type and weight, placing the heaviest necklaces on the sturdiest hooks and lighter earrings through the mesh or screw eyes for the cleanest presentation.
Variations & Tips
Color choice: I like soft chalky shades for this project because they suit the age of the shutters, but black, deep green, or a natural waxed wood finish can make the display feel more dramatic.
Hardware swap: If you have more earrings than necklaces, replace some cup hooks with extra mesh panels or more screw eyes. This project is very forgiving, and the layout can be customized to the jewelry you actually wear.
Wall safety: Old shutters can be heavier than they look, especially solid wood ones. Always use wall anchors or hang them from studs if possible.
Distressing tip: When I want a finish that looks naturally aged rather than freshly painted, I sand only the edges, corners, and slat fronts where real wear would happen over time.
Small-space option: You can use just one shutter and divide it into three zones on a single panel if you’re short on wall space or working inside a closet.
Protecting jewelry: Make sure every cut metal edge is folded, filed, or covered before hanging delicate pieces. I also avoid rough, rusty spots anywhere jewelry might snag.